My journey into the Yuma region

Hello fellow dwellers,

I’ll be using this thread to document my work on my miniatures, scratch-built terrain and story for my slice of the Wasteland. That will be the Yuma region (and by a larger extent, the Four-States-Commonwealth) two or three decades after Fallout 1.

I’ve chosen this time because FO1 is what made me fall in love with the series. And I’ve chosen that place because it’s close enough to be influenced by its events and could foreshadow events from FO2 and FONV, but still gives me as much freedom as I want.

With that being said, I’ll start with pictures of my first painted miniatures, the Super Mutants from the PVC Starter Set:

6 Likes

They look really good mate, love the personalised lore too. Mind sharing what green you used for the skin?

Looking nice, for the colors, you’re just doing green followed by a brown wash then a drybrush? (Your lighting leaves a little to be desired, makes it hard to see all of the detail work you did.)

I like the American flag approach for Aviator, that looks awesome. I wish I had the talent to do that kind of detail work.

@Qrow Thanks! :slight_smile: It’s Elysian Green from Games Workshop with Agrax Earthshade (other dark brown washes will probably look just as good) on top.

@GateKeeper Thank you :slight_smile: Yes my lighting needs to improve, but my excuse is that is has been super rainy and cloudy and yada yada yada :wink: I’ll promise I’ll do better in the future.
As to painting, I honestly don’t even drybrush on top, as I don’t really noticed a difference while making for (too much) extra work. As I paint so that I like it, not to win any painting awards, I just cut drybrushing out eventually.

My tip for a steady hand for details that has been told to me 17 years ago and still serves me very well today: put your elbows on the table and hold your wrists together. Your handshaking will be minimal and you will not get backpains for many more hours than painting bent over. Hope that helps! :paintbrush:

I completely understand. Back when I was doing a lot of Warhammer Fantasy, I had a lamp specifically for the sake of getting good light (Haven’t been able to do any painting in years now. Had my twin boys come around and hadn’t picked up a paint brush in about six years. Today was the first time I dug into my painting supplies in a VERY long time.)

I typically do a base layer, wash, then drybrush the original color to help the colors pop a bit. But that’s all the effort I put into. I’ve been told I paint to “Tabletop quality.” by people who are pretty good at it. I’m sure they were saying it in the hopes of my trying to improve more, but I still took it as a complement. :stuck_out_tongue: I really love using washes, especially for “Dirty” models. Things like Orcs/Goblins, Skeletons/zombies, and Skaven, they always worked really well for. For things like Bretonnia and High Elves I was much less likely to make use of them though. For this game, I think the washes are going to work great for the Super Mutants and Survivors. I’m wondering if the Brotherhood is going to take a little more care though. I was thinking the power armor I’d base paint black, then come back with gunmetal gray to paint everything but the deep spots/seams/joints. Guess time will tell.

Thank you for the painting tip. I used to have really steady hands until about ten years ago, even back then I wasn’t doing THAT kind of detail work. I’ll absolutely be giving your tip a try though!

You use the Games Workshop paints? I used to do that, but then I changed out for the “Apple Barrel” brand. You can pick up two bottles of the stuff for a dollar, there’s at least four times as much paint in a bottle, and they’re readily available at Wal*Mart and Hobby Lobby in the next town over. Paints are almost as good, MUCH cheaper, and have an impressive range of colors to work with.

Anyway, I just felt the need to complement your Aviator model earlier. Great work, and I’ll be keeping an eye on this thread to see more of your work.

@GateKeeper Yes, I still use GW paints. We don’t have Walmart, Hobbytown or Hobby Lobby in Germany, though I know how great their stuff is from my time in the US. It’s a shame we don’t have anything similar here, but then again, I’ve gotten pretty used to them.

I’ve arranged all my scratch-built terrain on the mat that comes with the starter set for the first time and that has greatly improved how it looks. Absolutely everything you see in those pictures is scratch-built, so feel free to ask how I did it if something gets your interest. While the MDF kits that can be bought look great, I just really enjoy scratch-building and it’s a big part of what makes this hobby fun for me :slight_smile:

4 Likes

Very nice stuff! Looks like a great start and it looks really good on the board.

Out of curiosity:
-How did you make the shipping container? (One can never have too many shipping containers.)
-What did you use for the barrels?
-Any chance you can get a better picture of the Nuka Cola billboard? And how did you go about making that.
-And is that a garden gnome I see in the center of the first image?

Was distracted by the terrain you had made and forgot to say what I was going to mention about the paints:

What I was planning to say is that most any place that sells craft or painting supplies will usually have a cheaper paint that can be used for these kinds of hobbies. You might be able to find a cheaper alternative to the GW stuff if you can find a place that sells even the most basic of painting supplies. Then again, having never visited Germany, I may not know what I’m talking about either. :wink:

@GateKeeper

IMG_20180727_124132_769
The shipping container was built from corrugated cardboard for the side walls and cardboard from a cornflakes box for ceiling, floor, doors and interior and exterior stabilizers. The door handles are toothpicks.

FB_IMG_1535268991161
The barrels were made from plastic pipes and rubber bands (the smallest I could find with a slightly smaller diameter of the rubber bands). After positioning the rubber bands, I glued them onto the barrel, glued cut out card board circles on as lids and spraypainted the whole thing.

The billboard itself is just cardboard with a printed out image from Google glued onto it. The stand itself is made from thick wire and a piece of a grille from the hardware store. All of that glued together. Since all the pieces support each other, it was quite fiddely to put it together one by one, but now it’s pretty sturdy.


I sculpted the Garden Gnome (that I use as Investigation Marker) from Greenstuff (with your previous GW experience, I’m sure you know it). Basically, I rolled a sausage, then only rolled one end to create the hat. I then rolled a different piece into a small ball and put it on as a nose. Lastly, I cut into the Greenstuff to make eyes, mouth and a gap between the legs.

And for the paints: I bought big bottles in the hardware store for terrain building. They have a very (very) limited color palette (1 brown, 1 red, 1 green, 1 blue, …), so I’m sticking to GW paints for my miniatures. For terrain, however, I agree that it would simply be a huge waste of money to use GW paints.

2 Likes

The shipping container looks even better close up. It’s obvious that you put a lot of love into it.

I thought that might have been how you did the barrels. When I’ve seen that done in the past it was with flat rubber bands. They turned out nice.

I like the billboard. I was actually thinking of doing something like that myself. There are plenty of billboard models out there and I was thinking about picking up a couple, printing out a couple of frames like you did here, and attaching them to the billboard. I’m just not sure if I want to print on regular paper after fading the colors, or if I want to print it on some gloss paper so it’s easier to smear it (I’m thinking about taking a bleach wet wipe and wiping it lightly across the printout. Not positive, but I suspect that will fade the colors in places just a little bit, and will smear them some, possibly giving it a nice weathered look.)

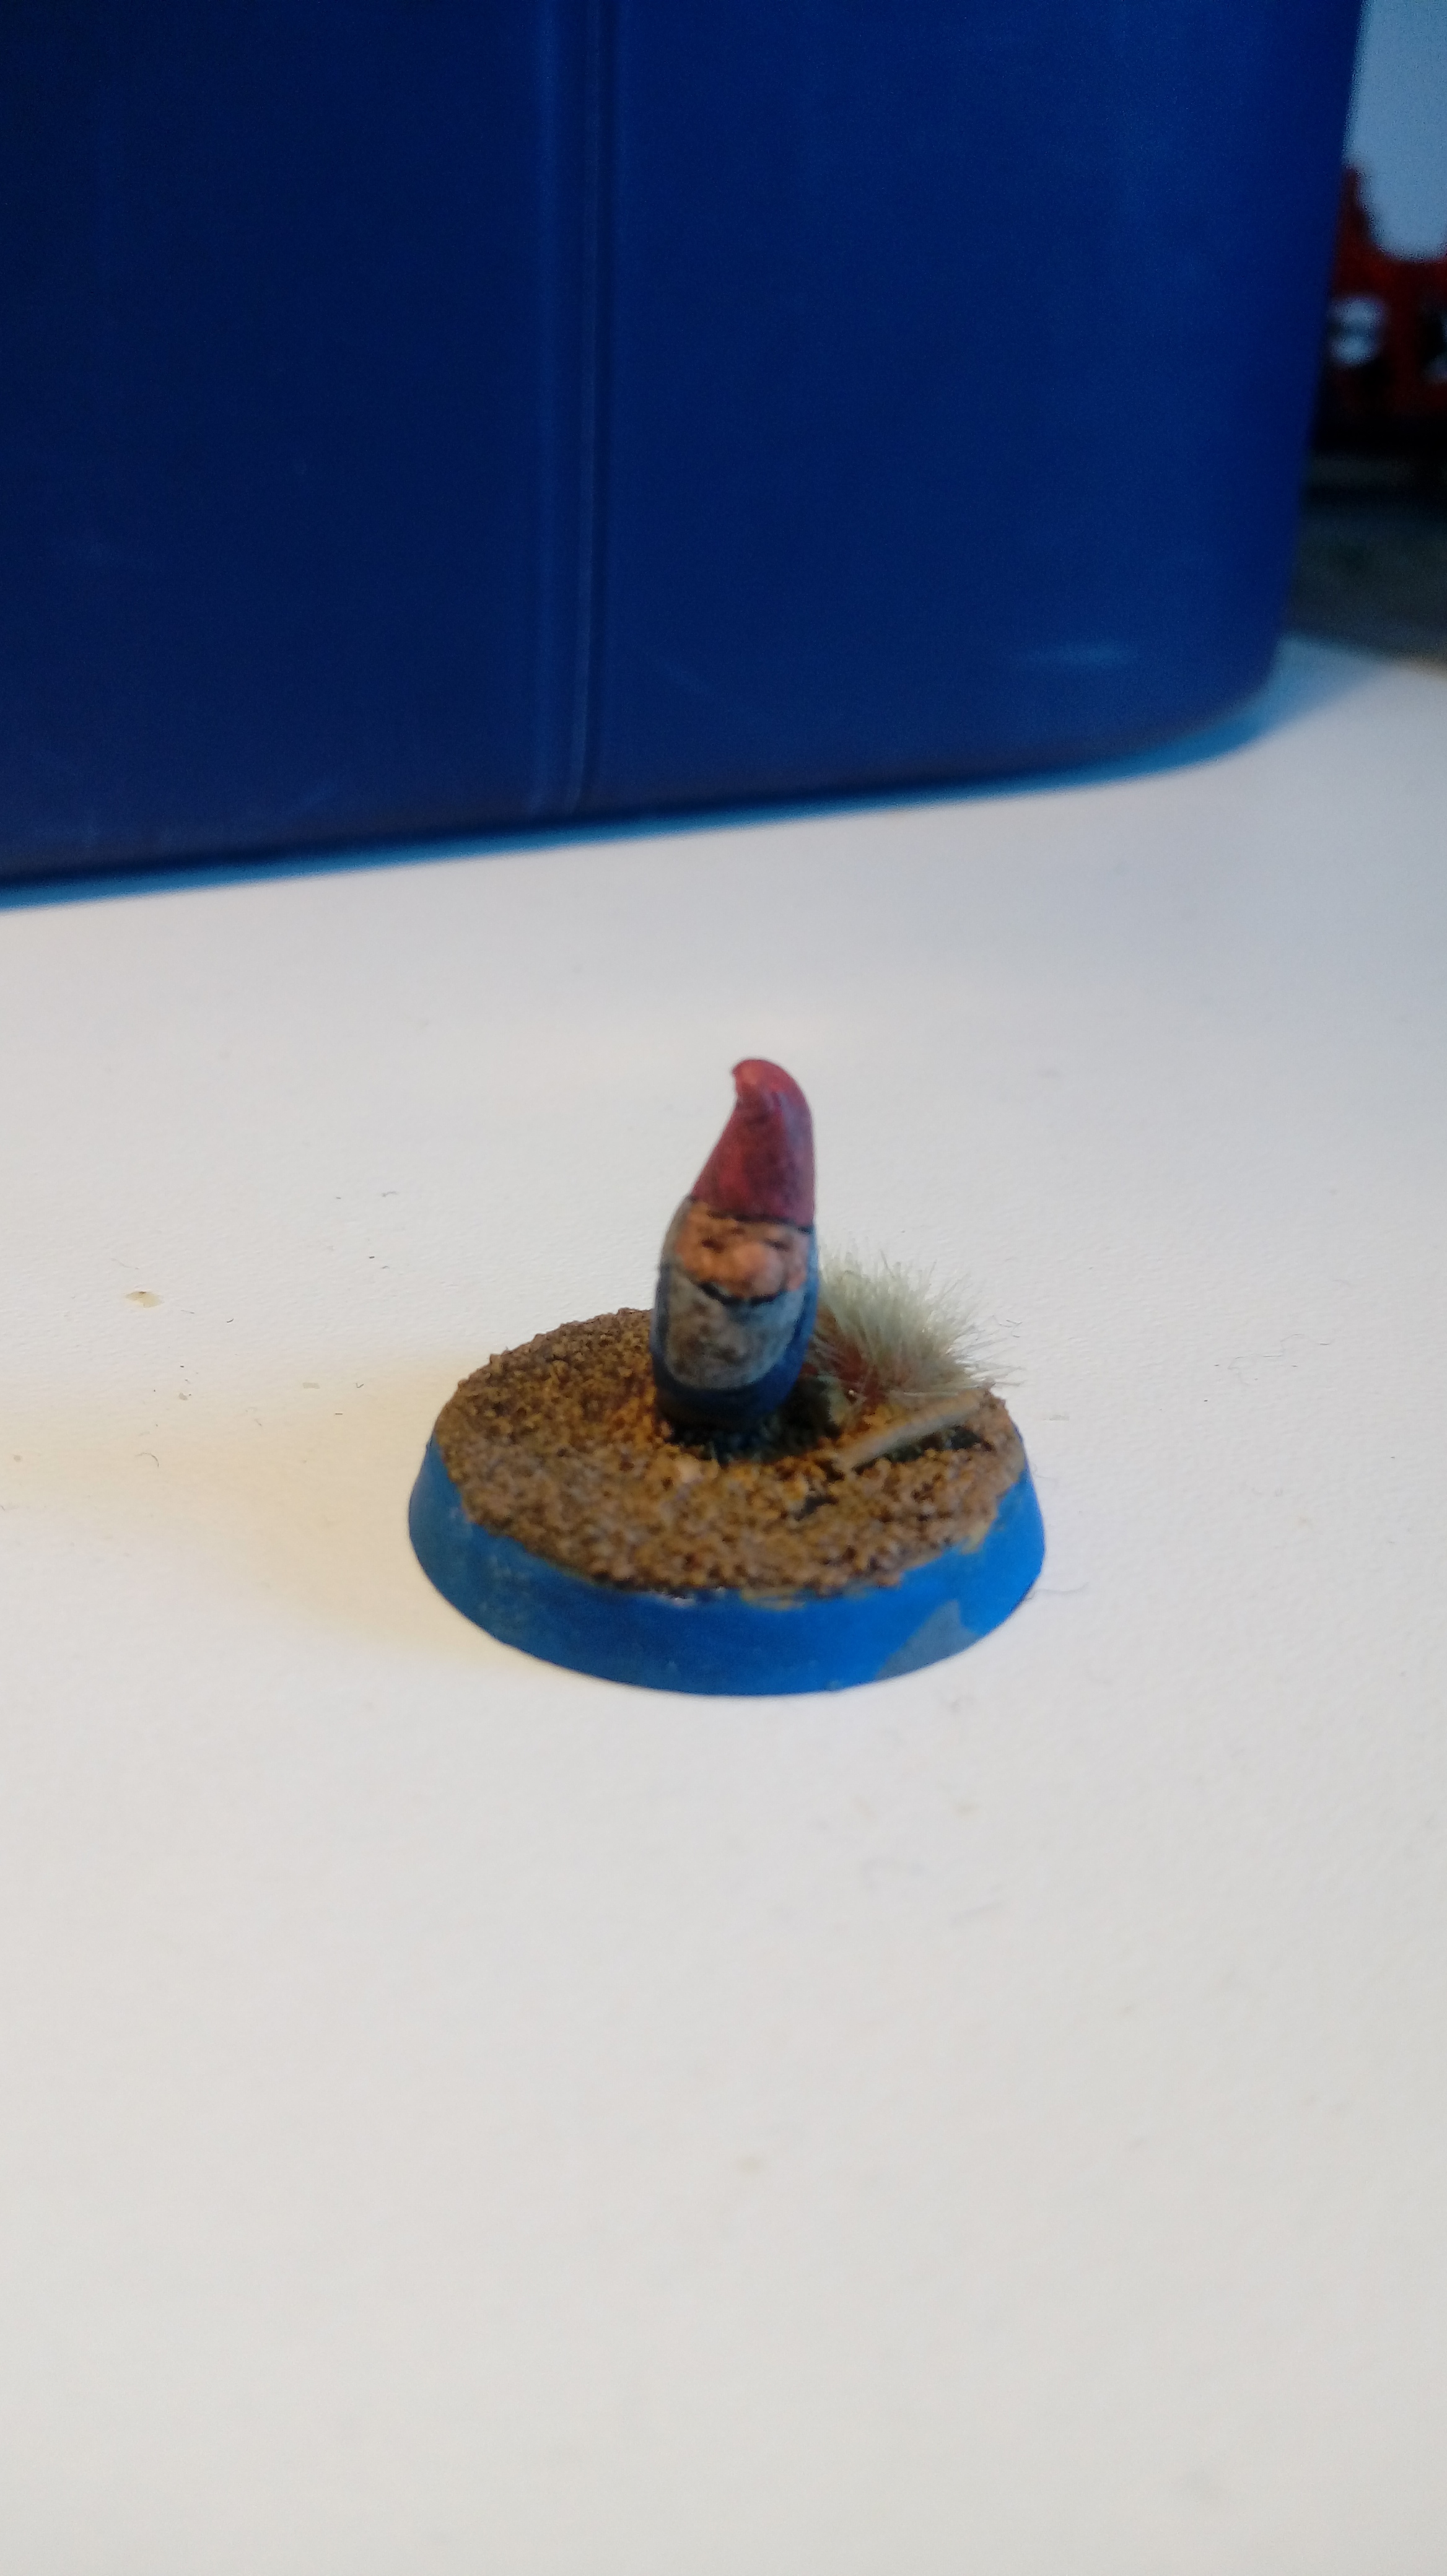
The garden gnome is kind of awesome. Seeing it actually inspired me to go poking around ebay. I can’t afford to pick any up right this moment, but I WAS able to find quite a few gnomes at about the right size that I may be adding to my own table.

Glad you have at least some basic options for cheap paints. Black, Brown, and Red would all be good for making your own washes too (Roughly 50/50 white/red might make a decent wash for skin tones as well.)

There’s no doubt that GW makes some really great supplies for modeling. They have a great range of paints, their quality is very high, and I even like how their bottles are set up.

Yeah, I’ve used a little Green Stuff (The off brand, so it wasn’t quite as expensive, but you get the picture.) I’ve found that for filler, the gel style super glue I use will often fill gaps surprisingly well. Or alternately I have a calking gun in the garage that I’ve used for minor repairs around the house, and I learned that just the really cheap calk will will larger gaps pretty well. (Depending on the type of calk, you can sometimes get a tube as cheap as a dollar or two a tube. And most types will shrink just a little bit when it dries. Through trial and error, I found a cheap version that doesn’t seem to shrink.)

You’re making some really nice stuff. I used to do a little modeling of my own, but anymore I tend to be a bit more lazy and order pieces when I am able to in my price range.

Thank you for sharing better pictures of your stuff, I enjoyed seeing them.

Wow all this is good stuff. Motivating me to paint all my naked terrain. Hope to see more of your lore as well!

1 Like

@gallowsCalibrator Thanks, and glad I could motivate you to paint your terrain. It’s just an amazing game feeling to play with painted stuff :slight_smile:

As for lore, I am working on a coop-campaign (BoS+Survivors) and wrote some texts and scenarios for it. I can’t work on it right now as I don’t have Internet on my PC, since I just moved, but here you have my introductory text:

War, war never changes. When the Great War began 115 years ago, and nuclear missiles rained from the skies, a previously selected minority of Americans from the thirteen Commonwealths managed to survive in underground bunkers, so-called vaults. These vaults contained anything and everything needed to stay alive, including a vast number of comforts to let the dwellers forget about the apocalypse happening outside.
After 25 years, the vaults were supposed to open, so that their inhabitants could turn the land into green pastures once more by using a Garden of Eden Creation Kit (G.E.C.K).
But not all vaults had a G.E.C.K. And only a few vaults functioned as promised. In most of them, cruel medical, psychological or social experiments took place.
You are from one such vault. Your parents have been born in that vault and you have spent the first 18 years of your life in relative happiness. But on February 26th in 2192, things were about to change.
Like every year, a lottery took place to decide, which vault dweller would have to permanently leave the vault into the unknown. Some say that it had to happen so the first steps for reclamation of the land outside could be undertaken. Others, that it was to counter overpopulation within the vault. And a few dare suspect that the vault overseer is following a hidden agenda, assigned from Vault Tech to the first overseer and passed down to him.
Whatever the reason, you need to leave Vault 9, your home, together with your loyal dog. You will enter a changed world, which you only know from books. But soon you will notice that not everything is different from what you’ve learned. Because even in the postnuclear deserts of the Four State Commonwealth, there are already different factions with a variety of goals. Some are peaceful. A few are barely human anymore. Most of them, though, are inhumane through and through. And as it is mankind’s nature, there is war among the survivors. And war, war never changes.

nice work looks really cool i will have to pinch this idea of using a thread to show of my own stuff for the game currently working on the hounds my self then will move on to there mutant masters

1 Like

@Decanus I look forward to seeing it! :slight_smile:

was going to post the first part up today but was halted by the one post per day restriction but nearly finished the second set of hounds and there basing so will hold of till tomorrow morning when i can get some good shots in the daylight of the mutant hounds i have done today

1 Like

I finally have internet at my new place and could put images from an actual camera on my pc, so here are some better shots of the mutants, hounds and the enslaved tech and some other models :slight_smile: (Apparently I can only post 3 pictures per post, so I’ll split them up)

Edit: Can’t upload images anymore, did I hit a maximum or something? @Modiphius-General ?

DSC_7475

4 Likes

That looks great!

1 Like

Uh oh… that’s not good…

(The upload thing that is, the paint job is most choice! :ok_hand: )

Can you upload them in a separate post, or is it just in this post?

If you want to follow this up in the Forum Feedback thread I should notice it when you reply.

Thanks!

Very nice work. Excited to see more when you’re able to post them!