@Trustfulodin @GateKeeper Thank you  Prepare for a flood of photo posts


2 Likes


Humans and Dogmeat following soon
1 Like
Still blown away by the flag cloth for Aviator.
On a side note, I keep thinking about the materials that Super Mutants might make their loincloths from. From their appearance in the games, I could picture them being made from things like old curtains. If I had the talent for it, I’d plan for a pink Hello Kitty cloth on one of mine just for the giggles. Unfortunately given my degree of talent, I’ll likely be sticking with a single color.
I am however thinking that multiple colors for the loincloths will make an easy way to tell identical models apart from one another on the table.
That’s the same train of thought that gave me the idea for the flag: what are the Super Mutants actually wearing? The first one is wearing a tent (beige), the second a curtain (dark red) and, well, the third a flag.
I like to sit and stare at a miniature that I’m about to paint, trying to figure out what’s everything made of and where one thing ends and the next begins.
As for your being blown away by the flag, thanks again, I can highly recommend trying out the hand/elbow position I explained earlier. Besides washes, nothing has increased the looks of my models like that.
I think I’ll be starting with some simpler stuff, probably just single colors. From there I might try some simple patterns and see how things go. Nothing ventured, nothing gained after all. And if I completely muck it up, I can always go back and do something a little simpler.
Now I just need to get my models and find time without my kids around so I can actually try painting a few models.
1 Like
Good work on the mutants 51monster2, yeah i have been thinking the same on their armor and rags in game there cloth looks a bit like blue/green tarps and there armor paneling is rusted green metal presumably from prewar military vehicles, for my first few i am aiming to go as close to the game as my painting ability will allow
1 Like


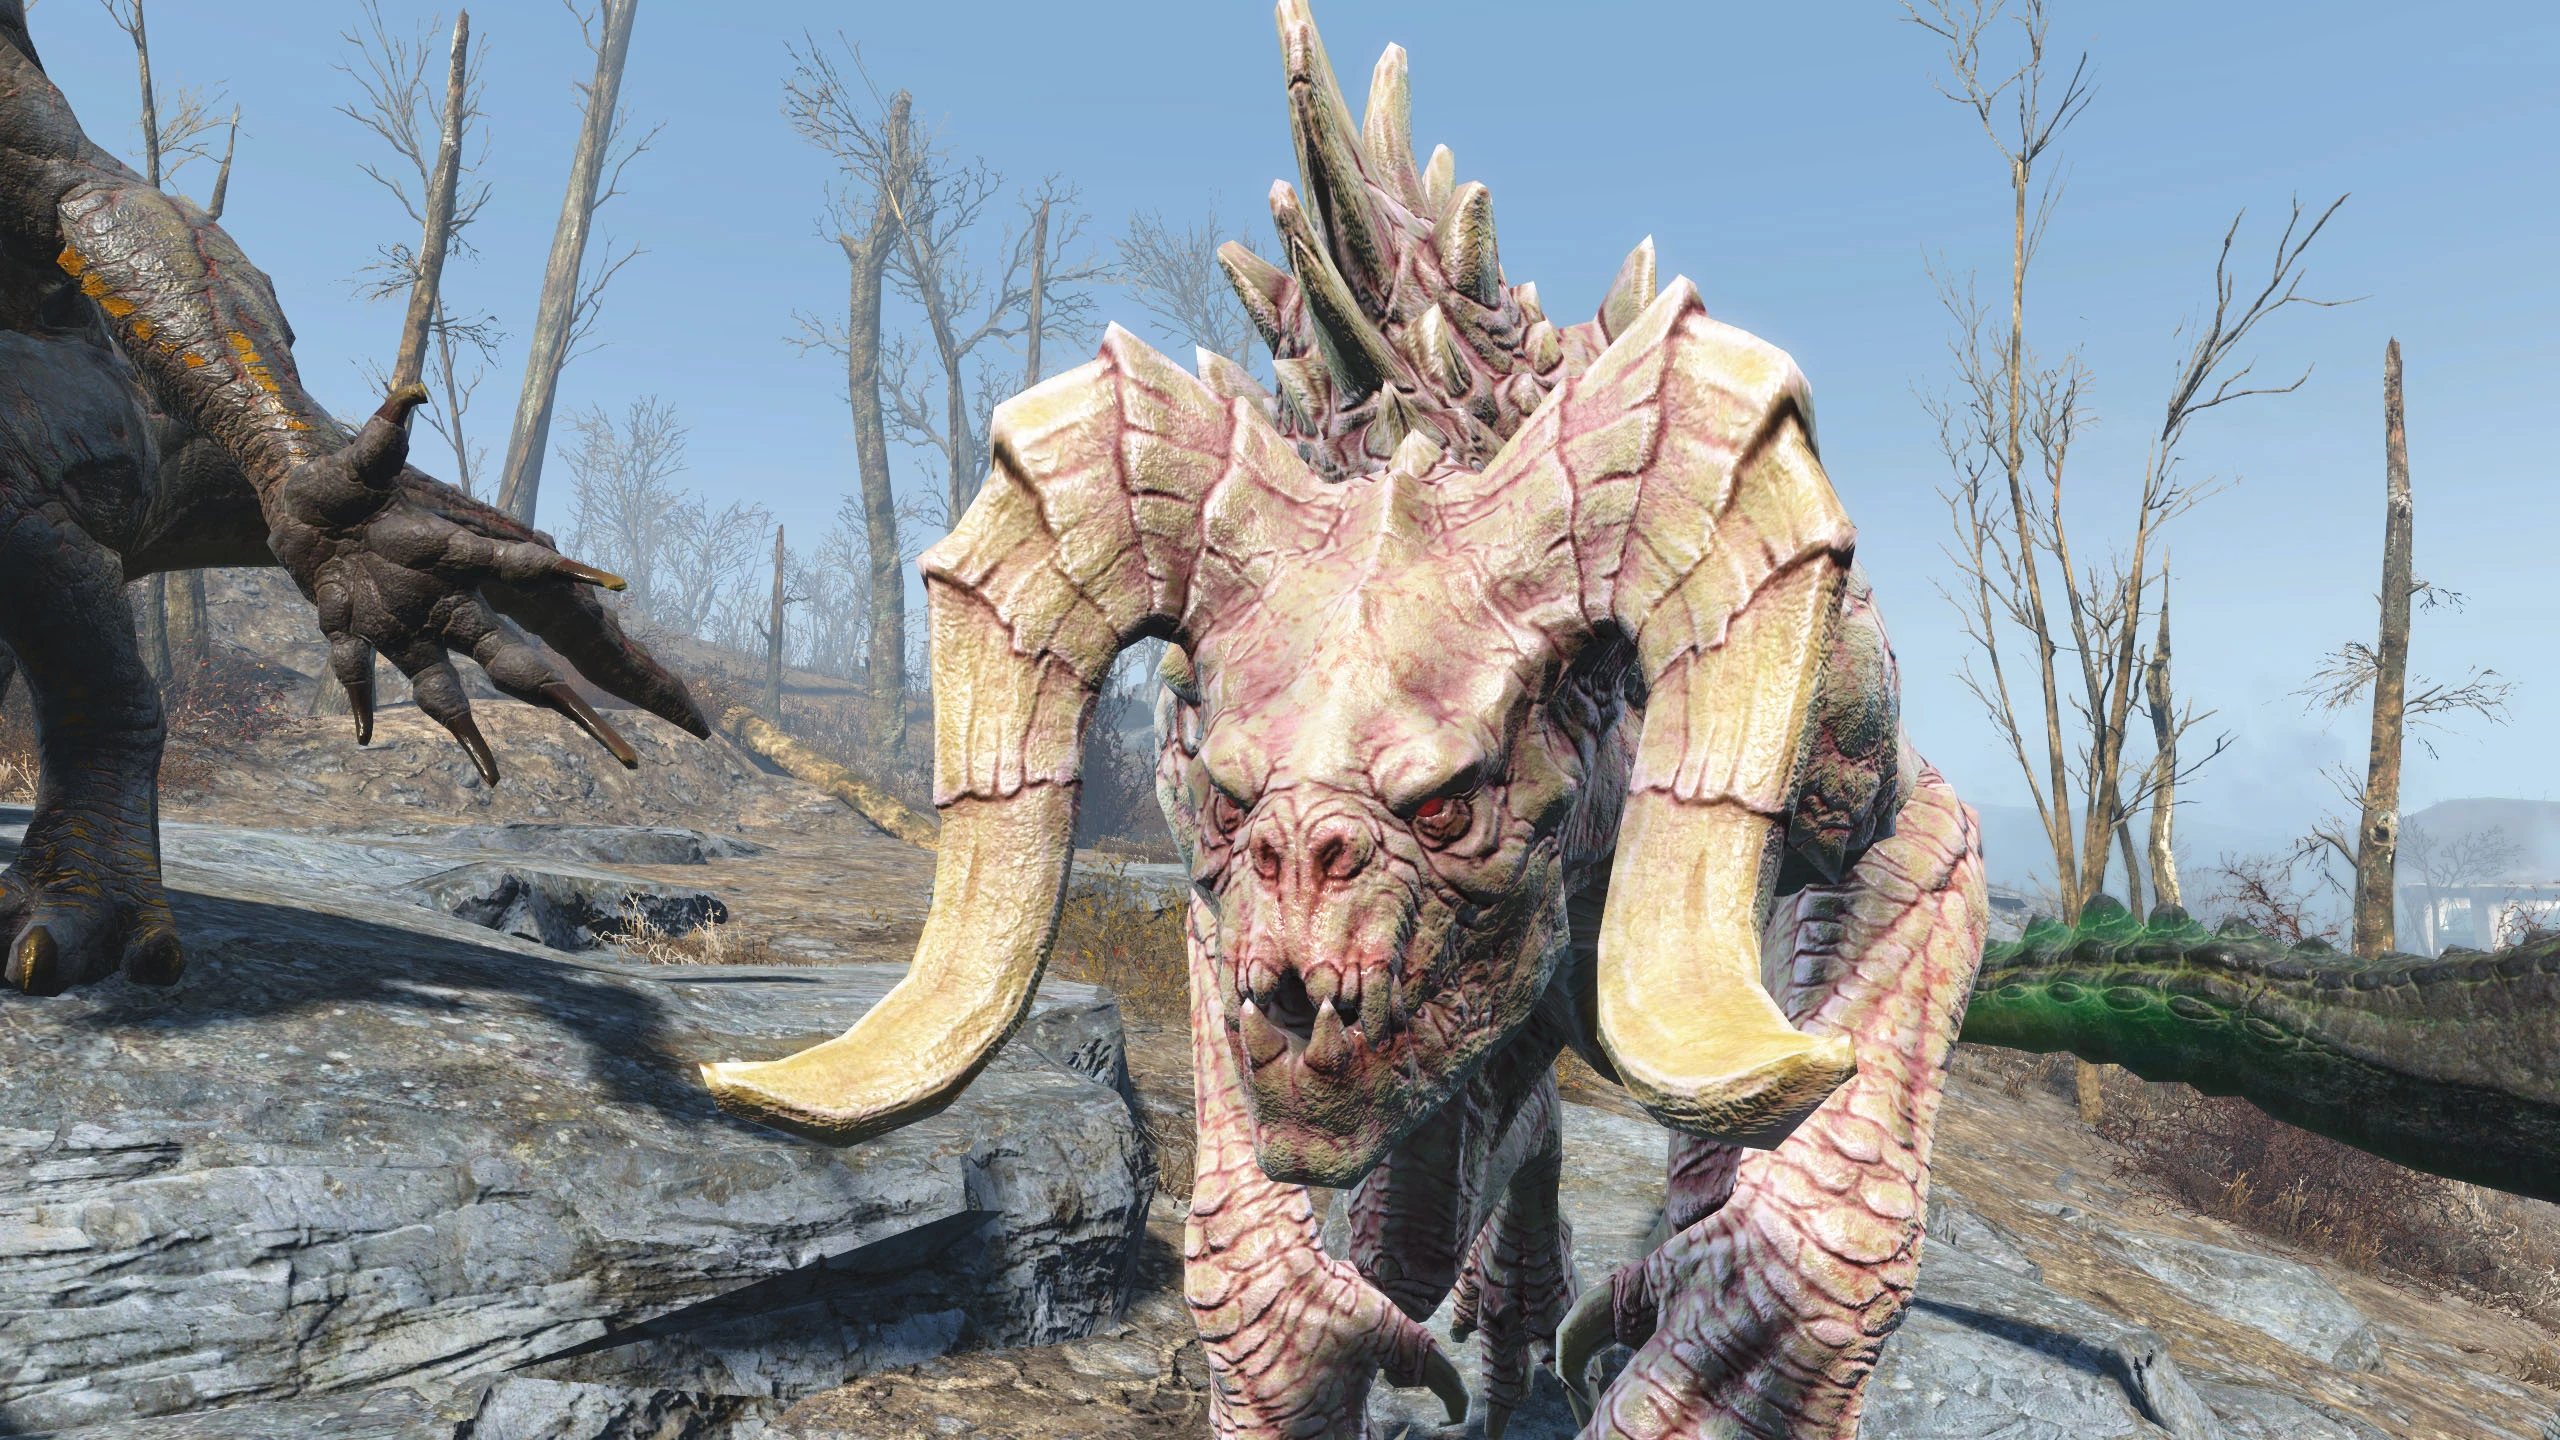
Deathclaw looks great. The more I think about it, the more I think I’m going to do one on those kinds of colors, one with a hint of green to it, and another that’s darker shades. May swap one of those out and try my hand at an albino too.
Love what you did with Dogmeat. As soon as I saw it, I thought of the original Mad Max movie With my extra starter sets I’m going to have some extra dogs. I want to paint them in a small range so they all look different. I am thinking about doing something like what you have there, a traditional Germain Shepard, maybe a Belgium Shepard (Pretty much a black version), a Shiloh Shepard, and maybe a Panda Shepard (Most of the “Shepard” breeds have a very similar build, but their coloring can be very different, which works very well for things like this.
Out of curiosity, did you paint your dog to be a specific breed, because it reminded you of a pet, or just because you thought the colors would work well?
Thanks  I look forward to pictures of your models. Having played only FO1, 3 and NV I use these as inspiration for how to paint models (especially these two, had pictures open from the Wiki while painting them).
Your Deathclaw color schemes sound very interesting, did you come up with them or do those variants exist in FO4? Anyhow, I look forward to seeing them
What you have for colors is pretty common up to 4. In 4 they went with a slightly darker shade. My TV has a green tent to it so that’s why I want the green one. Glowing Deathclaws and Albino Deathclaws both appear in Fallout 4
For the albino I saved this picture. I think I can achieve a similar effect with an off white undercoat, pink wash, then white drybrush.
2 Likes
It’s been a while, so here are some pictures of humies
And yes, I am scared of painting eyes on models.


btw @Modiphius-General : image upload works like a charm now
1 Like
Very nice. The power armor looks great.
For the eyes, I’ve always found that painting them first, then painting the skin after helps. That way you get that deeper spot taken care of and don’t have to worry about getting paint outside of that area as much since the skin tone is going to cover anything that ends up where it shouldn’t anyway.
1 Like
Looking good👌 Can’t wait to get my hands on the settlers and see what I can do😃
1 Like
Thanks for the tip, but I’m actually not that worried about getting the white part right. I can’t imagine getting the eyes to look like they look in the same direction, since I’ve seen sooo many pictures where even the tiniest difference in direction has been very noticable and just immediately makes the miniature look ridiculous. Do you have any tips to avoid that?
One of the nice things about doing the eyes first is you can clean up the side you messed up and try again. I know in the past I’ve needed to do it a couple of times to get it to look right too.
Another thing I’ve seen done is to just do the eye color without using the white when you have something this small. Lighter eye colors usually look ok like that.
1 Like
Thanks, I think I’ll try it out on some spare heads
1 Like
Sounds like a plan. Best of luck to you.
1 Like
Maybe worth mentioning a few other ways I’ve seen for eyes.
1.Colour the eye black first THEN paint the corners white.
2. Paint white then use a very fine pen to dot the eye to size pref (I’ve heard if various pros doing this)
I used to use a calligraphy nib on a stylus to dot my eyes,really fine and a lot of control…and easily fixable if I screwed up.
Good luck!
1 Like