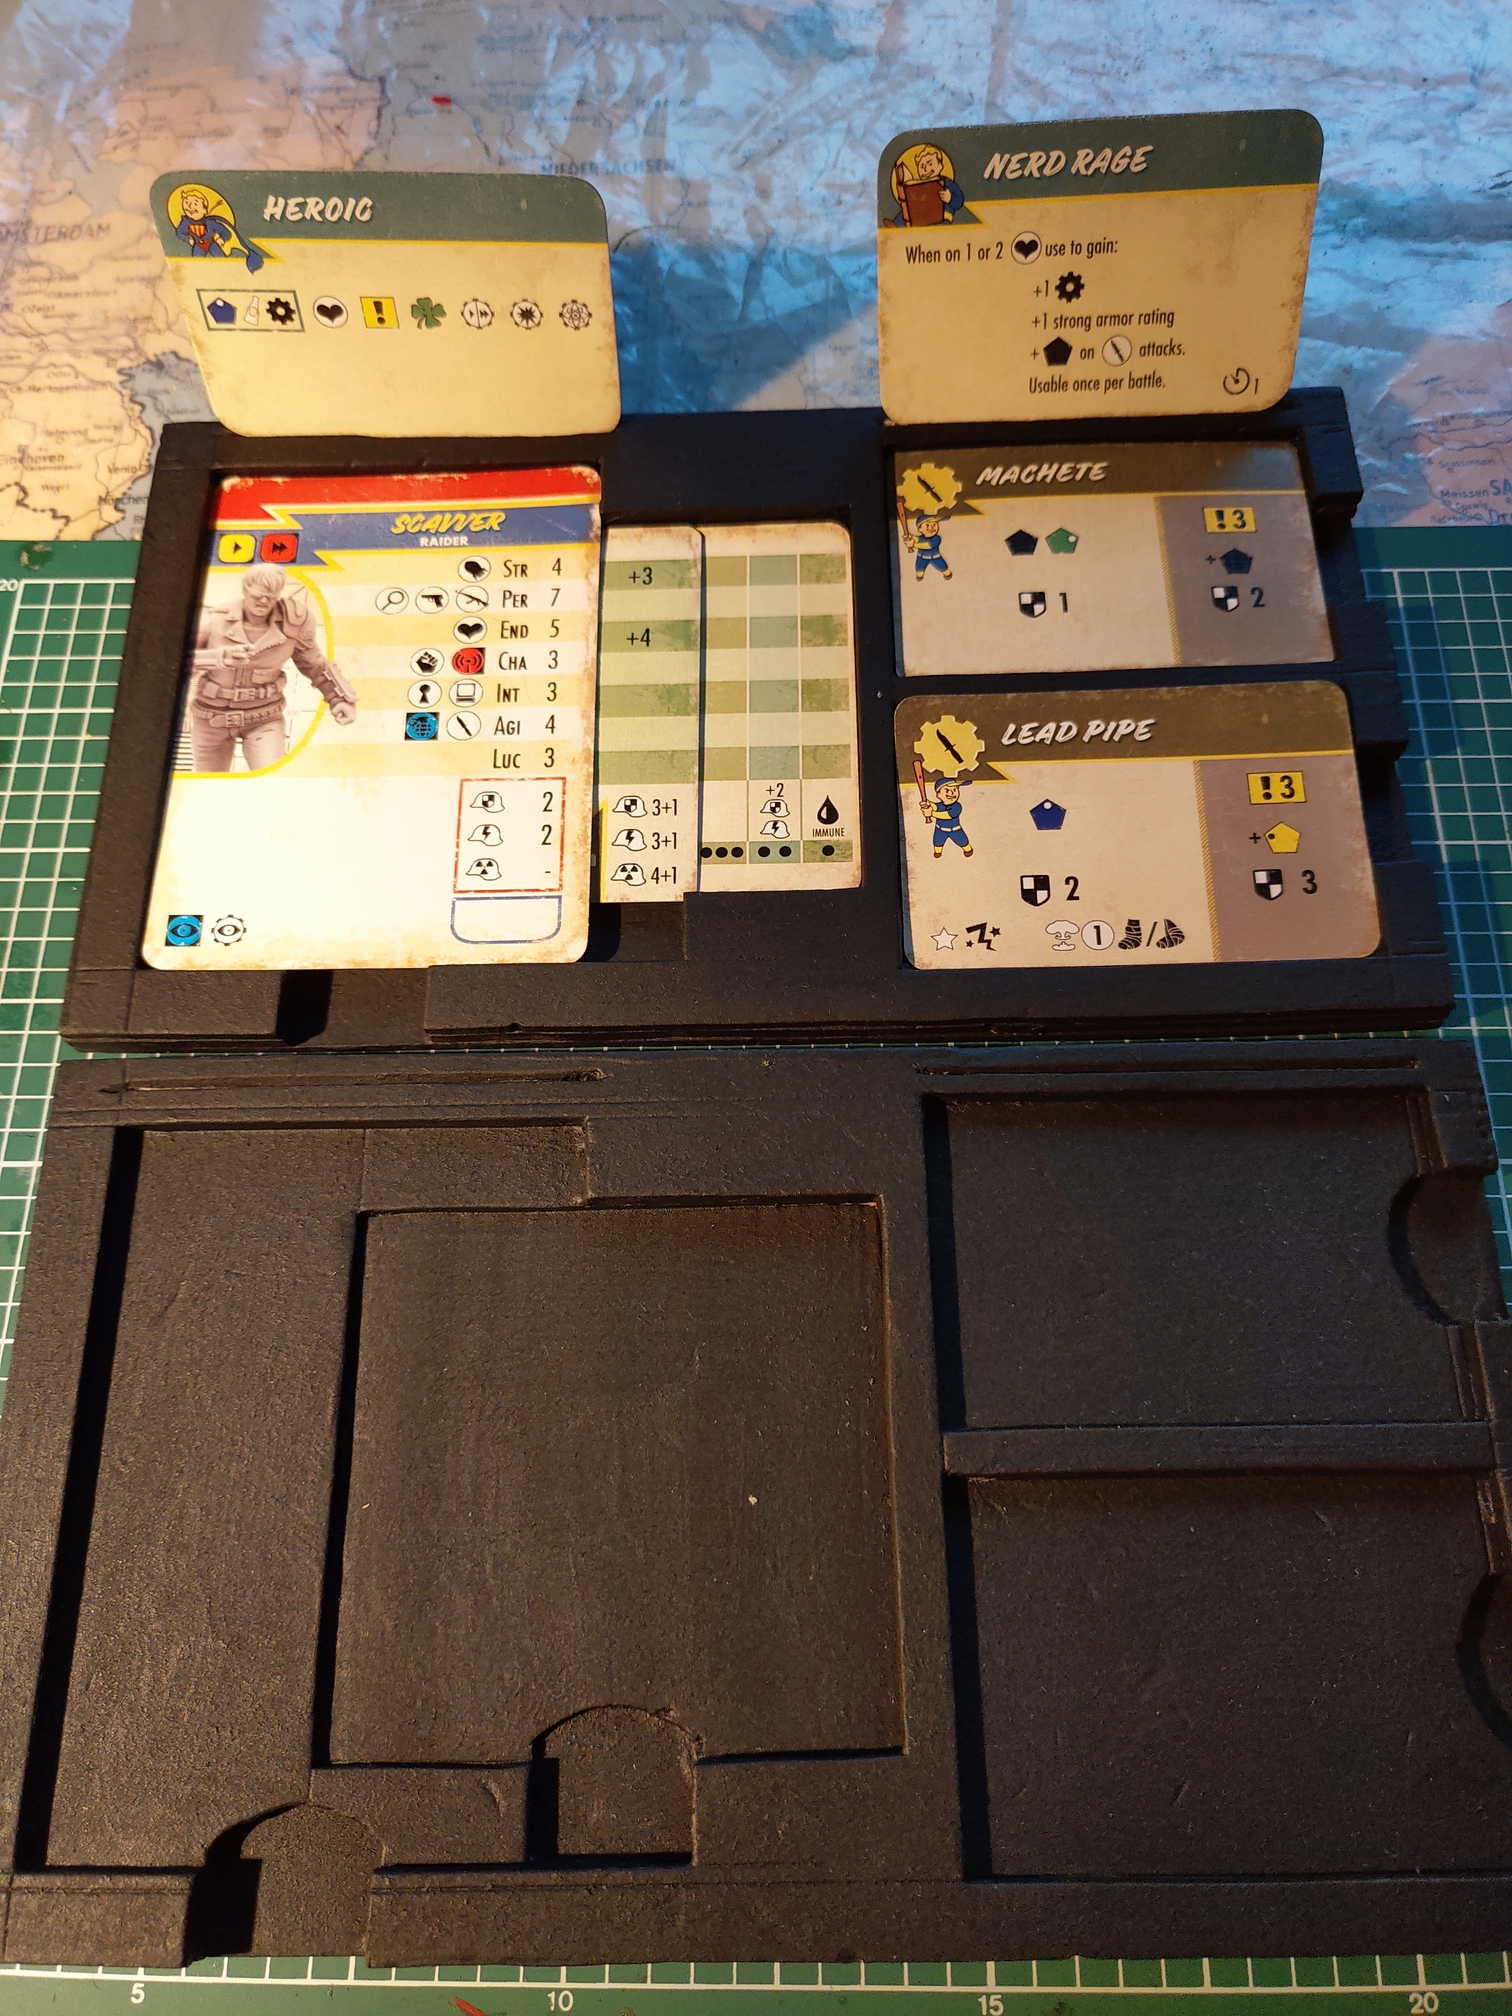
Besides working on the diner I’ve made some prototype card trays. They worked fine until I applied the base coat. Now some slots are just a bit to tight and the slits at the top, don’t work properly anymore.
It’ll require more tinkering and honestly it’d work much better if they were made of MDF (but it’s foam here).
On the right you have a better view at the layout. It allows you to slide a drug card under the unit card without getting lost.
Liberty is looking awesome! I wouldn’t say the base looks that lush, the vegetation is pretty sparse. It doesn’t look out of place for the FO4 wasteland to me
Hello everyone, it’s been a while.
It was a busy couple of months and I had little time and motivation for tabletop, but recently I finally sat down and got s**t done. Put the Institute troops and the work benches together, as well as working on my first gaming table for Fallout WW, and my first gaming table ever!
I want it to be a modular table with 1’x1’ (or 30x30cm) modules, and I started with some cliffs.
So without further ado the prototype after texturing and painting:
It still needs weathering, but the more pressing matter is: “To glue, or not to glue?”.
The benches and tables keep toppling over and while they restrict movement, I’m inclined to fix them permanently. Any ideas?
That’s it for now! Hope you guys enjoyed seeing something new!
If it was me, I’d consider mounting the tables and chairs on some plasticard. It’s clear so you can still see the work you did to the floor, but at the same time it would allow you to easily remove them or reconfigure their placement if you wanted to use the diner differently while adding a lot of stability to the pieces.
For example, you have a table with a booth seat on each side of it. Those three items act as a single terrain piece (Looks like you have the stuff there to do two of those) then another one that includes the single booth chair and table on the upper left of the image.
The board looks fantastic! I haven’t delved into that level of crafting yet.
The Diner looks great. I’d try to avoid gluing them down, if you can help it. That way you can rearrange things to make a different diner on other maps. There are clear plastic bases out there…maybe glue the pieces to something like that instead? That way they stand up on their own, can still be moved about, and don’t block more of the great looking terrain than possible…
That board section is looking great! I’d be tempted to add a slightly lighter drybrush as well once you use the dark tone just to up the contrast - that’s just a personal preference though!
For the rocks on the board section, it might be worth trying something called the ‘leopard spot technique’. Essentially you hit it with thinned down spots of grey and ochre, then give it a heavy dark wash and a light grey highlight to unify it. It breaks up the all over grey look and makes it look a bit more like natural rock
I’ve been playing around with the STL files a bit and I want to add magnet foil to my floors and walls.
The floors should get pin holes so I can glue floor pieces together with pins and make them more stable. I think you can save Magnet foil by glueing the most common floor shapes for rooms and hallways.
Walls and floors will both get 25x2.5mm² slots for strips of ferro- and magnetic-foil, so they can be snapped together. Walls will also have them on their top and bottom for stable levels.
It’s still an experiment. Once my printer comes I’ll print some pieces for testing. If everything fits then I’ll repeat the process for all other wall and floor tiles.
It’s been a while, but now I got a resin printer and spent a lot of time so far to make it work. Frankly I’m not sure it does - I got some underwhelming results so far, but they’re improving.
One rook was split, the other one stopped being printed halfways. Thinking this was just a hickup and impatient to get some Fallout terrain done, I went on and tried printing a plate full of Vault walls and floors. Chaos ensued.
Not only was 80% of the print non-existant, it was also extremely warped outwards. I have no idea how this happened and on top of that the vat leaked. Darn.
After the failed rook print I thought it a good idea to change the film that covers the bottom of the vat. I might have used the protection film of the film instead of the actual film for that. In my defense they look the same, they are just more or less rigid.
The day after that two rooks were printed succesfully. Encouraged I carried on. This time I started out small with only a wall and a support, orientated by and with supports of Prusaslicer.
As you can see the bottom right of the wall is warped to much to be used. The supports also left nasty gashes on that side and there’s also a bit of layershift. I’m not sure what I can do to improve the quality of the prints.
Anyway I’ve finished the modular boards I started months ago.
I might still put some grass or bushes on them, but atm they are ready for playing. More boards are needed of course but I want to keep my table clear for now, so I can paint some minis again.
There’s one more thing. As more and more stuff accumulates I need more storage options and fashioned a cardboard box with holders for playing cards.
The are a few marks and some slight warping at the bottom of each print, but it’s hardly noticeable. A bit more sanding will take care of that. Overall I’m happy with the results. Tomorrow I want to print more Vault parts and see how outfitting the parts with pins or magnets works.
Now I’m almost out of resin. I wanted to keep using this white water-washable resin, but it’s no longer available anymore. Today I caved in and ordered some grey resin and the cheapest Isopropanol I could find.
The storage for the cards is done, too! I can’t fit the rulers, but it’s still sooo much tidier than having the cards flying around everywhere and there’s space for more.
Beneath the token box is also rooms for Boosts, Quest, Explore and Event cards.
Some great work in here, especially the modular gaming table. Good luck with the 3D printing, I’m hoping to set off down that road myself in a couple of months and I’m quite intimidated by the config and setup part of 3D printer ownership!


 I wouldn’t say the base looks that lush, the vegetation is pretty sparse. It doesn’t look out of place for the FO4 wasteland to me
 The scattered leaves are a great addition as well!


