Oh wow, that looks amazing!
2 Likes
I would love to see if it was possible to do the red rocket so it was like a double where the roof with the red rocket went in two directions
1 Like
I don’t think so. Not without heavy editing of the STL files. You could probably create the station open to both sides and then slap on roofs on both sides, but there’d be no real connection on the second side.
I started painting the Red Rocket. It’s coming along slowly, but today I finished the base colours of the main building and washed it throughoutly. This is the progress so far:


I’m not a great painter, so I will finish it with some drybrushing, a few highlights and weathering.
5 Likes
That’s coming along nicely!
1 Like
That’s looking cool!
1 Like
The Mirelurk Queen lurking in the background is quite ominous… 
2 Likes
After moving into a new place I finally got my workplace setup and even started printing again.
This let me to print a Mini for the first time - Vault Girl.
Despite being awefully priced in my opinion I wanted to try printing minis. I’m very happy with the result as the supports left no discernable markings (usually they can leave tiny holes if you break them off).

It also should be noted that the details a very hard to see on the raw print for some reason. With the blue basecoat you can see them much better.
I’m also looking forward to aquiring an airbrush for Christmas which may help me painting the large surface areas of the Red Rocket and save a lot of paint in the process. That’s why I have paused the work on the RR.
There’re a few things I’m working on, including the Enclave miniatures.
Stay healthy and happy painting!
2 Likes
That’s really impressive detail for a 3d print! Looking forward to seeing her painted 
Hope you’re staying healthy and happy too!
1 Like
Thank you Alaiteir!
Here she is! 


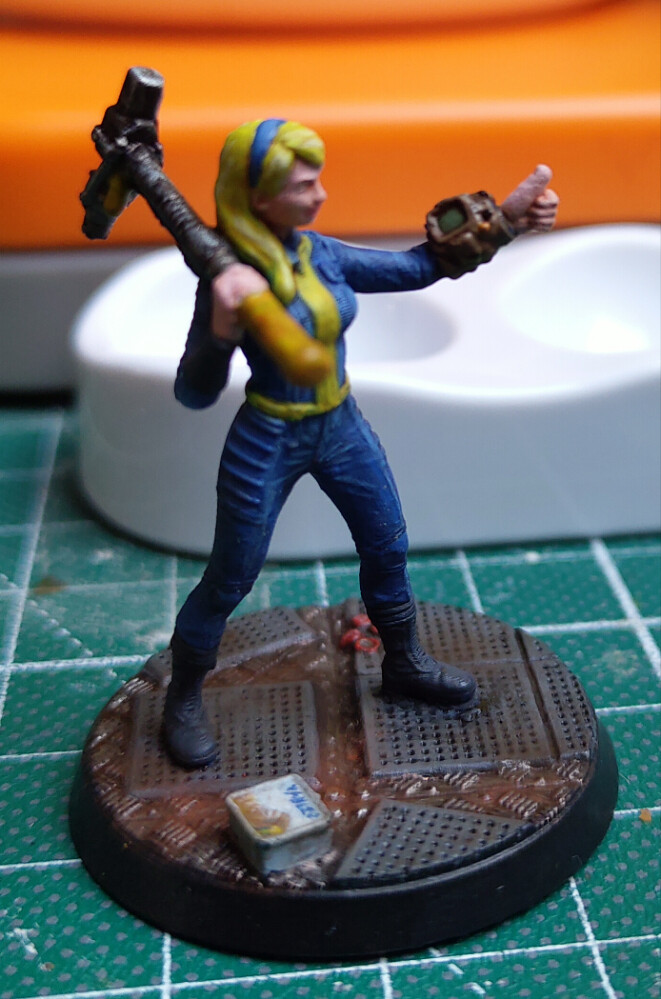
I just noticed some misplaced color on her leg. Gonna fix that soon, but I’m super happy! She’s the first mini I’ve finished in a long time now and it was fun! ^^
3 Likes
Very well done! I love all the detail you’ve managed to do on her, such as the bottlecaps and Vaulttec lunchbox!
1 Like

sigh
“Alright. Who of you ate my mirelurk egg omelette?!”
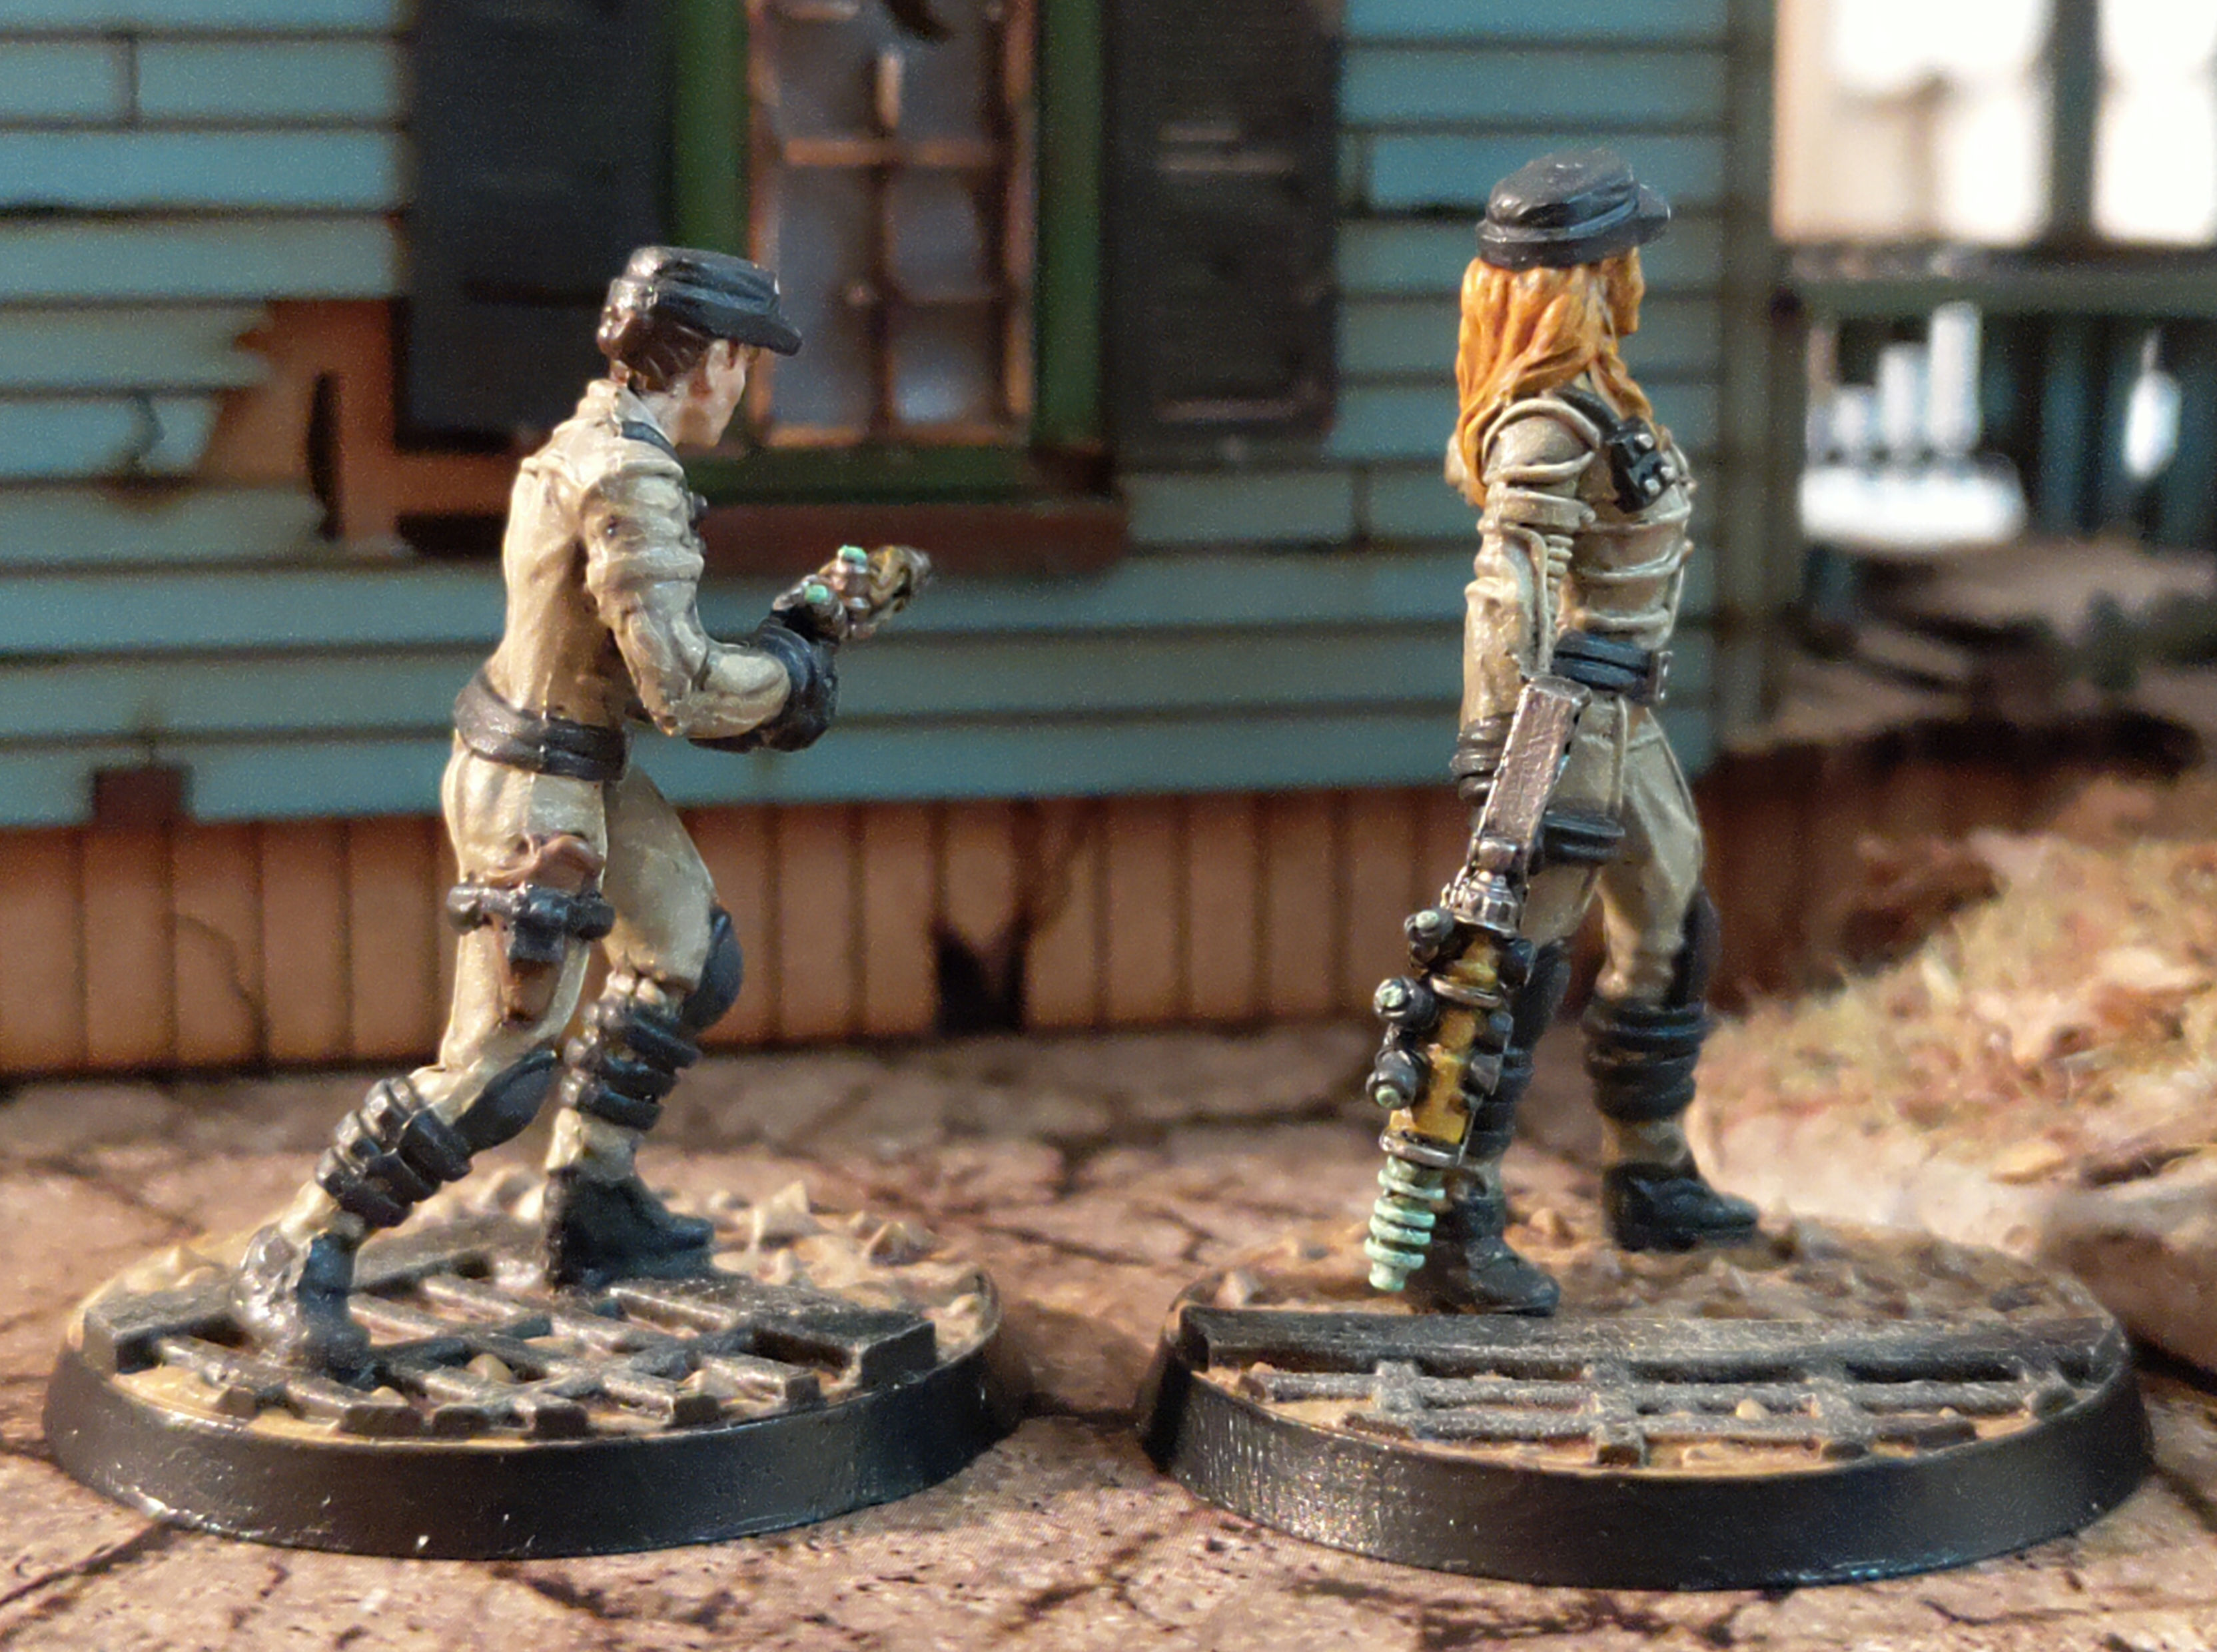
A little view into the house I’m currently working on. It’s mostly done at this point, but some furniture still needs painting.
3 Likes
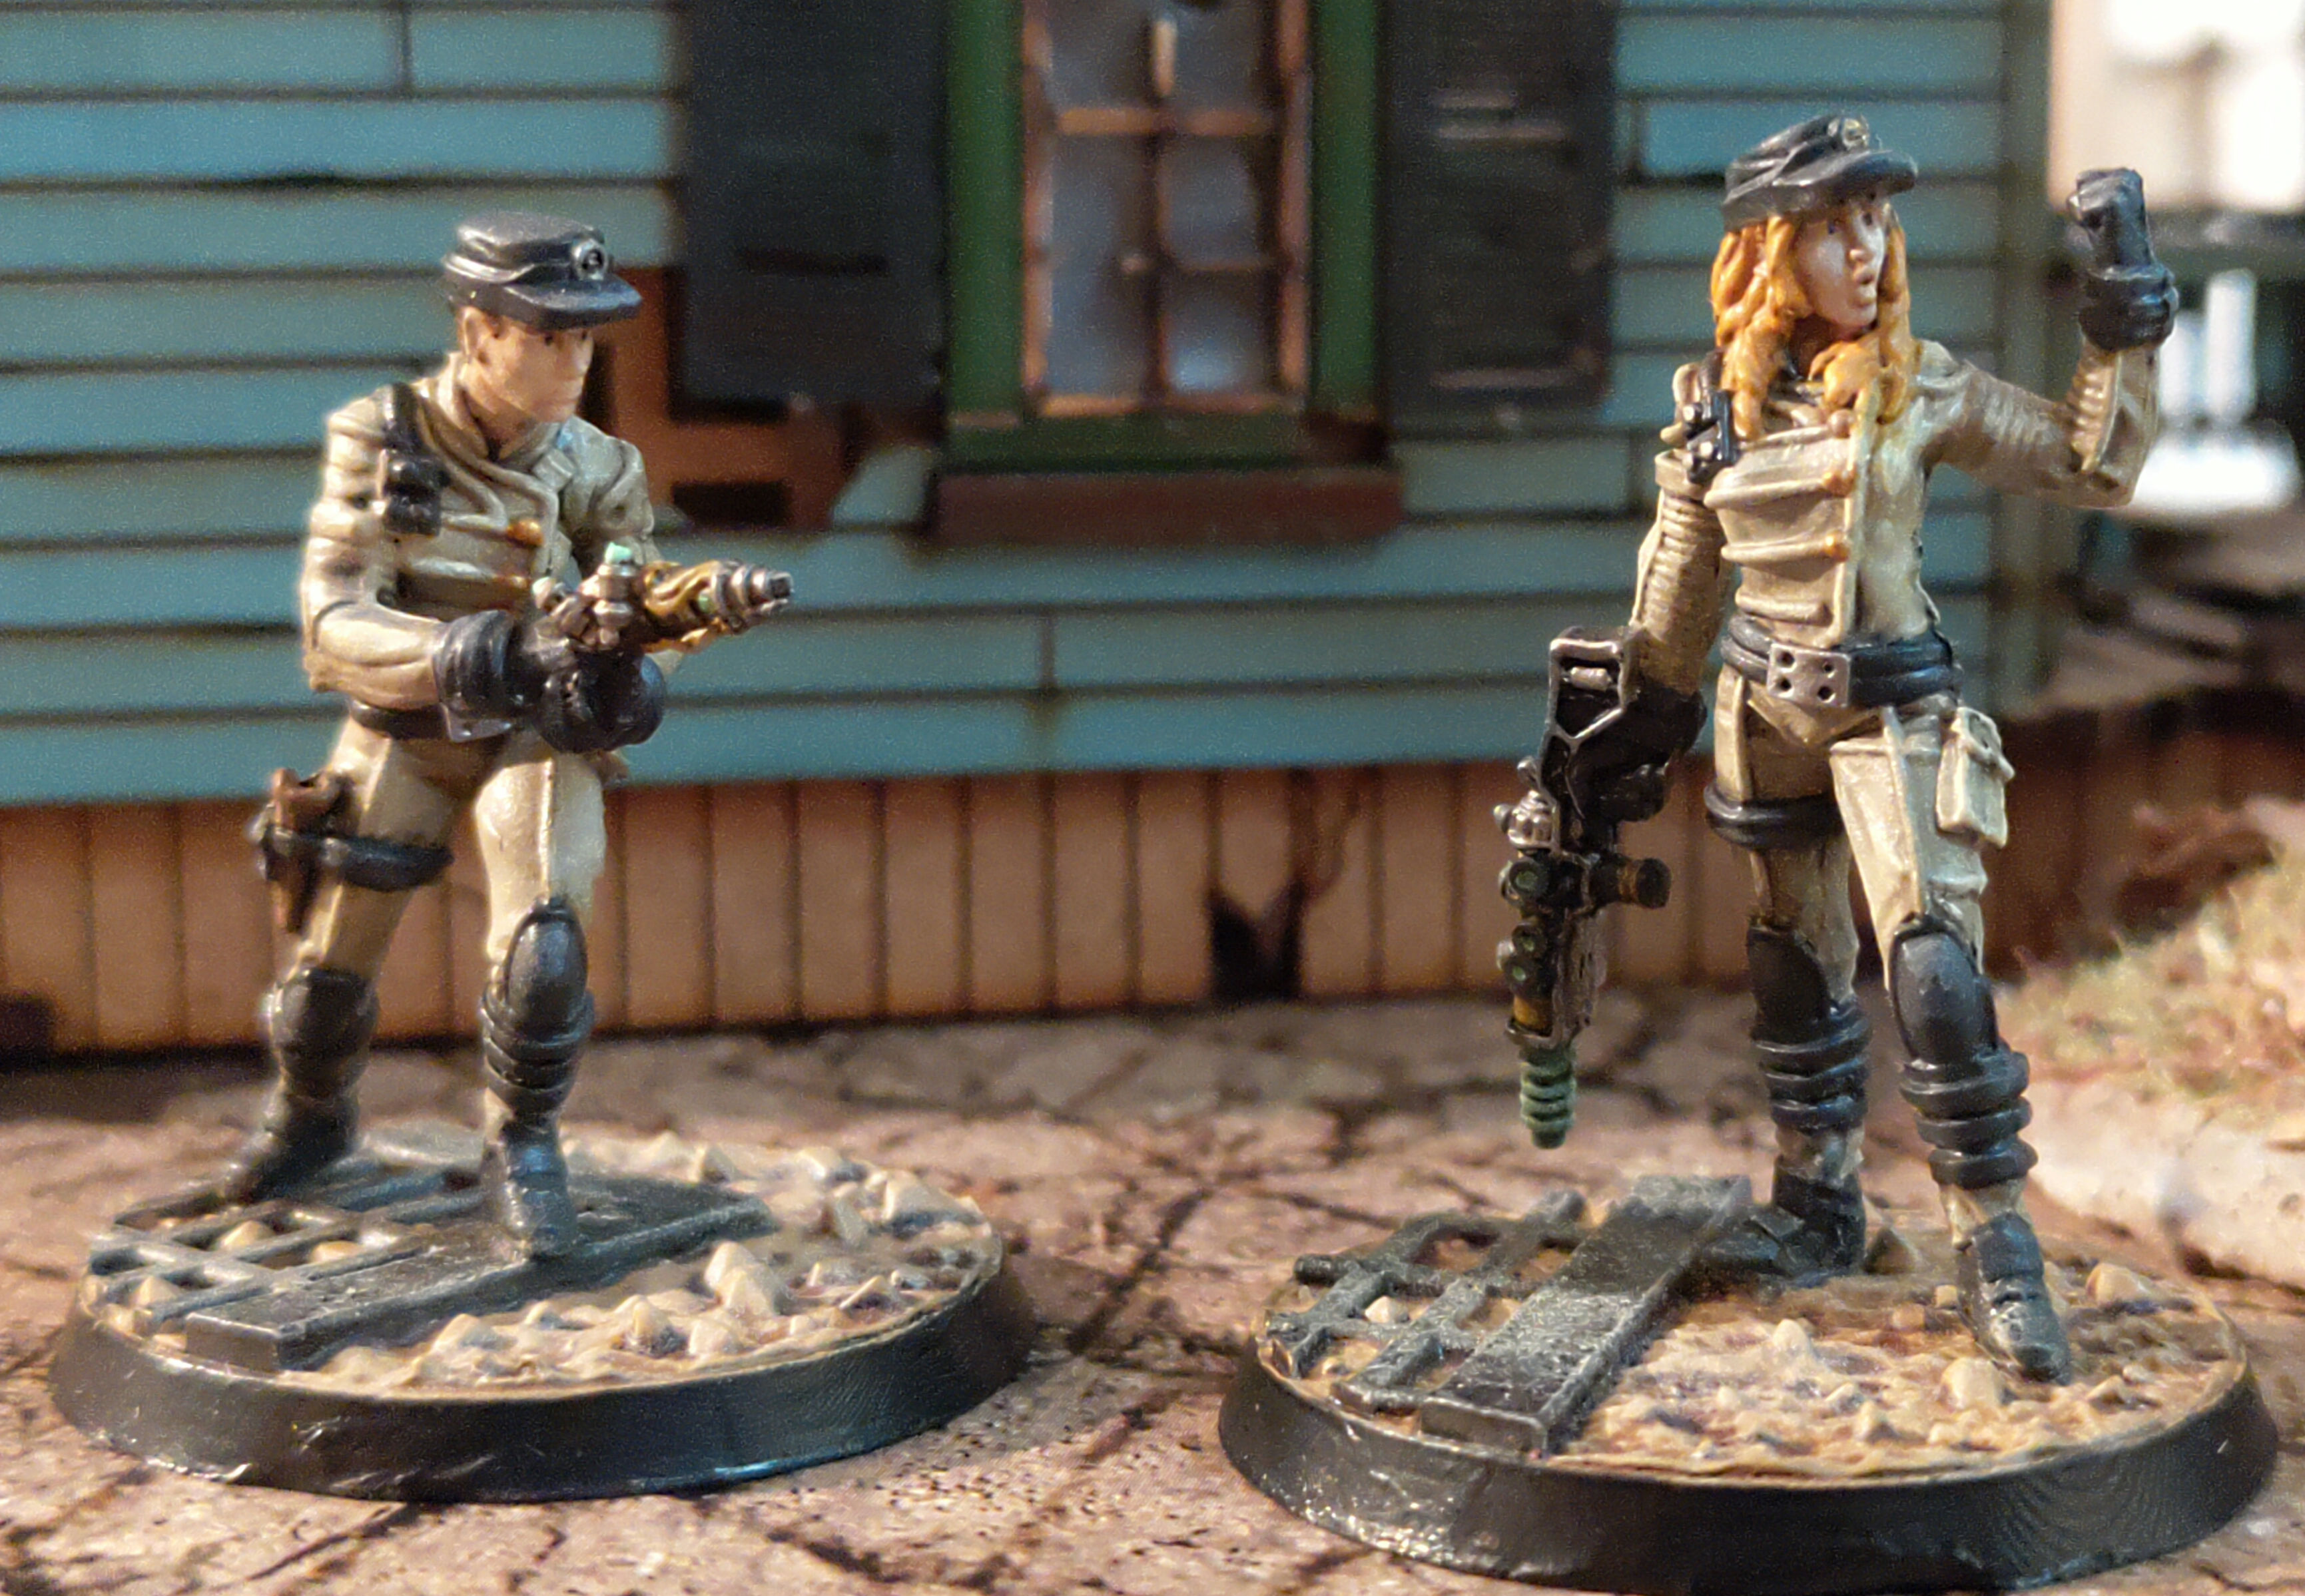

Finally. Started these two shortly after I got them (in November I think) and just finished. Turned out acceptable I think.
Now, story time.

“What a dirty shed. People clearly had no taste.”
“Can’t have everyone be as impeccable as you, greenhorn. Your first time outside? Now get your ■■■ moving and search the house!”

“Swell! Aluminium!”

“How marvellous! Wonder if the colonel will let me take this home!”
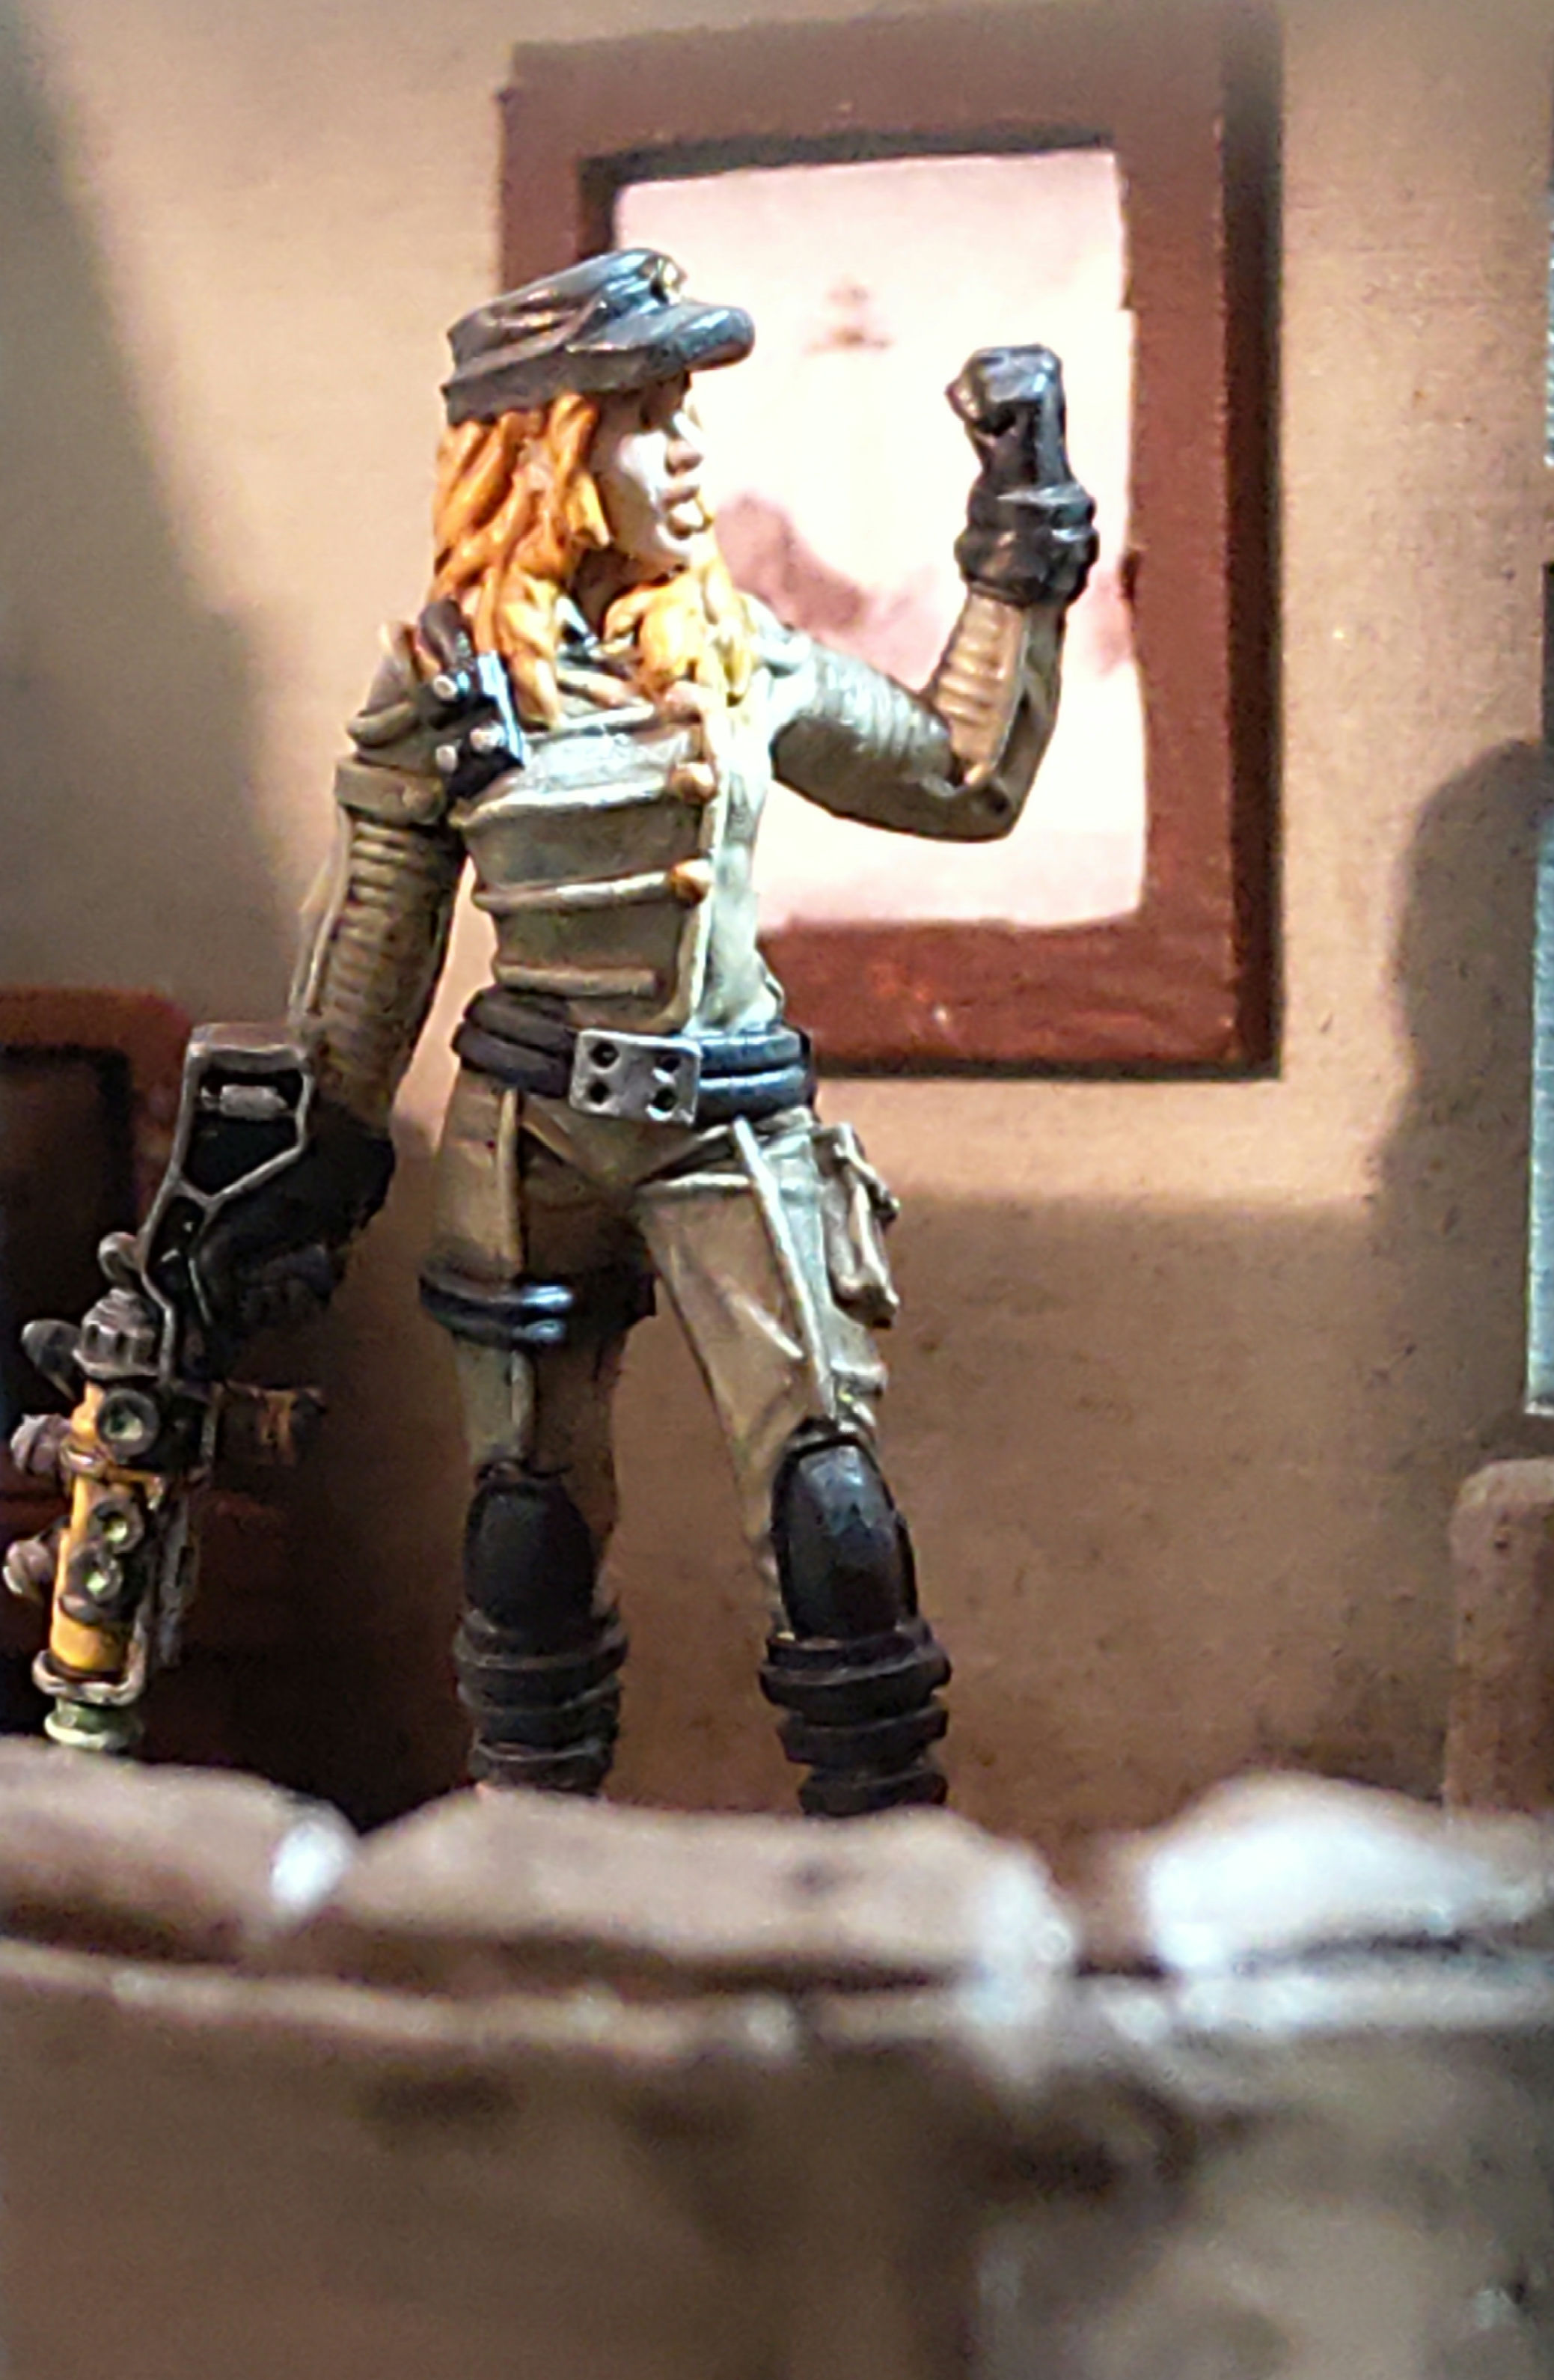

“Goshdarn, this smell… primitives…”
Tomorrow I will try to get some better pics from the outside as well. The lighting is hard to get right.
6 Likes
It looks great! I love the pictures hanging on the walls
1 Like
Thank you! They’re just printed pics from Fallout 4, but I figured they’d make a neat addition!
1 Like


They are nice! How did yo made the meat bags?
1 Like
Thank you!
I folded a piece of mesh around an old mini (without the base), though anything in irregular shape should do. A piece of greenstuff should be fine, though I would wait for the greenstuff to harden first.
I pushed PVA glue in some places into the meatbag, to make it less "see-through.
Paint the bag in all it’s gory glory, then drybrush the outside with rust colors of your choice!
The chains are bought like this (AK interactive), the steel beams are from Greenstuffworld, the bases are XPS foam.
1 Like
Thanks. I made meat bags for my supermutants terrain several weeks ago but I couldn’t find a proper mesh… Pictures still to be posted…
1 Like
I bought the mesh from Gerard Boom at a convention, no name, no label, no anything 
So I can’t say where it is from, sorry.