GateKeeper's Models and Terrain

Alright, this is going to be the last of it for the night.

The green car is coming along nicely. I still need to add the chrome in place, but it’s almost caught up to the other two. Colors came out close enough to the game that I’m really happy with it.

Next up is the black one. Went back and did a little touch up to get the chrome back in place.

Finally, the one I’m proudest of so far, the police car. Need to add the chrome around the windows and do a final round of touch up to it, but I’m really happy with how it’s turning out so far.

And all three together:

With how things work in my home, I may be working on these more tomorrow, or it could be weeks again before I get back to them, . . . . only time will tell.

1 Like

Those look great. The police car really reminds me of the Ford Galaxy from the Andy Griffith show. You need to pop a red led bulb or something on the top!

1 Like

Those look great. The police car is my favorite! I was thinking about doing a corvega, but now I can see there is no rush.

1 Like

A red LED with the legs cut off should be about the right size. I may have one at work if you want it.

1 Like

I’ll take you up on that! Thank you. I was going to start digging through all of my wife’s craft stuff in search of something that would work. I’m thinking the red bulb on top, and if I can find something that will work I want to do the little spotlight like the sample image I posted above as a template. If I can’t find a spotlight, I might just do something up so it looks like it was broken off instead.

I went rummaging around on Amazon earlier and found a couple of items I ordered up as well that are going to be fun to show off when the time comes as well.

1940’s era fire engines:

Also found a cheap B-25 Bomber model and a couple of P-51 Mustang models that I picked up that should be scaled appropriately.

Didn’t go a lot of work today, but made at least a little progress. I ended up finishing up the trim work for the police car, and got the trim work done for the green one. Little touch up later and I decided to call it a day as far as painting.

The chrome doesn’t stand out against the green as sharply as I would like, but part of dirtying them up is going to involve a wash which I expect will pool in the right places to improve that contrast. Also, the lighting in the image fails to highlight the chrome that separates the green and ivory on the car, it’s done the same way as with the other two vehicles even if the angle and lighting doesn’t shot it off very well.

Now, off to enjoy a bit of family time. Not sure when I will get back to these again, but odds are pretty good that it will be after new years considering the chaos my family has planned for the coming days.

2 Likes

Didn’t have a lot of time this evening, but it was enough to put a first coat on the other two Corvega Sedans.

Both of these are intended to be “Red” versions of the car. One I want to do up nice, like showroom floor nice. The other is going to be another wasteland wreck.

The first thing you’re going to notice is that there’s a fairly significant color difference between them. This is intentional. Red often fades over time.

The first one, the bright red version is just a basecoat. I’ll be putting a layer of gloss red over it to give it a nice red shine and to cover any thin spots in the paint. I’ll be doing that gloss red coat before I move on to the windows or trim. I need to make a trip into town to pick up the Gloss paint before I can continue. Only reason I showed it in this picture is to show the contrast between the two reds.

The second one I painted in a color called “Ripe Tomato” and I felt that the color would look good as a “Faded” red. There are a couple of thin spots in the paint, but I’m debating if I should do one more coat of paint, or just leave it since I plan to dirty things up anyway. I’m thinking about drybrushing a hint of the darker red onto the car to add to the faded quality, then treat it the same as the rest of the wrecks as far as rust effects and filth.

Now if only I could get my camera to focus properly, . . . .

4 Likes

Actually convinced myself to sit down and work on some models again today. Thought I’d share some WIP images.

To start with, I have five eyebots, and to be quite honest, I had no idea what to do with so many of them. I quickly decided to do a couple in the traditional silver with the bronze “eye” rim. I knew from the start that I wanted to do ED-E from Fallout: New Vegas. After a bit of looking around on the internet, I realized there were quite a few images of a silver eyebot with a lighter colored “eye” rim and figured that would make a decent fourth. The last one, I ended up debating on if I wanted to do a Brotherhood Outcast black, or I saw an image online of a Vault-Tec paint job on one. I ended up going with the latter.

What I used for inspiration on the Vault-Tec version:
th

Since I needed a base coat on everything anyway, I started with “Gunmetal Gray.”

Once that base coat was in place, then I had to actually work at it a bit.
Left to right:
-The first model is Gunmetal Gray with Silver fins and eye rim. The contrast isn’t as sharp as I was hoping, but it still looks alright.
-Second model is going to be ED-E. I went with a Silver body instead of the Gunmetal Gray, then did an Ivory rim around the eye. I want to put the license plate and bumper sticker on the model still and will need to hit the hobby store to get everything I need before continuing with the model.
-Third model is the Vault-Tec Eyebot. I need to go back and touch up the yellow just a little, but otherwise it’s looking good.
-Fourth and Fifth models are the same paint scheme. I had two eyebots where the stand didn’t stick straight up, rather than try to correct that, I left them that way on purpose as a sort of “Alternate Pose” for the model. I made sure to have one straight stand, and one leaning stand for this paint scheme to make it easier to tell them apart. The body is Gunmetal Gray and the yellow bit is King’s Gold which is a fairly dark yellow, I know from past experience that a good brown wash will darken that up fairly nicely.


Where I’m standing right now with this (And the Corvega Sedans above) is that I need to get to the hobby store. I need a nice gloss red for one of the Corvega, and I need a couple of things for ED-E to finish that eyebot. Once I have those things, then I’ll finish up the models that still need work, then set myself to dirtying things up so they look like they belong in the wasteland.

2 Likes

Since I’m waiting to continue the Eyebots until I can hit the hobby shop and pick up a few things, I decided to start on my Protectrons.

I spent a bit of time looking at different Protectrons and quickly came to the conclusion that the shape and style of dome on both the Utility and Galactron models ruled them out as possible conversions. On the other hand, the Police, Fire, and Medic versions looked like something I may be able to work with.

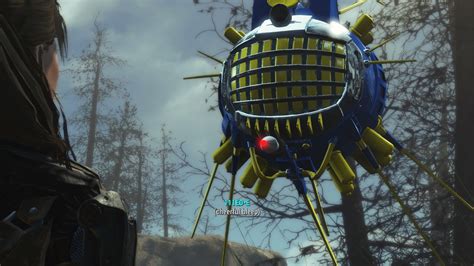
Lets start with a couple of images I’m using for inspiration:
Protectron-Infobox-Fallout4
ProtectronWatcher-Fallout4
FireProtectron-Fallout4
MedicalProtectron-Fallout4
PoliceProtectron-Fallout4

If you look at the last three, the real difference with the Medical and Police versions are how the panels are painted. The Fire one with the ridge across the dome isn’t something I’ll be able to duplicate, but I think it won’t matter much in the final version.

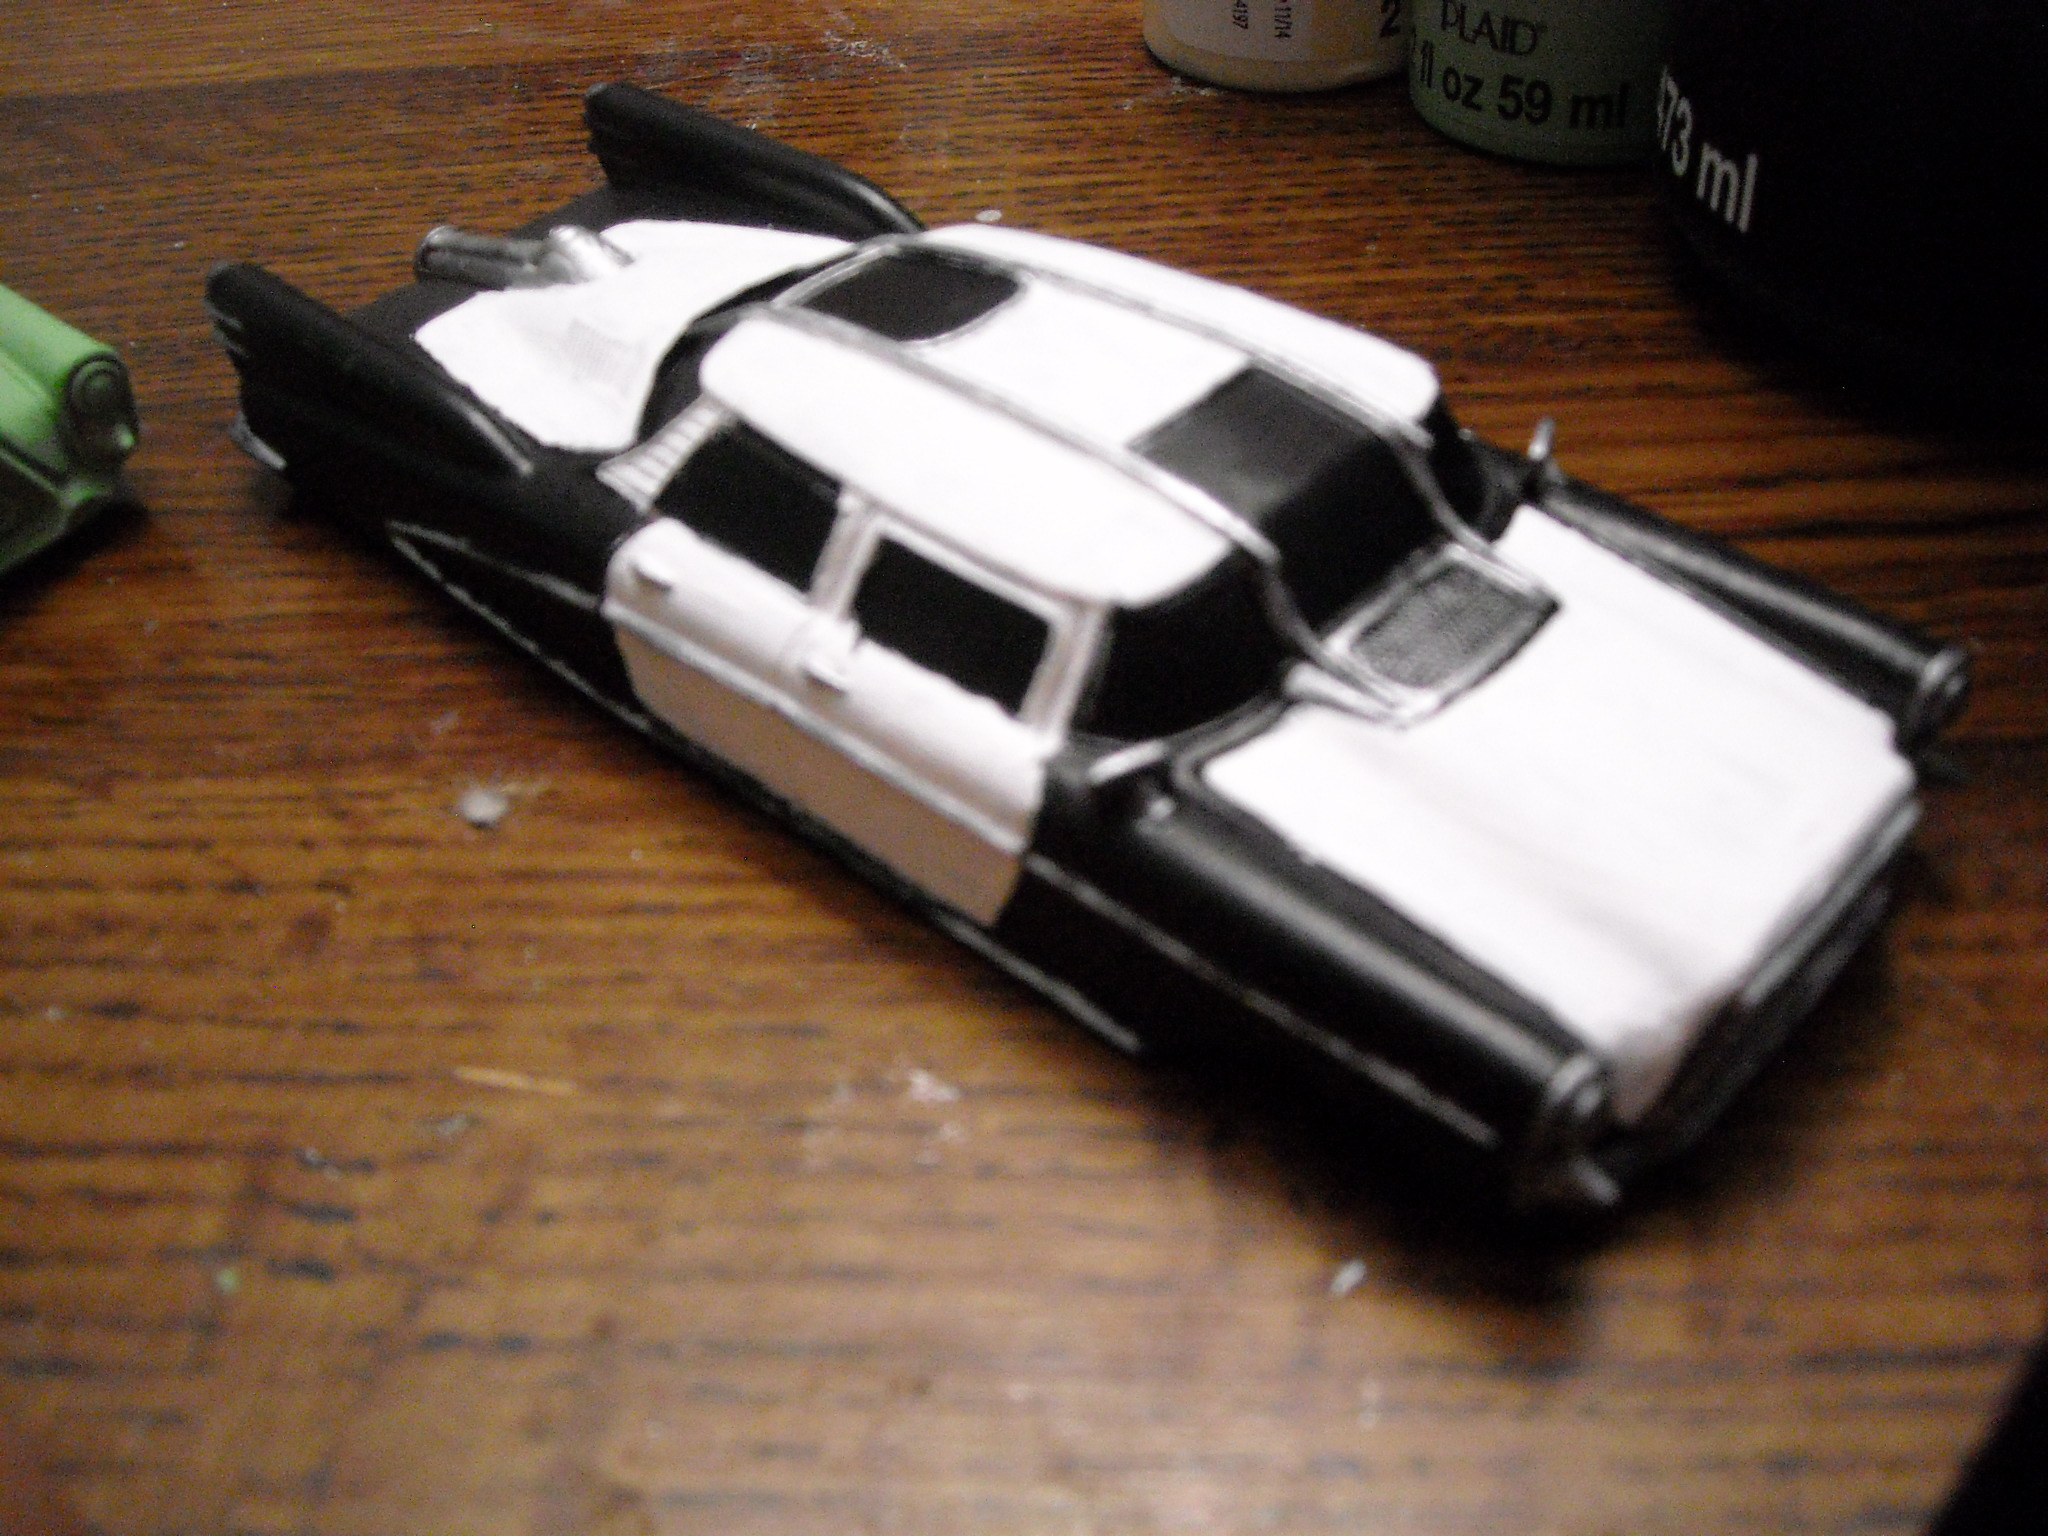
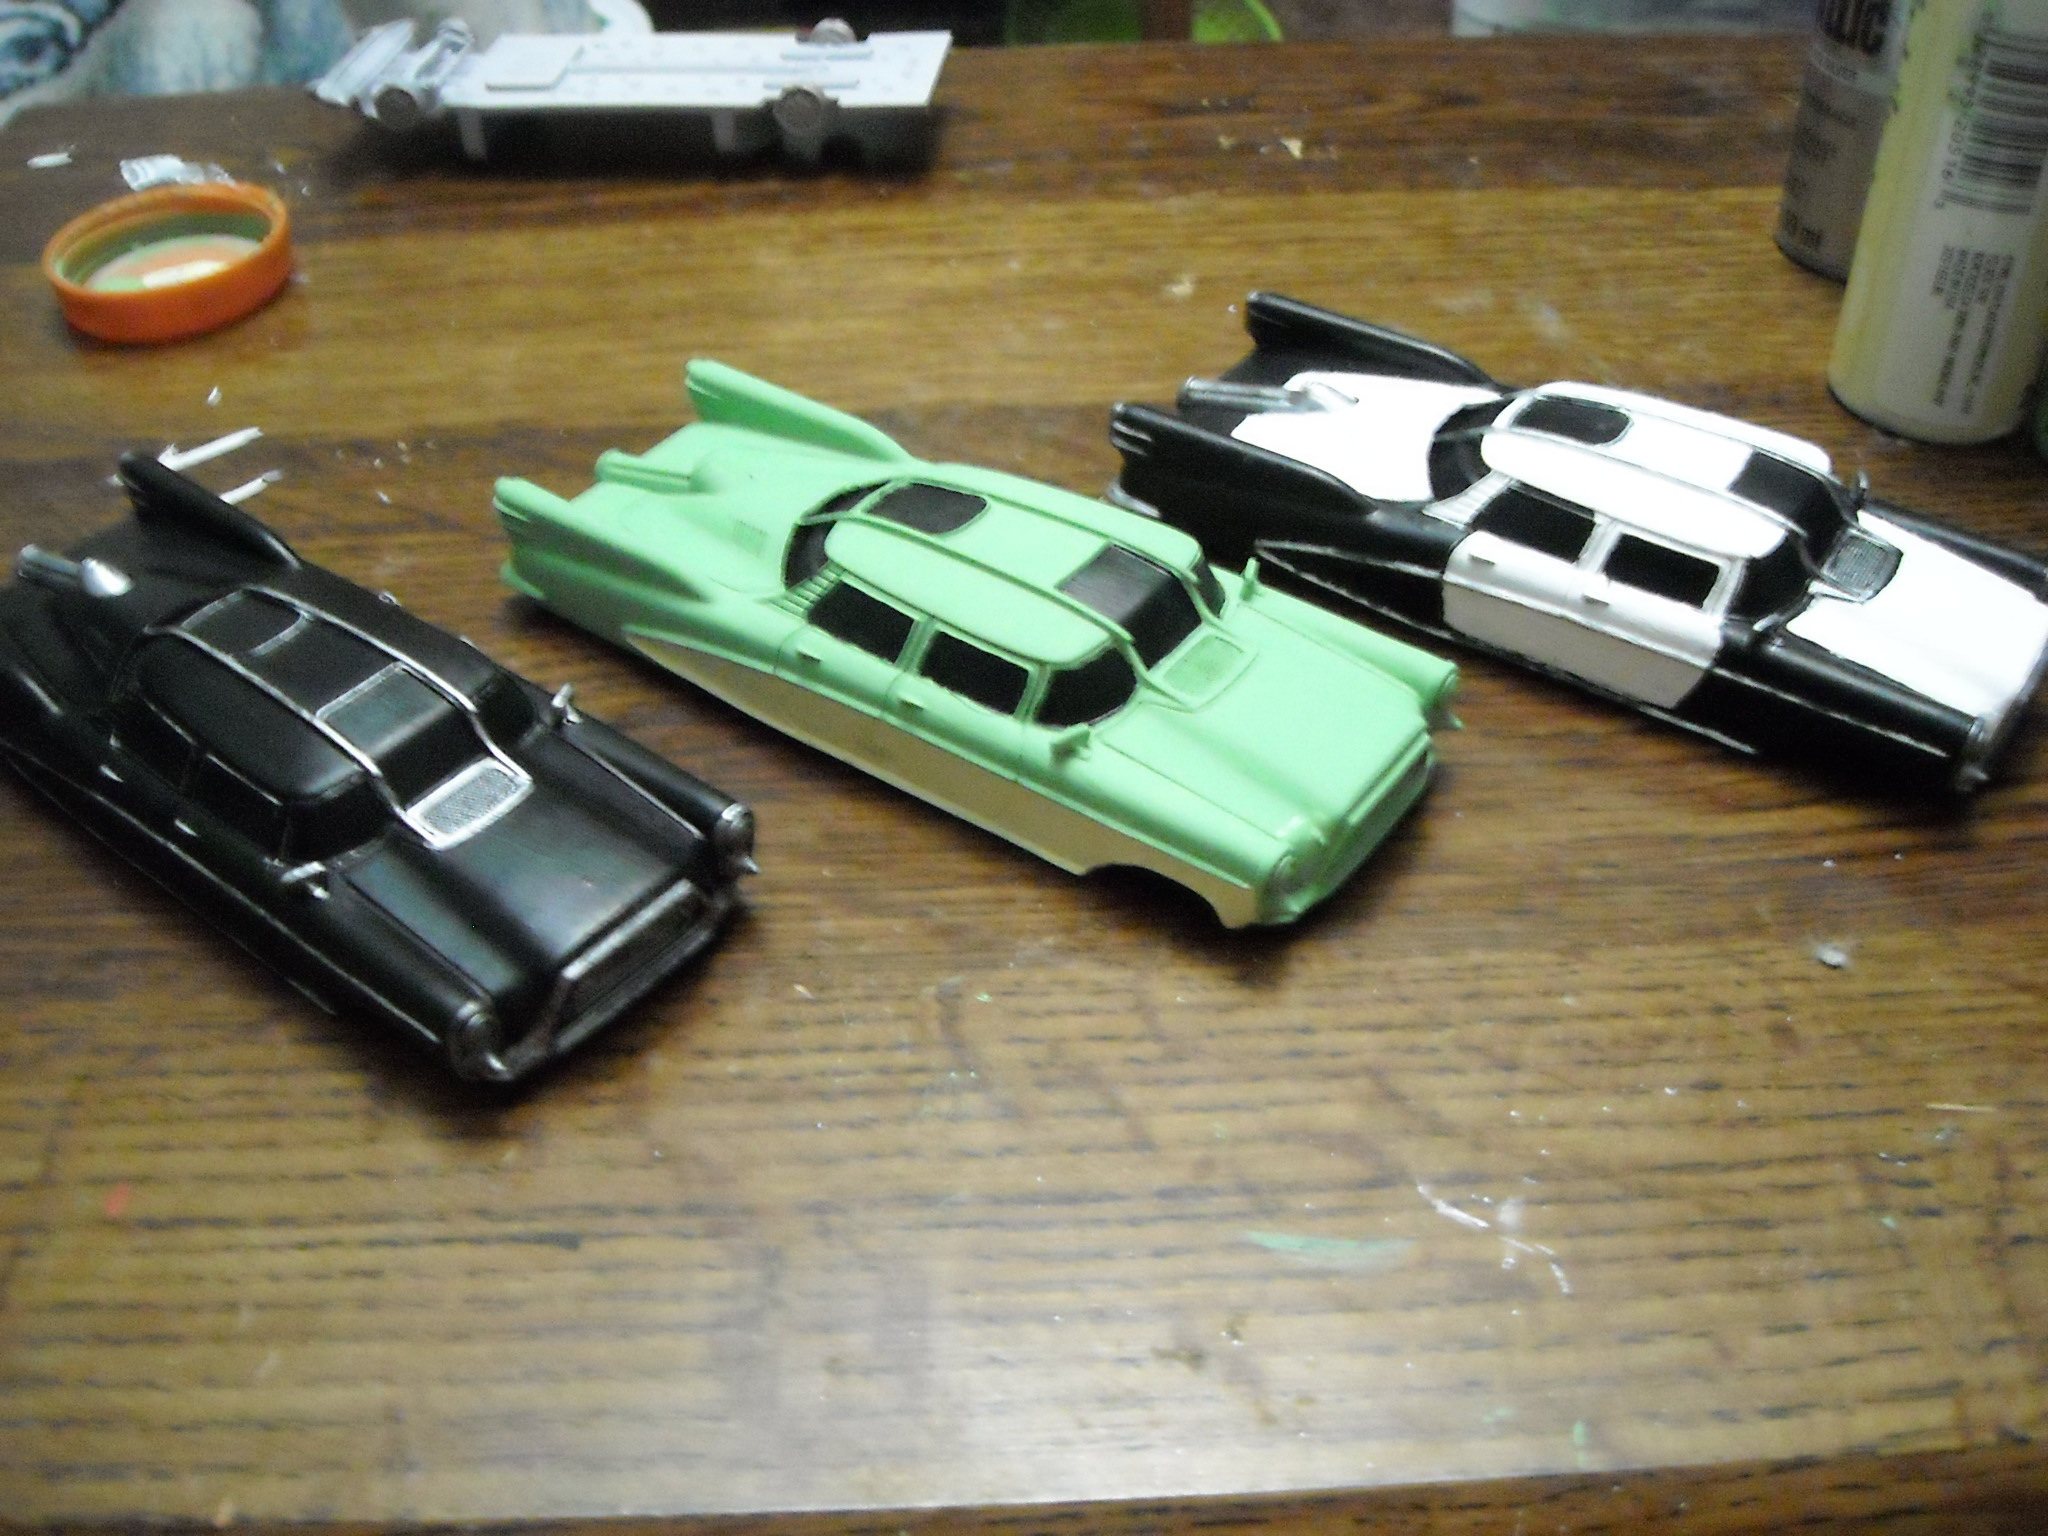
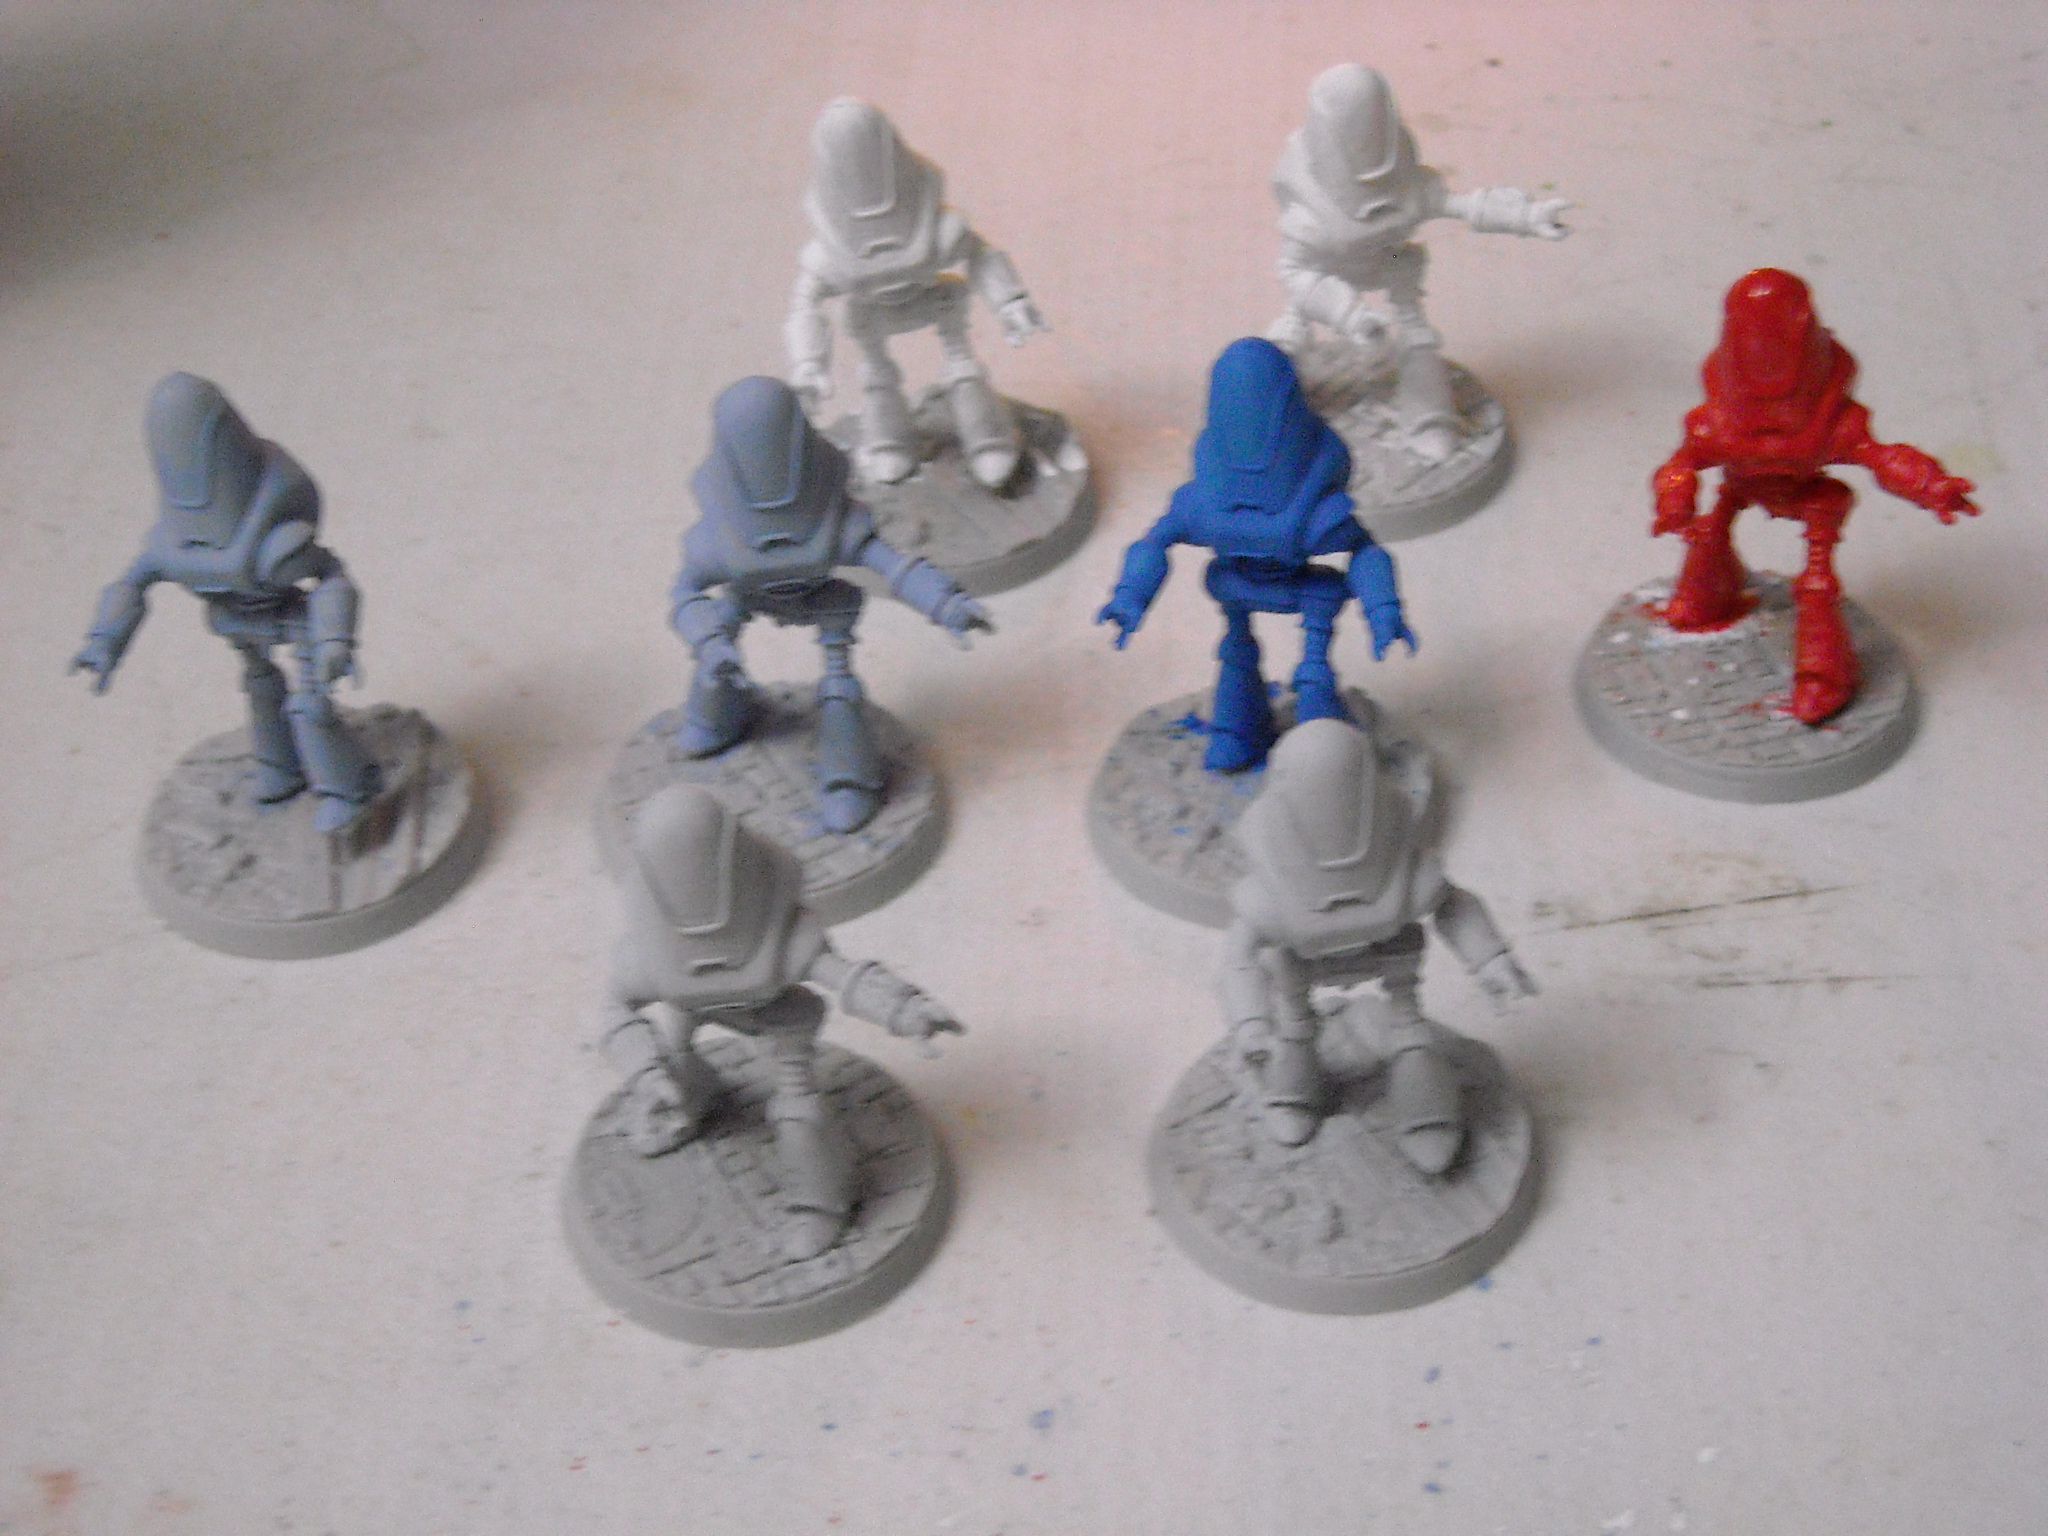
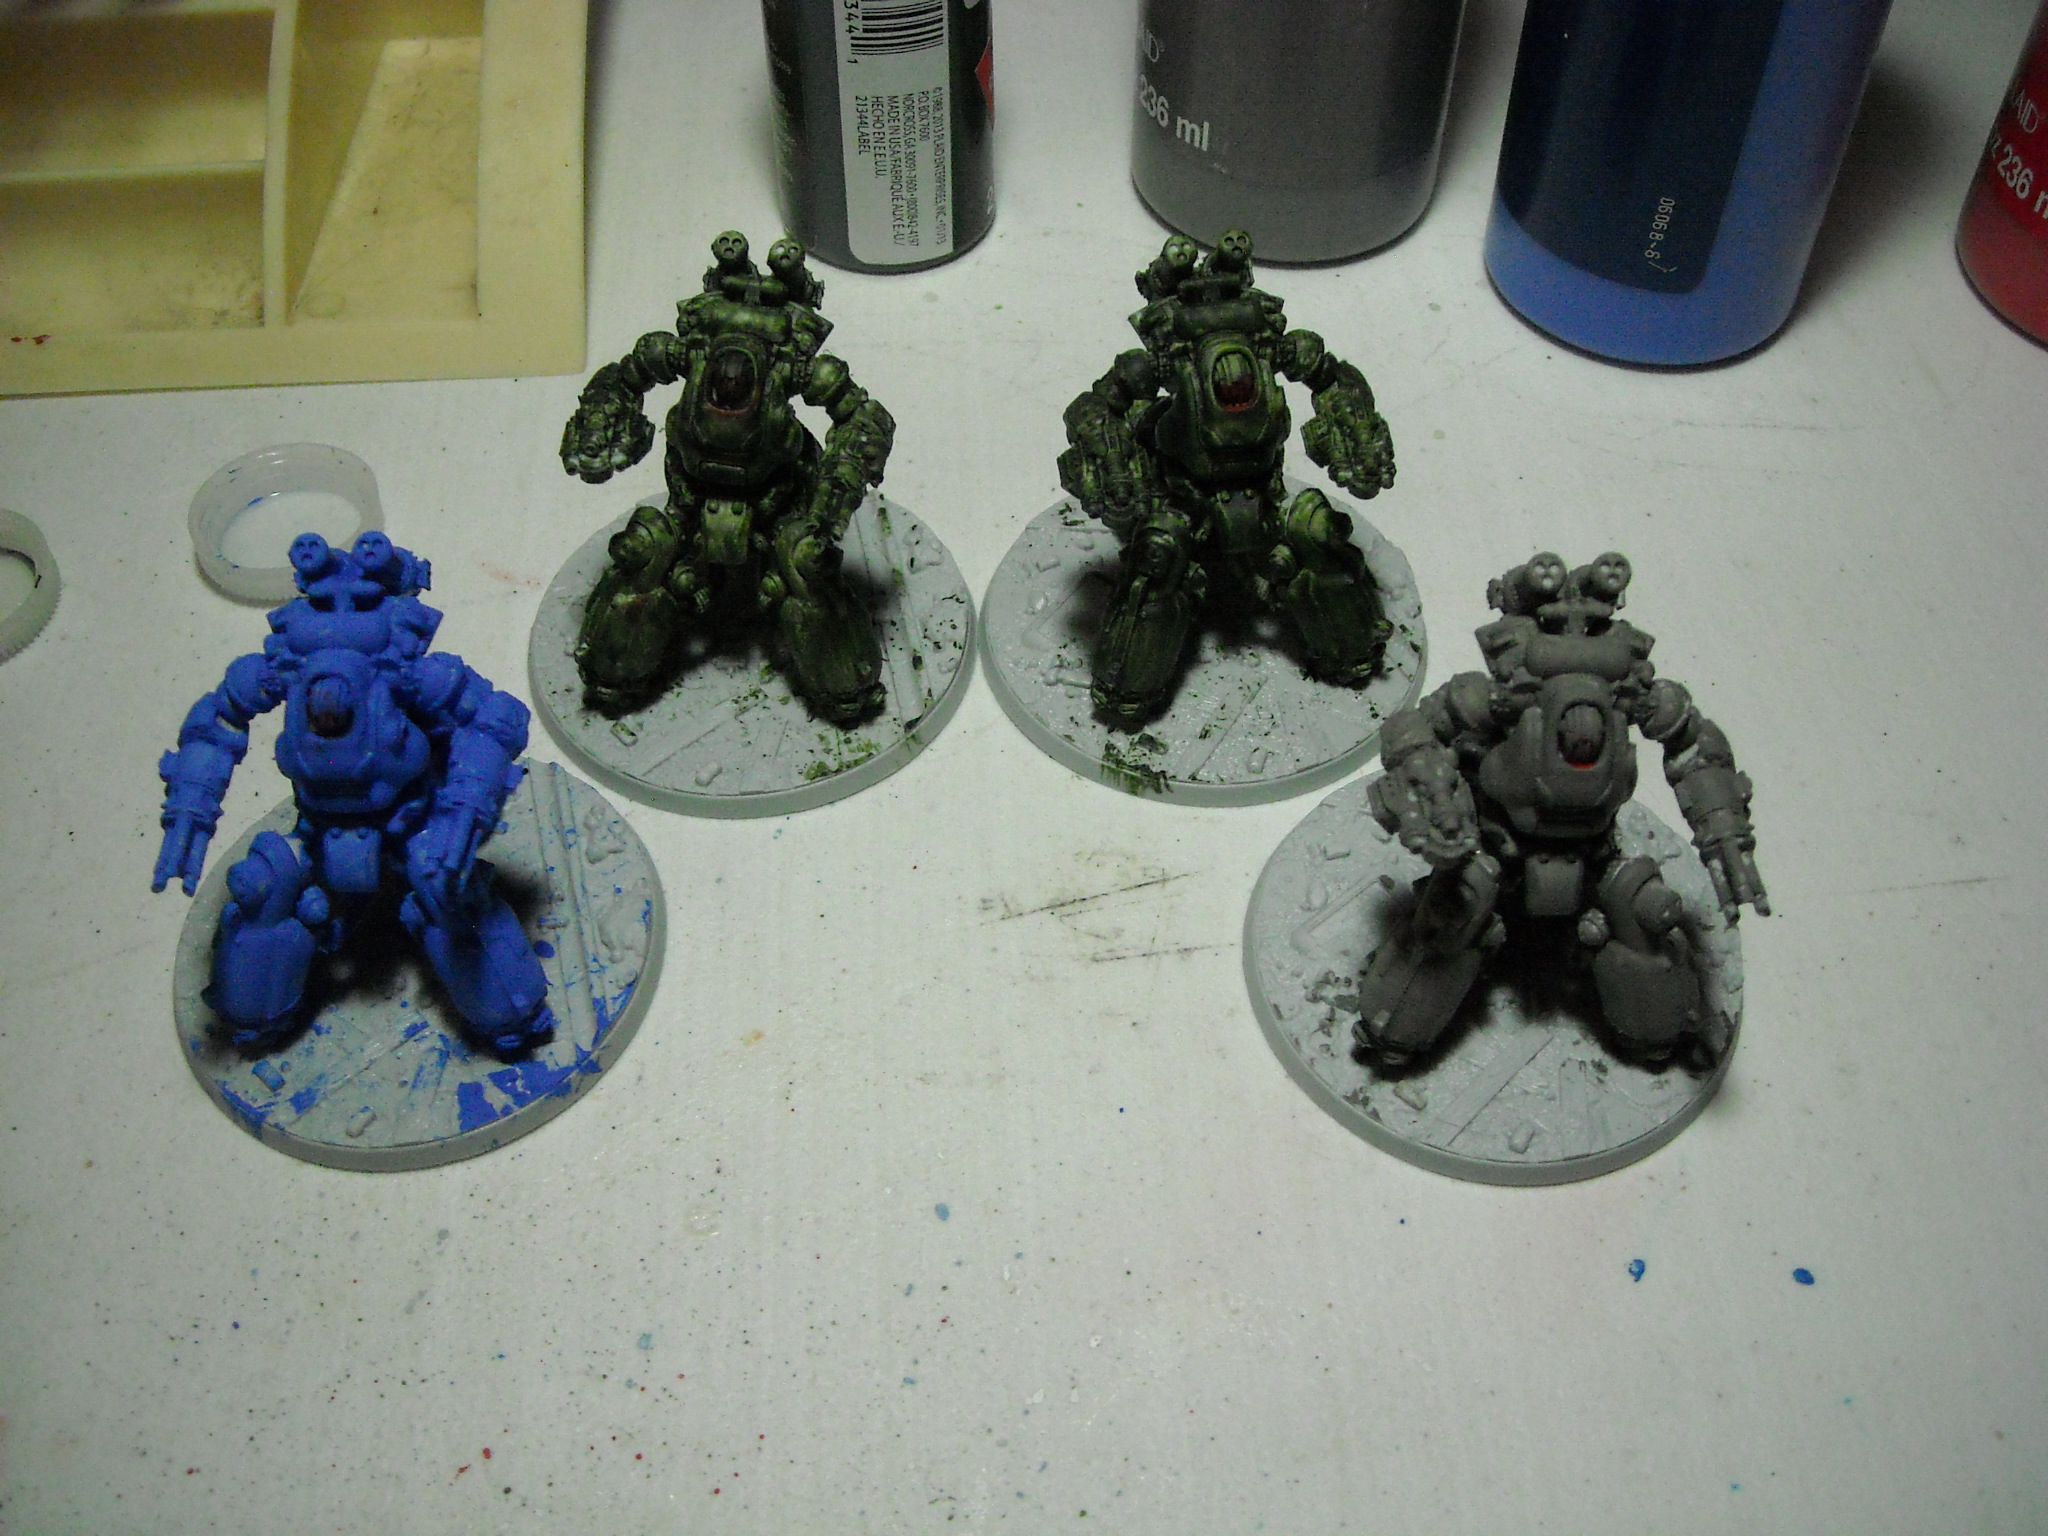
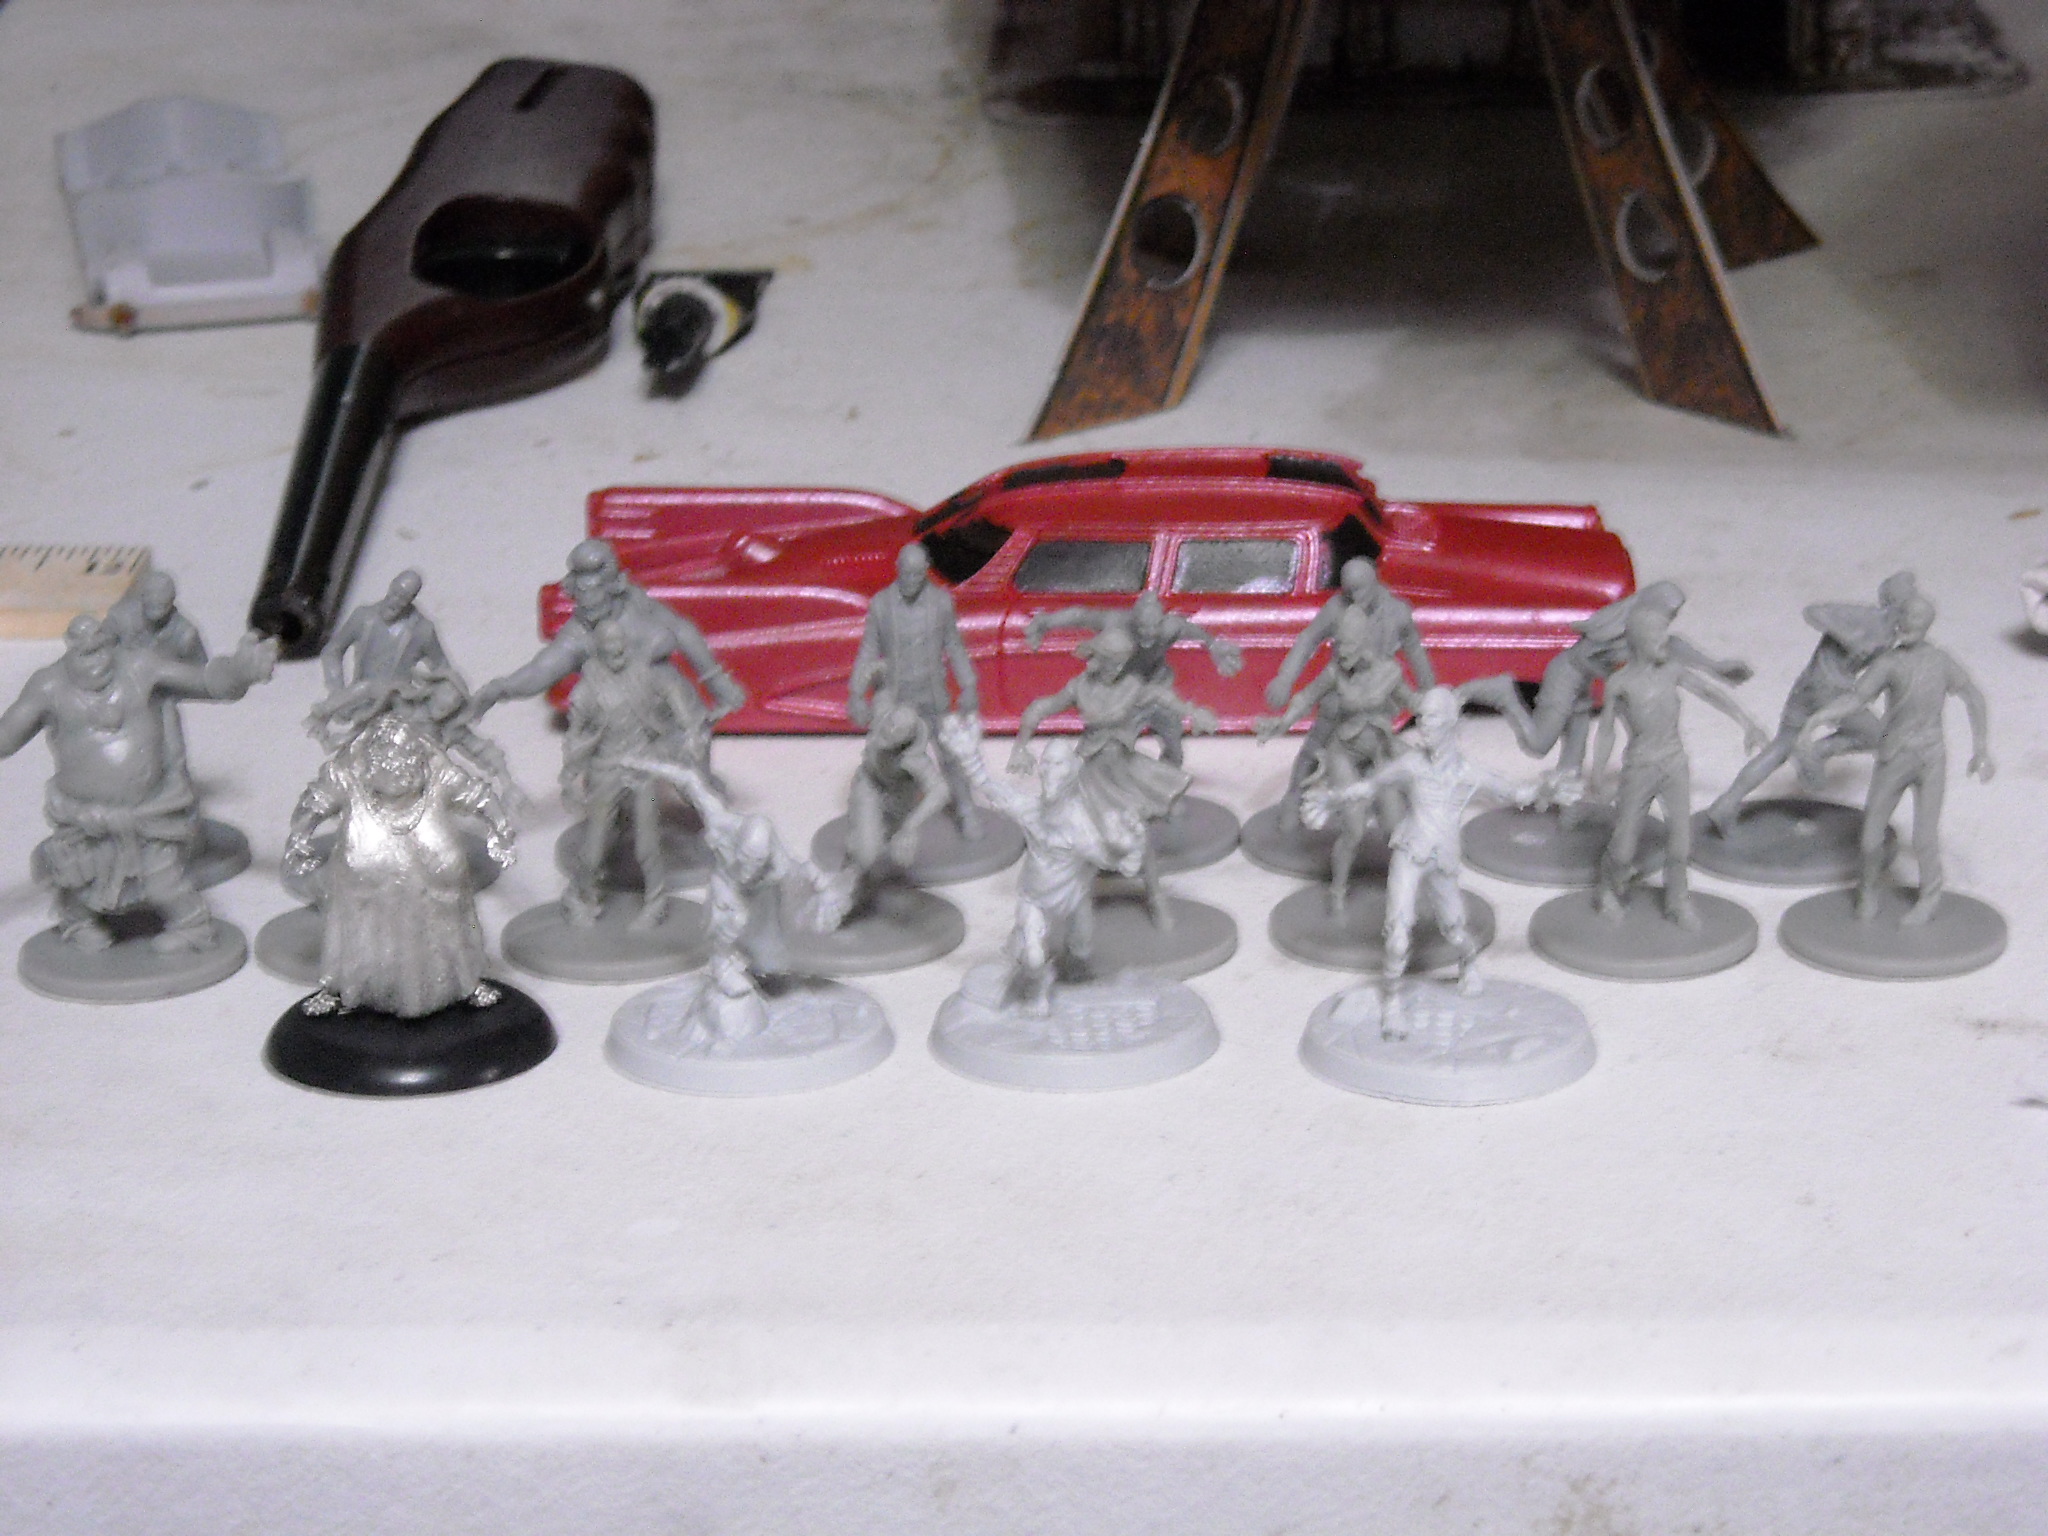
Now, as of right now I only have the base coat on the Protectrons.


The two white ones: I plan to do a single one as a Medical Protectron. The other one is just going to be a white model.
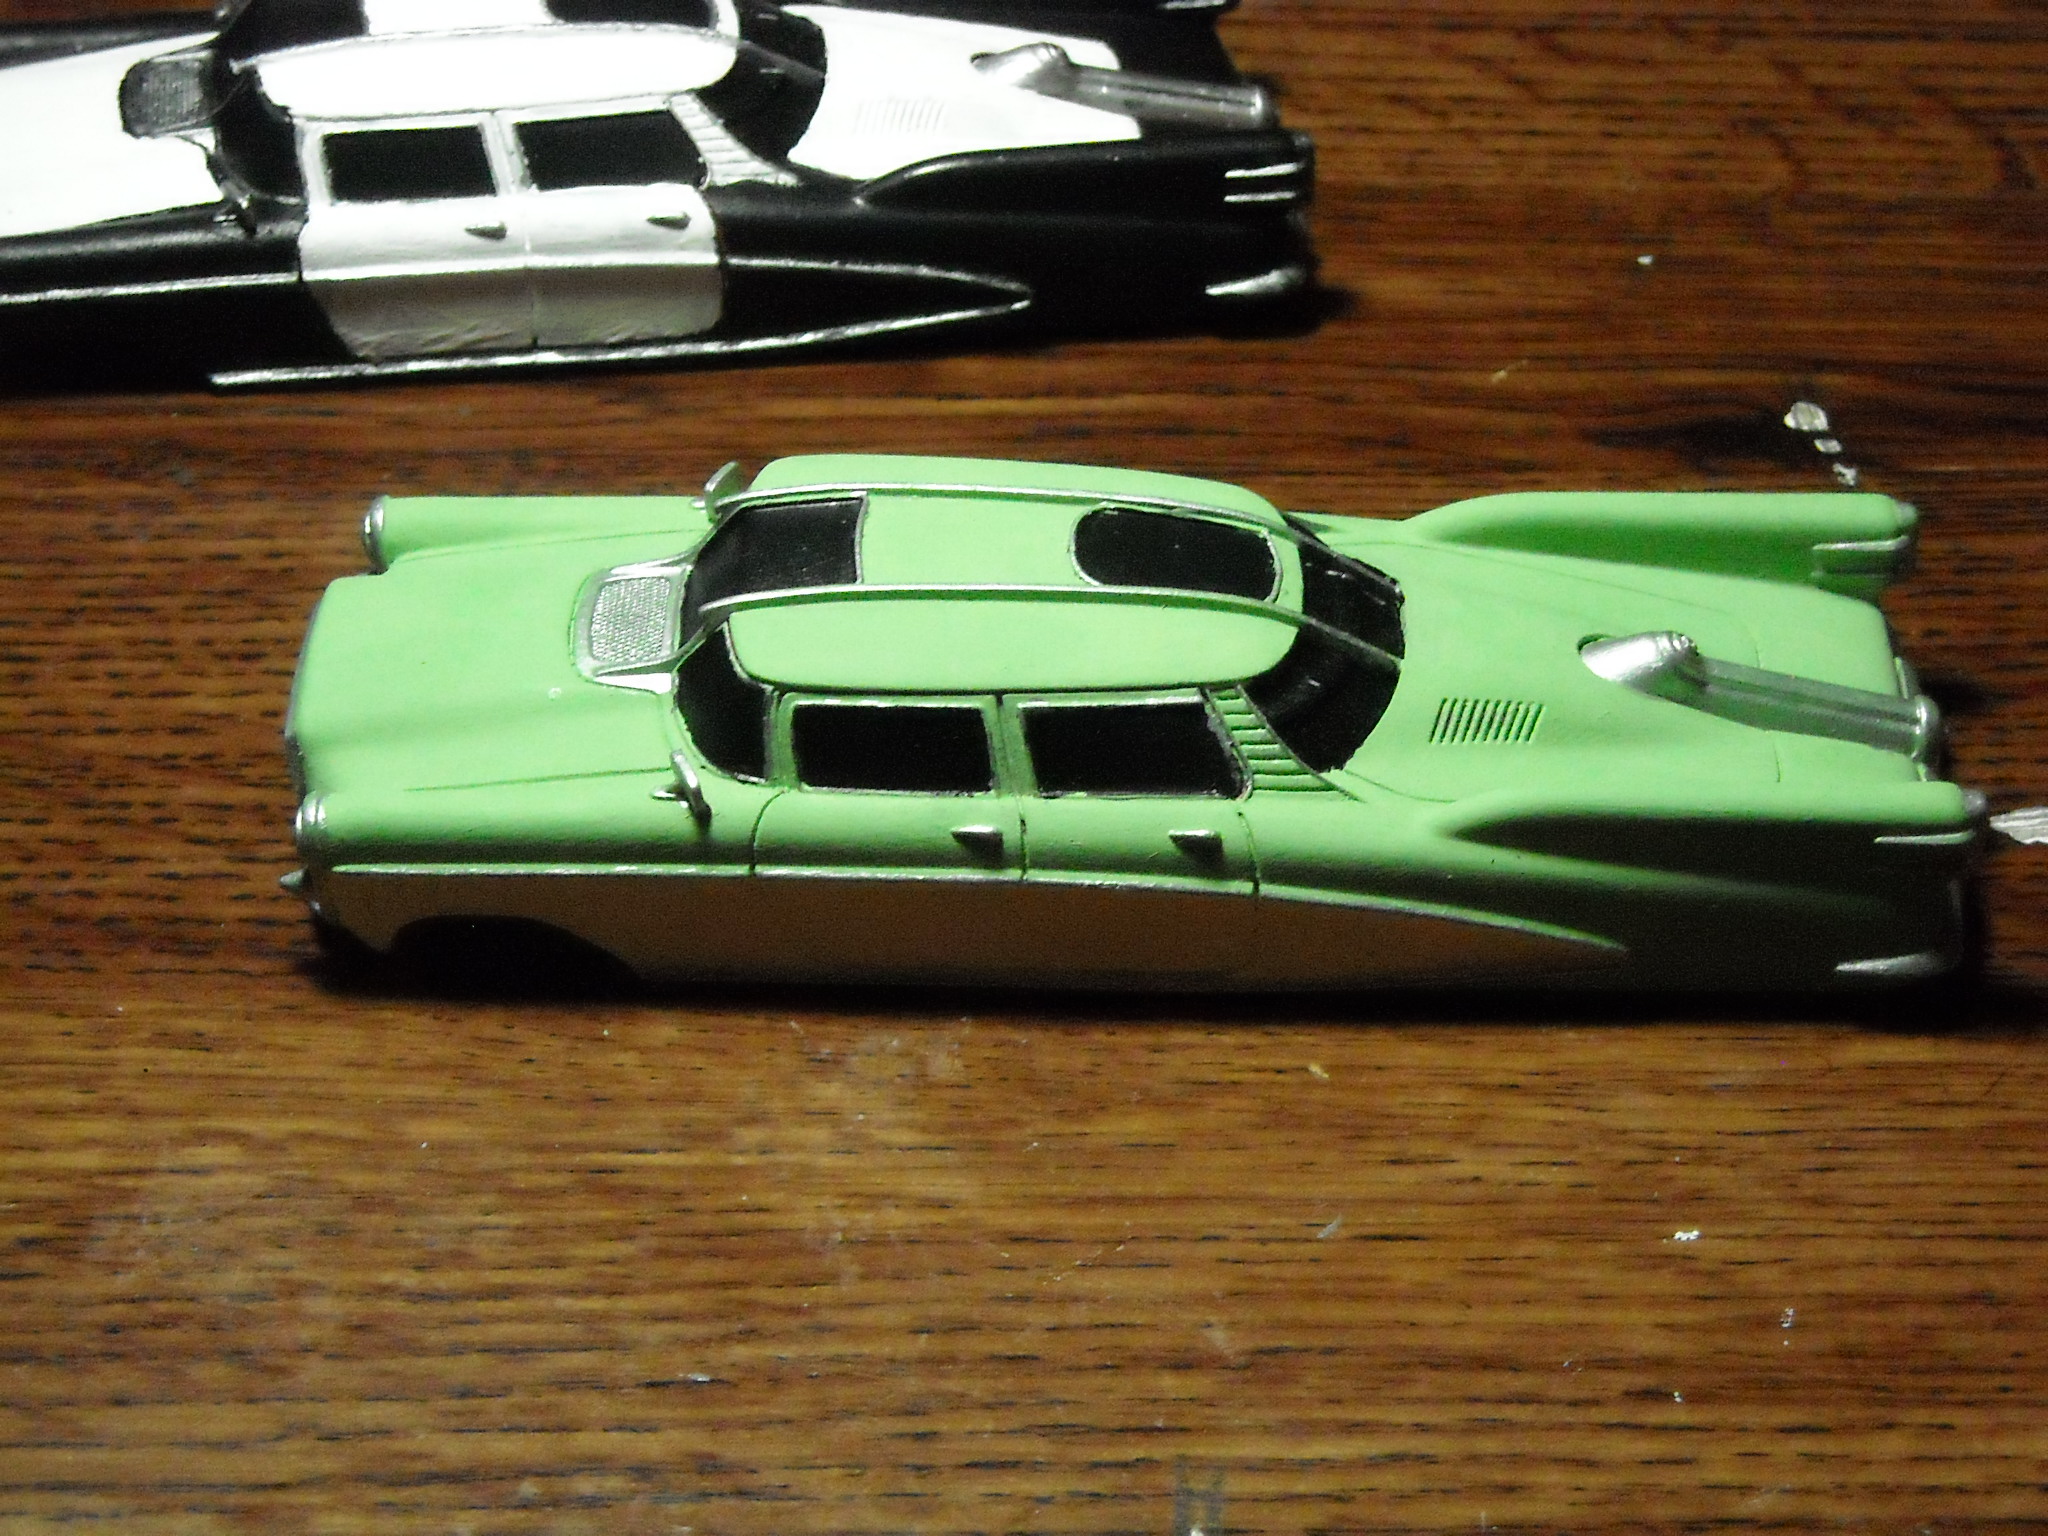
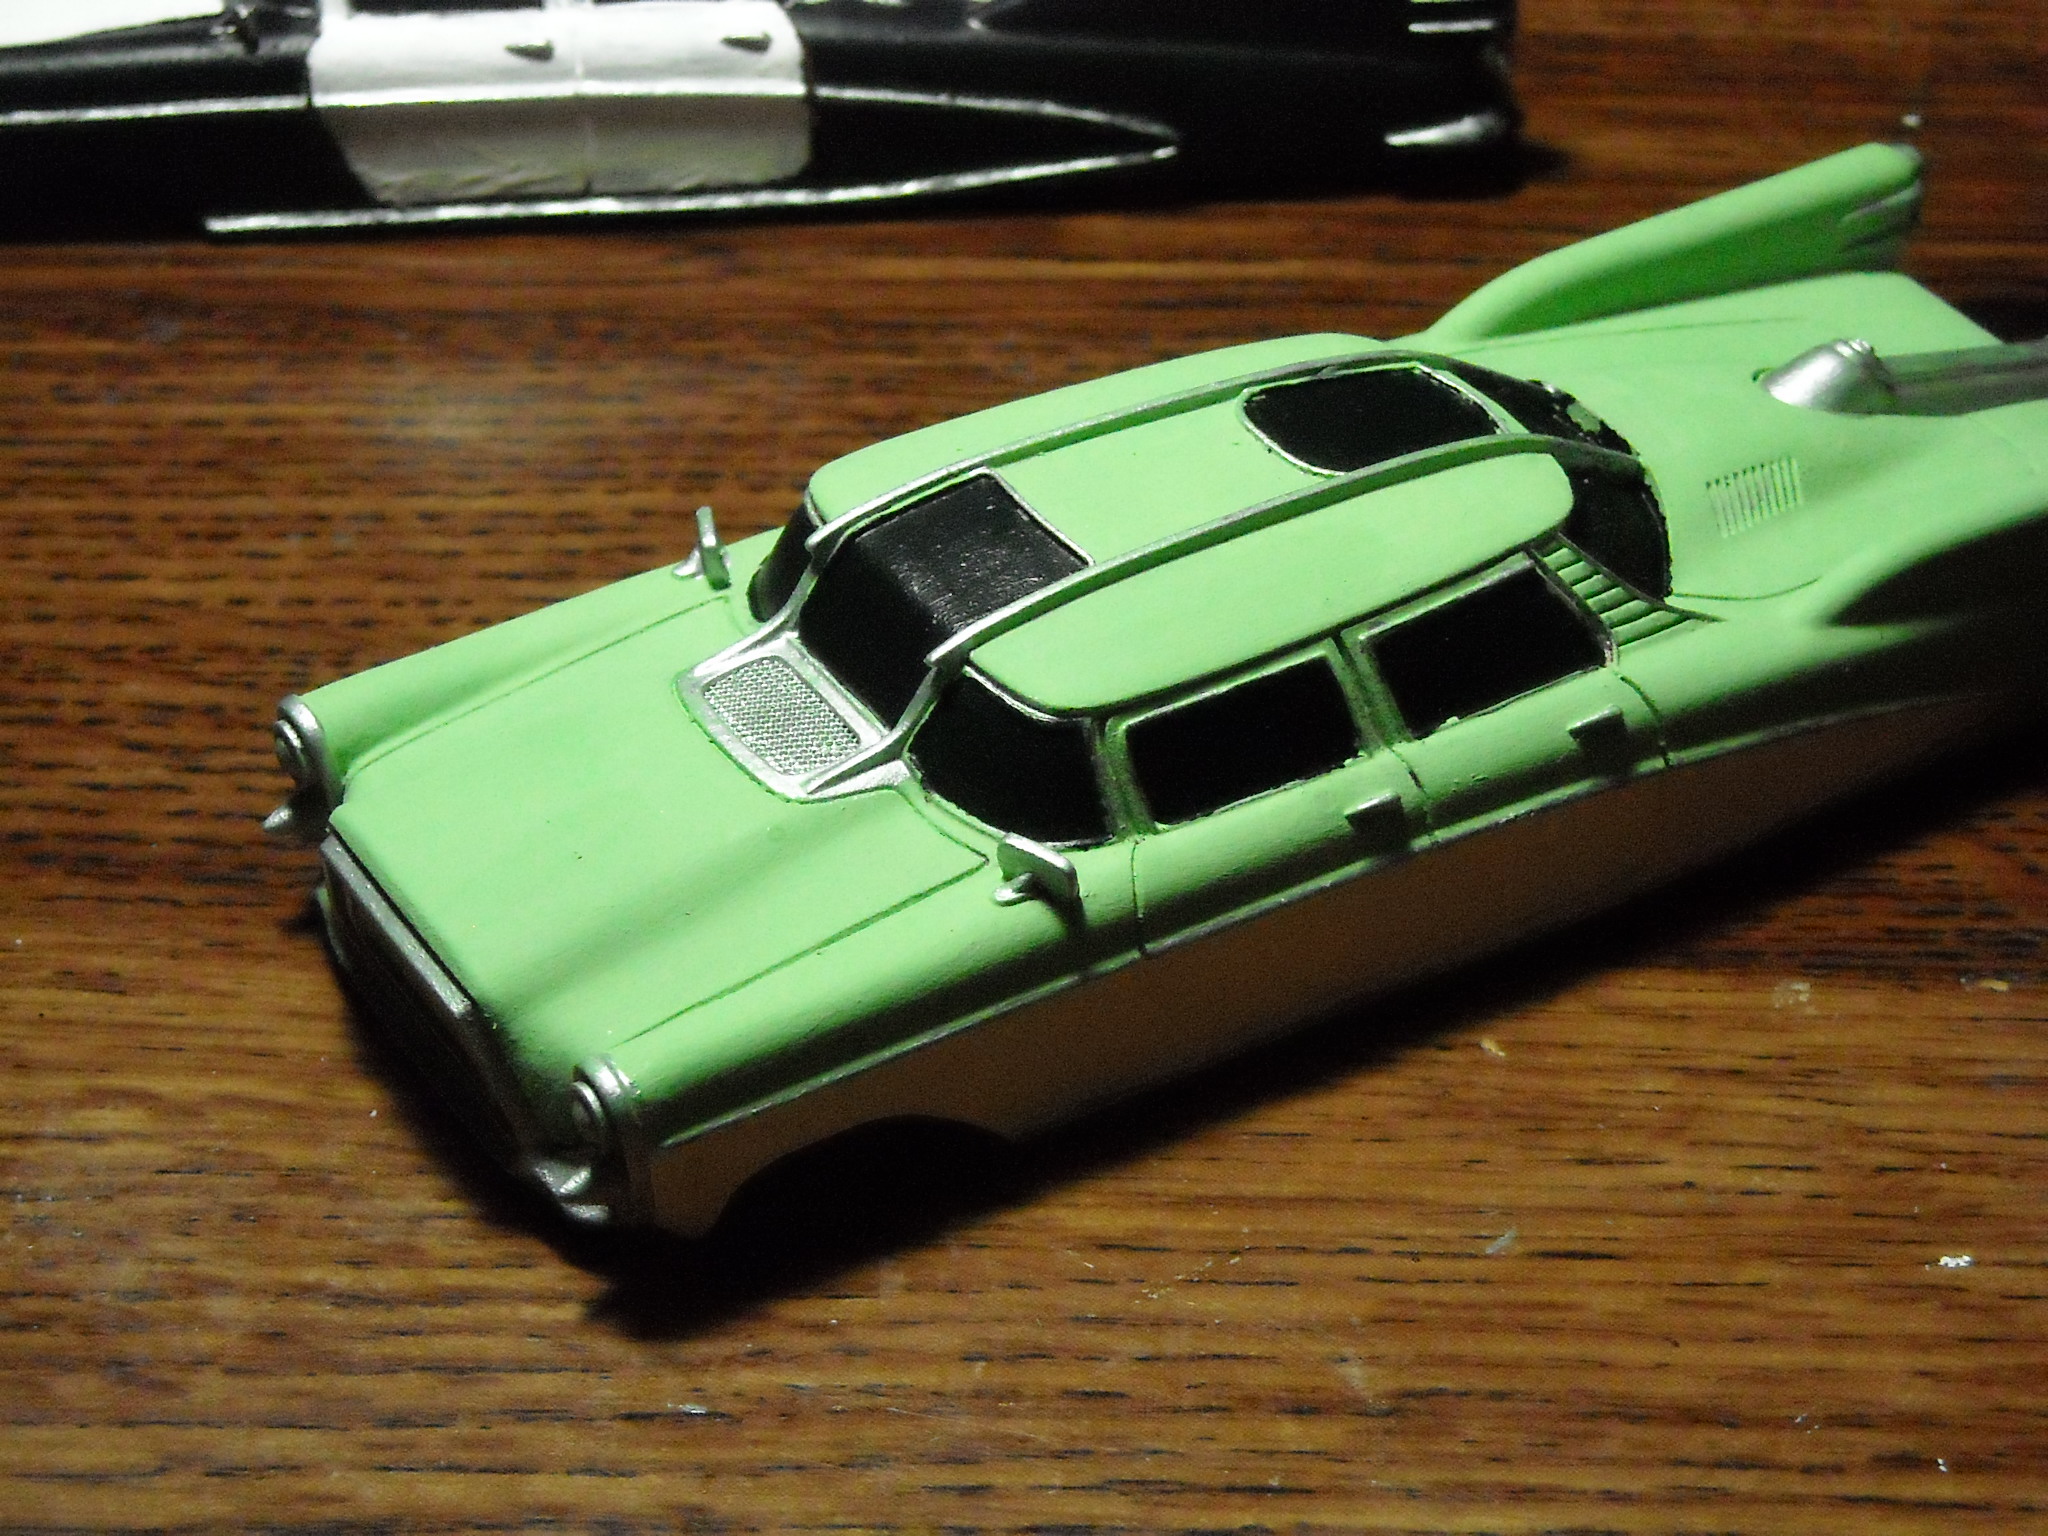
The two light blue ones are going to be just normal Protectrons.
Believe it or not, the two in front are actually painted gray. I was a bit shocked at how close to the original plastic they turned out to be. Anyway, those two are going to be just normal Protectrons as well, the different colors from the light blue just makes them stand out a little bit from the others to make them easier to track on the table.
The blue one will become a Police Protectron.
The red one will become a Fire Protectron. (Paint is still wet on the red one in the image)

I’ve actually been looking at model train decals for both HO and N scale for the police and fire insignia. I’ve found a couple of very promising looking items I’ll likely be ordering in the coming weeks.

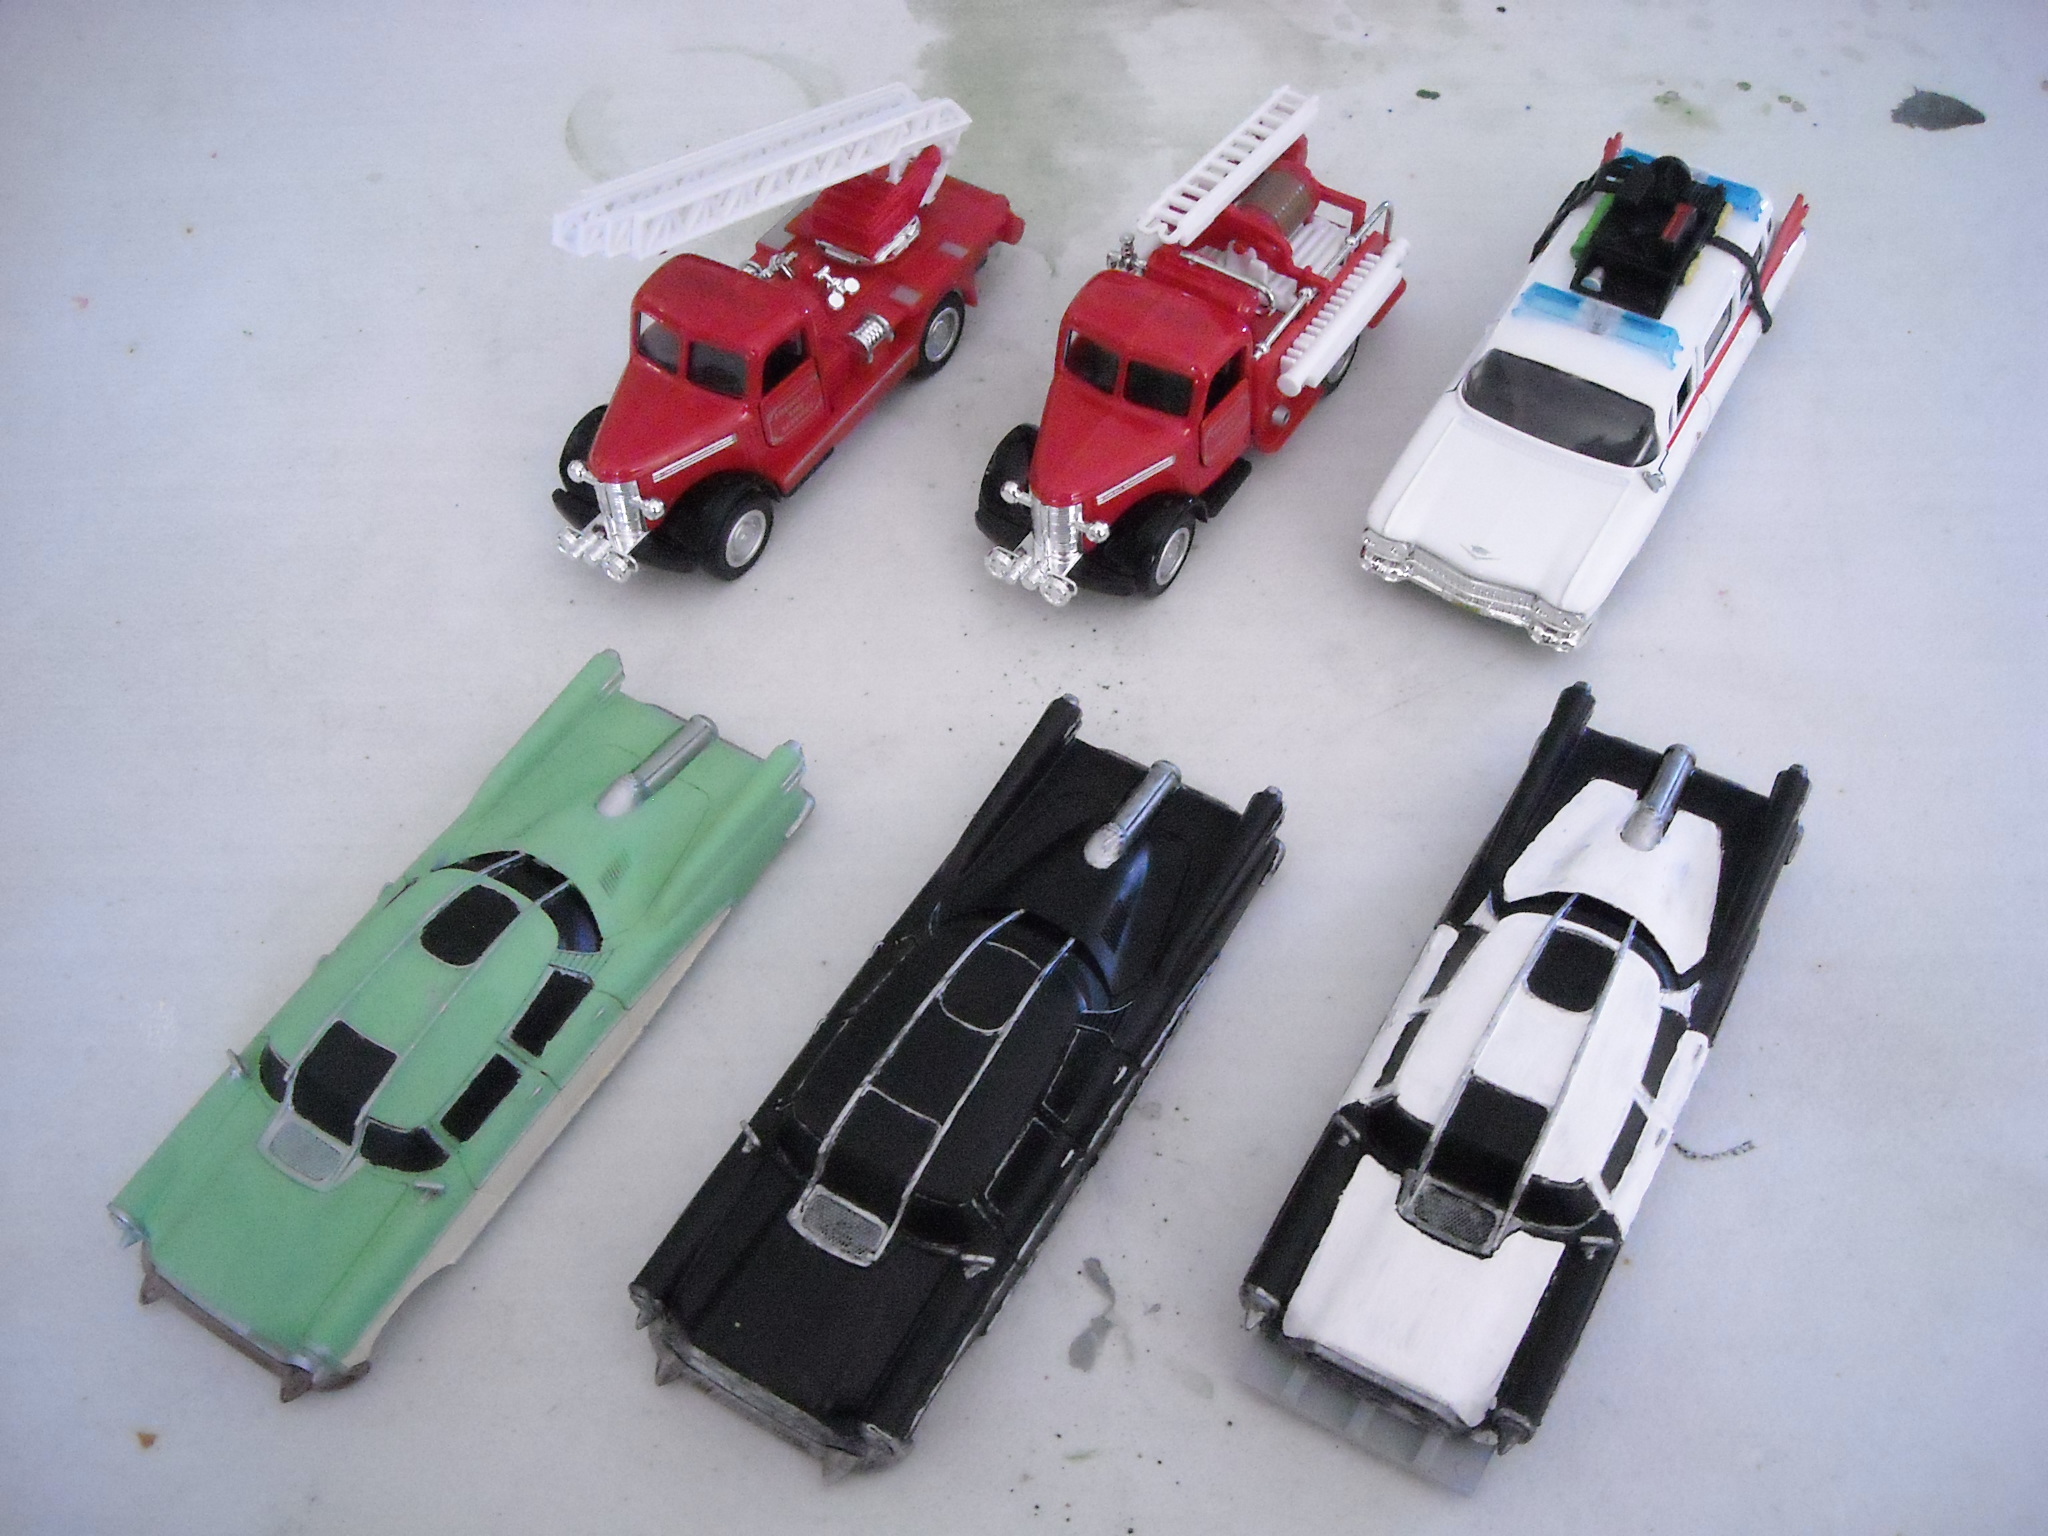
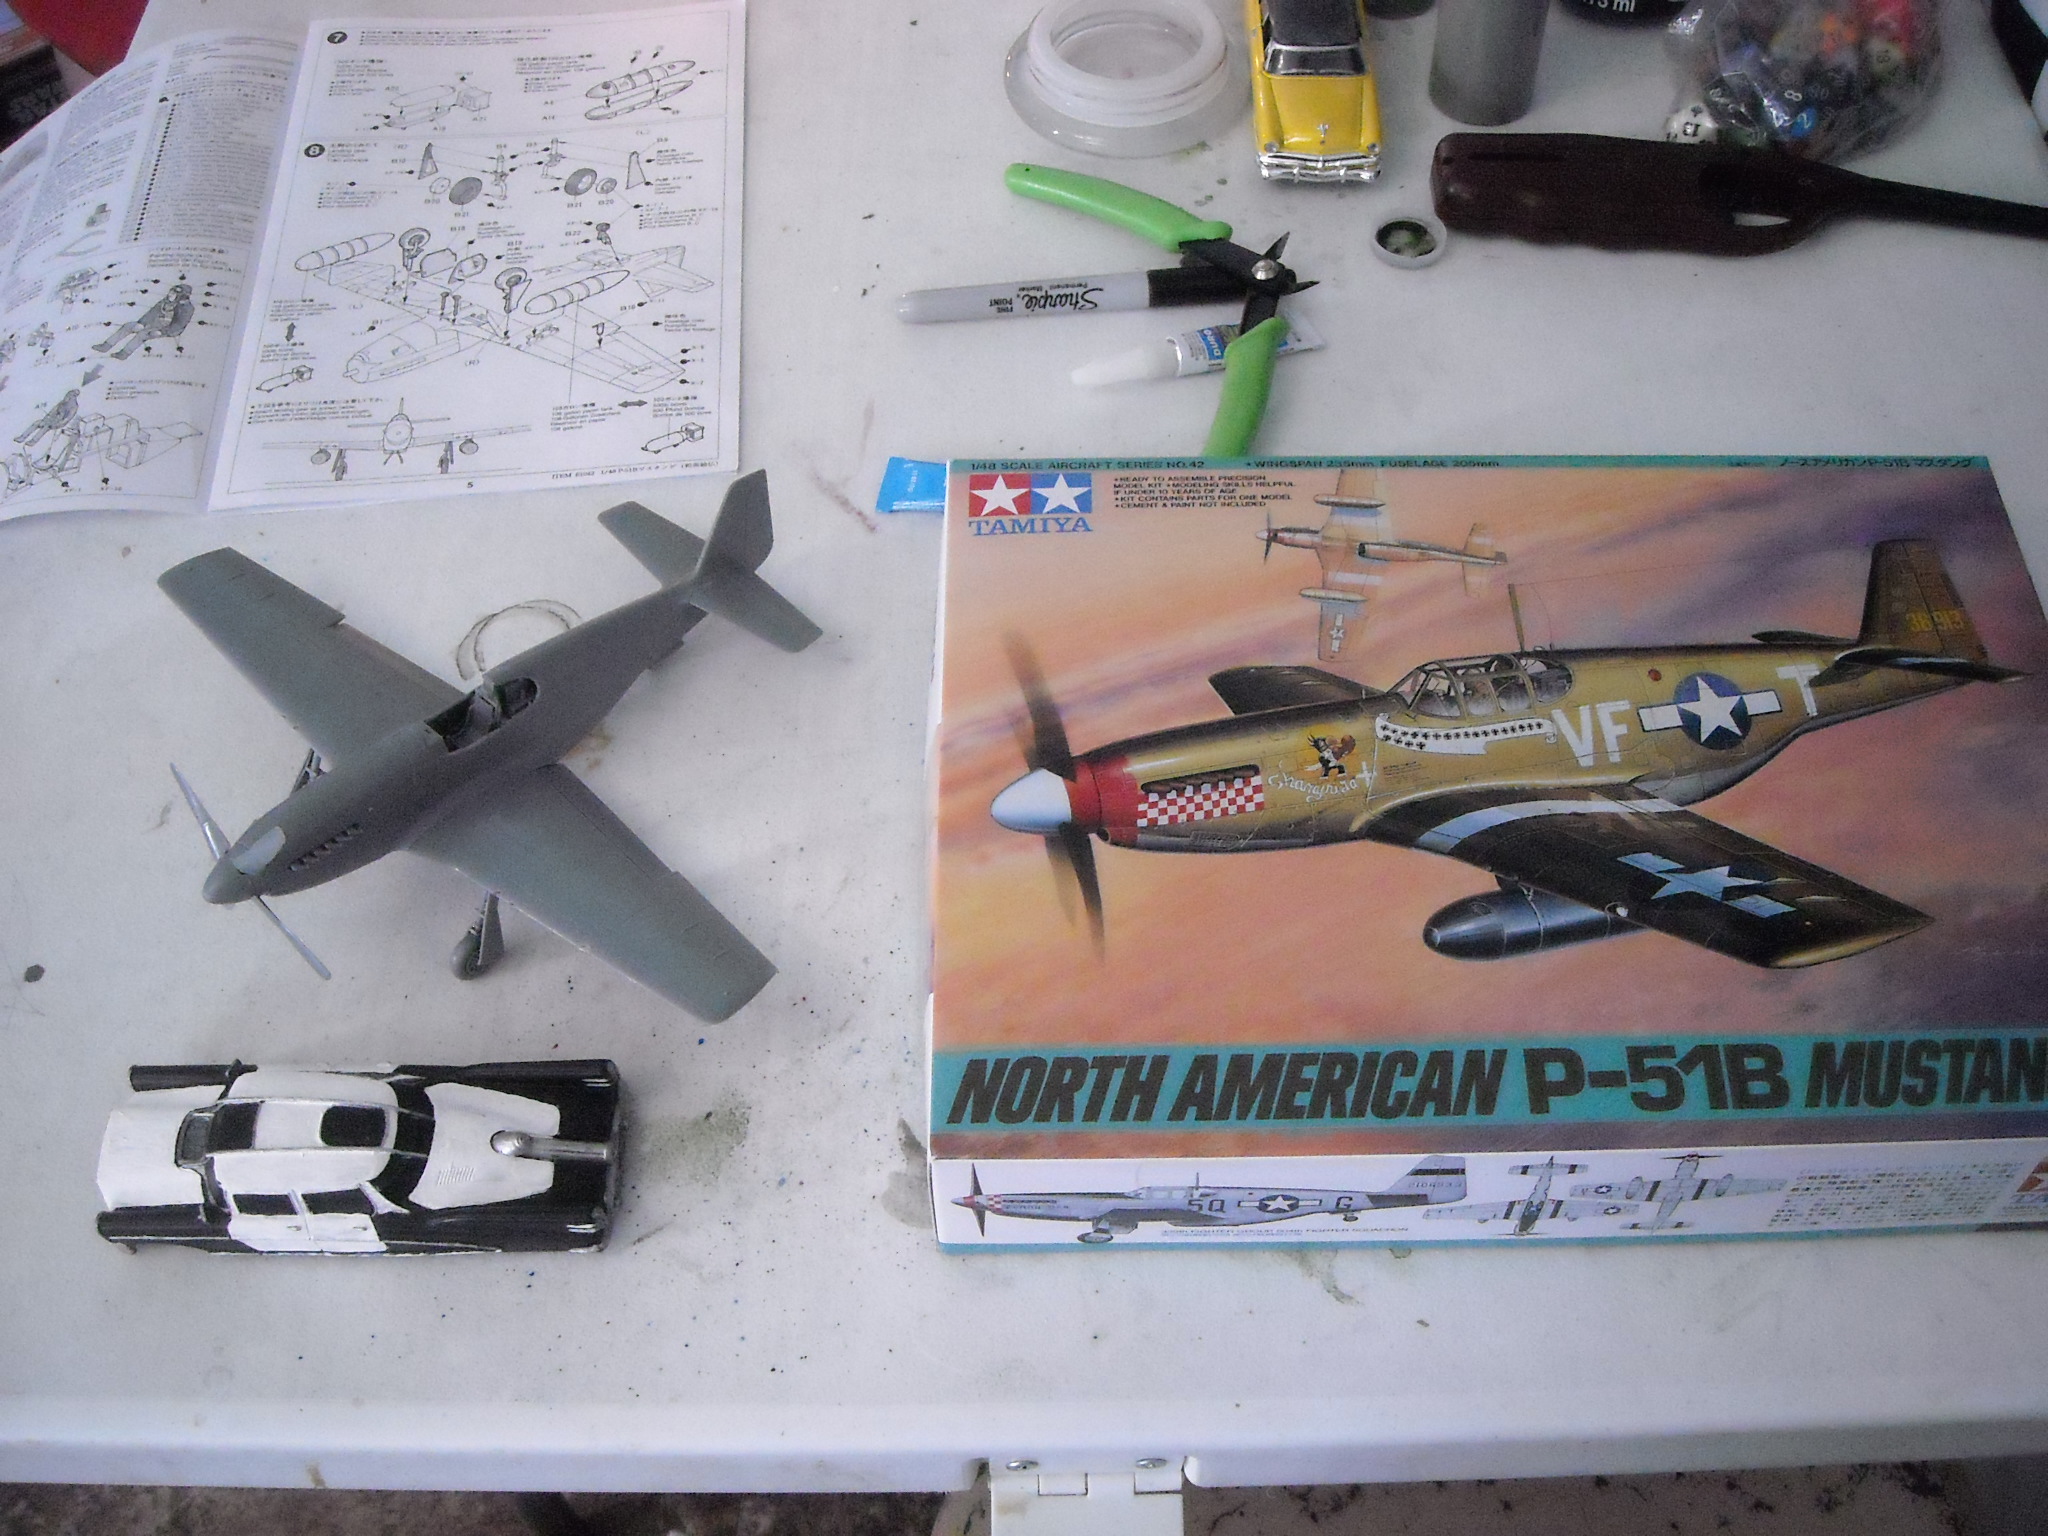
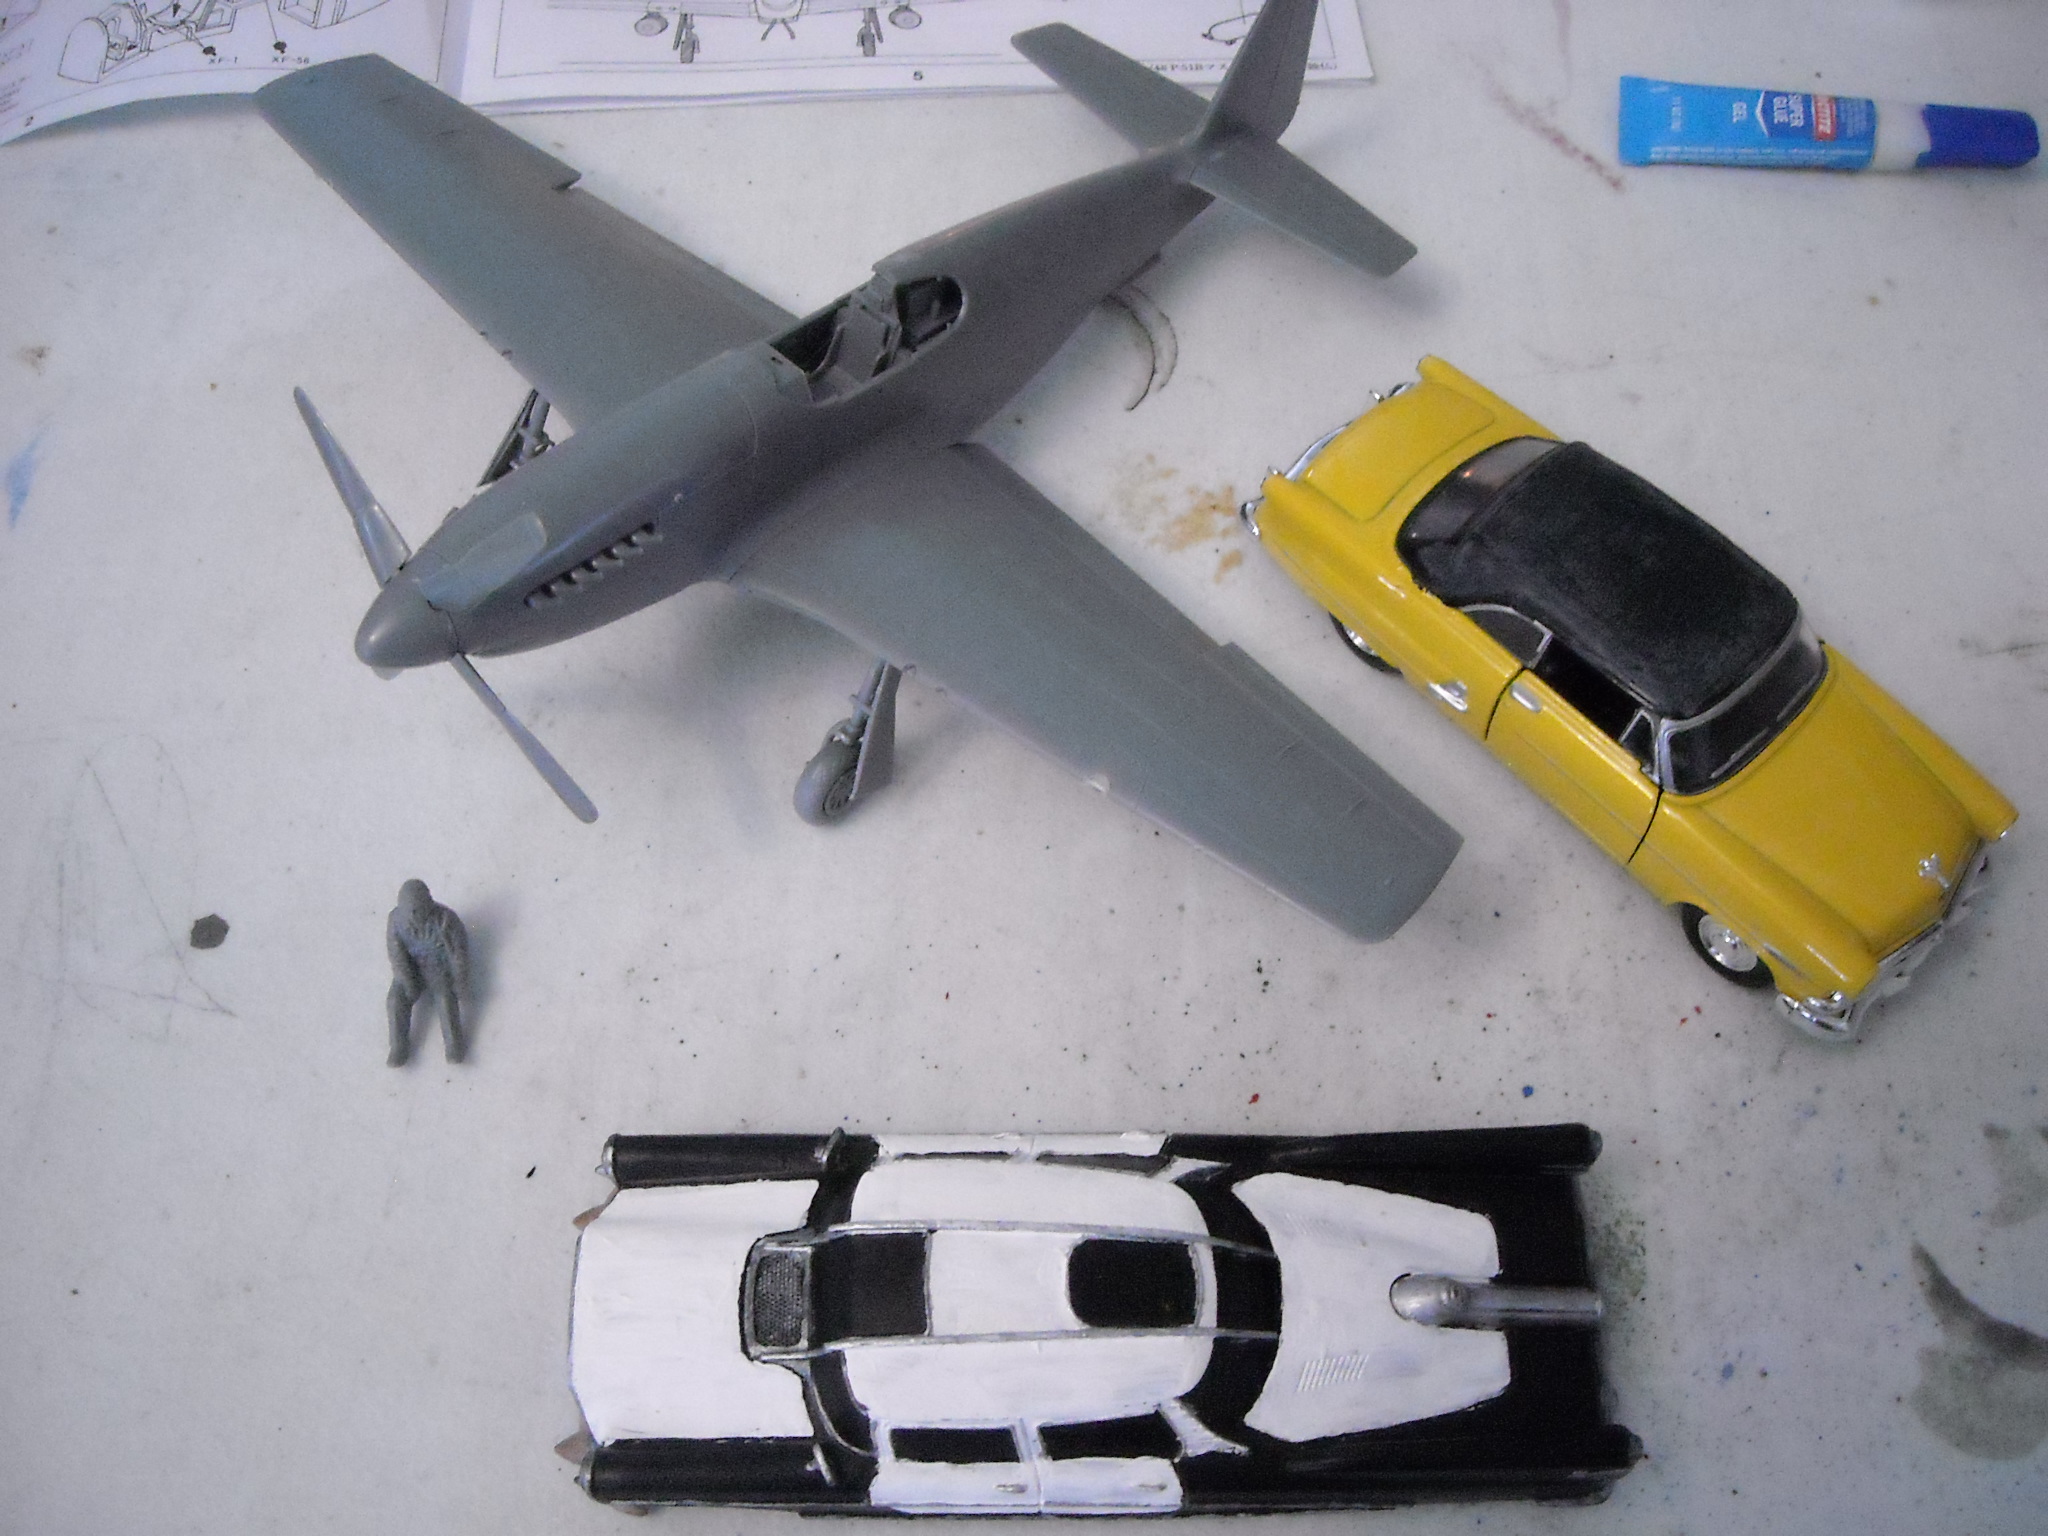
I also mentioned that I ordered up some Fire Truck models, and some airplanes that should be scaled appropriately to the game. I’m still waiting on the P-51 Mustangs, but the other items came in.

The B-52 bomber was a bust. The item listing had it as 1/48 scale, but in reality it was 1/72 and WAY too small to be useful. I’m probably going to junk it for terrain, The wings, landing gear, and tail piece might be usable on their own, but otherwise I don’t think I’m going to be able to do much with it.

The fire trucks on the other hand I’m fairly happy with. Maybe a little small, but for their price they’re pretty good. Here’s the link again in case anyone is interested: https://www.amazon.com/gp/product/B0761YCRVK/ref=oh_aui_detailpage_o05_s00?ie=UTF8&psc=1

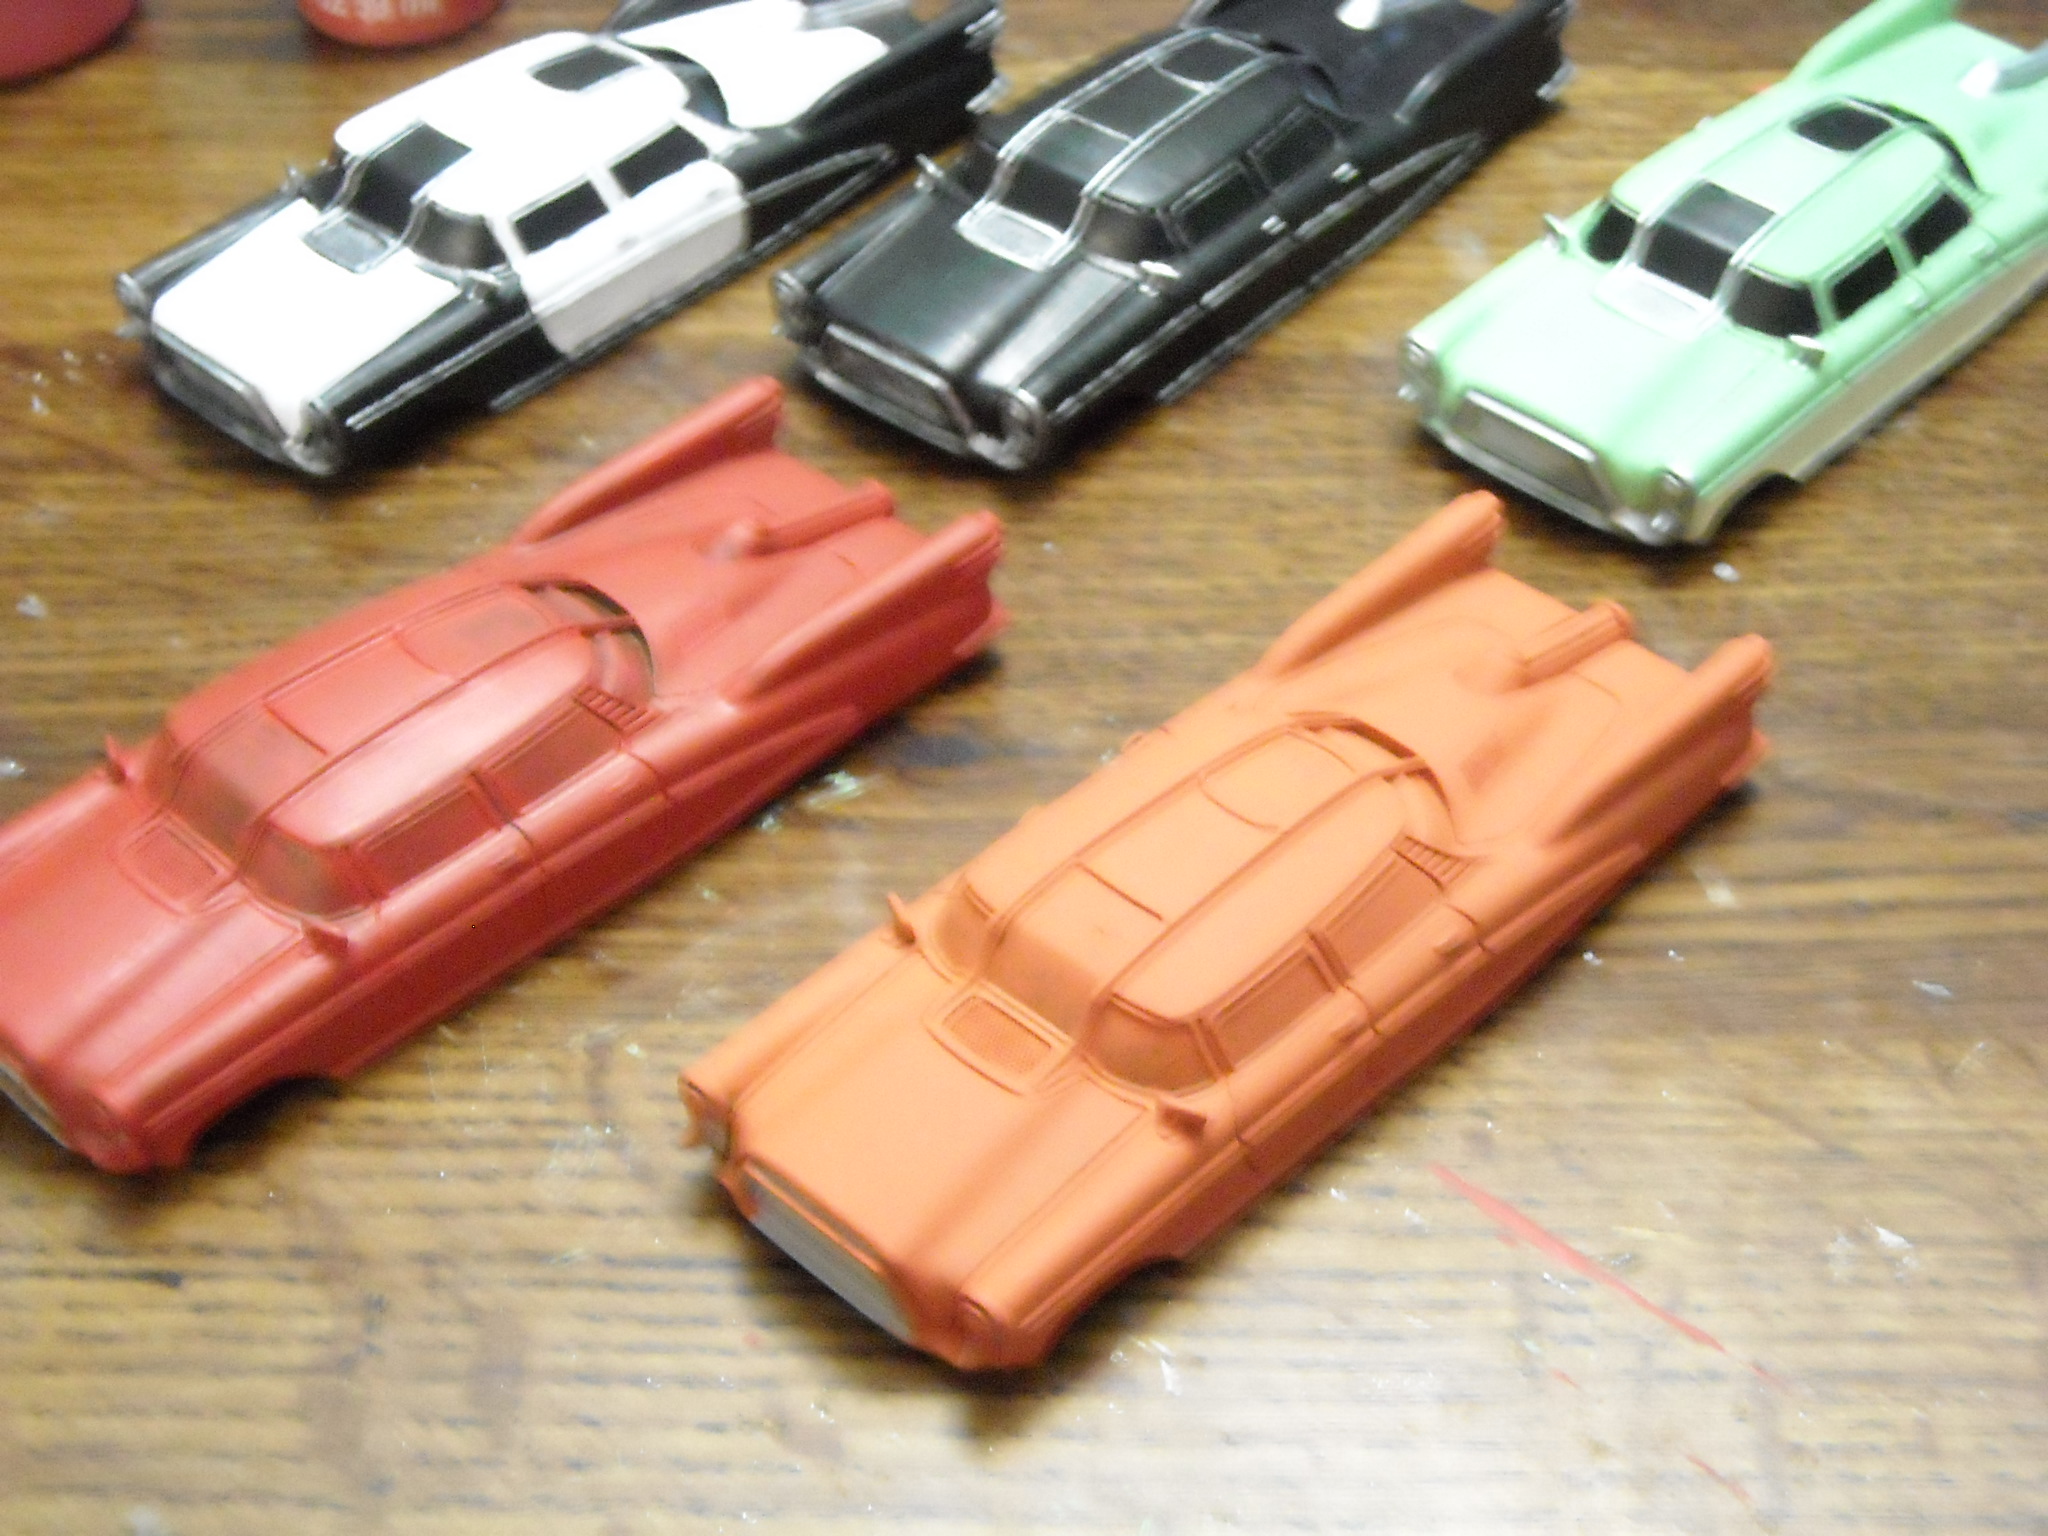
I tossed some of my other stuff into the image to show scale (The two red trucks are the fire trucks):


The cab is about the right size, but the back feels a little small to me. The doors on both trucks open and close and the detail work on the doors is really nice. Also, the long ladder truck; the ladder extends to about twice the length you see and it also pivots 360 degrees. The body id diecast, but most of the stuff on the back half of the fire trucks is plastic. Fine for tabletop play, but you wouldn’t want to be rough with it.

I think that’s all for today, hopefully I’ll have more to share in the coming days. Looks like I’ll have a chance to hit the hobby store on Monday, so hopefully I’ll have a chance to pick up the things I need and will be making progress on the Corvega Sedans and Eyebots again after that.

4 Likes

Had some real life stuff come up today that prevented me from going out to the hobby shop the way I had hoped. I’ll be making the trip tomorrow instead.

That said, I DID do a couple of things today.

The first is that I ordered up some HO and N scale decals on ebay. So I have police emblems, firemen crests, medical symbols, and military decals coming that should be about the right size for the star on the side of the Corvega Sedan I hope to use as a police car (Some of the larger decals I have coming will be used for that I think), and several decals that should be about the right size for the Protectron and Sentry Bots (Some of the smaller decals will work well for that.) I’ll be sure to show what I got when it comes in. I’m pretty excited to make use of them.

I did however spend a little time painting with one of my kids this evening. I only got a base coat on my Sentry Bots, but it should give everyone an idea of where I’m heading with them.

First, I have two green ones. I intend to do them as military themed models. With the military decals I have on order, I’m really excited to see how they look when complete. I’m going to put a big white star on the chest.

The next one is going to be the gray one. I think once I get a black wash on it the whole thing will darken up a bit and look really good. That one is going to be my sort of generic model.

The last one is the blue one. This was actually one of my kids ideas. I wasn’t really sure what I wanted to do with the last one. I was thinking about doing it either as Ironsides or as a second gray model, but my kids said it should be a “Police” model. I spent quite a bit of time thinking about that. I felt that something with as much firepower as a Sentry Bot was pretty heavy handed for the police, but after picking up the decals I thought that the SWAT plastered on it’s chest or back would give it the appropriate air.

So here’s what I worked on today.

I need to go back and touch up the paint a bit on all of them. For some reason my green paint separated a bit. I gave it a good shake, but it still didn’t want to spread even. I hope a second coat is going to help it quite a bit. I’m also going to stir the paint in the hopes of making it more usable, but if that doesn’t help then I might just need to toss the bottle and pick up another one. That’s one of the perks of buying the cheap stuff. :stuck_out_tongue:

1 Like

Haven’t had a lot of time to work these last couple of weeks, real life has been keeping me pretty busy. I do have just a little bit to share with you all today though.

First image here is of the model airplane, the box it came in just in case someone wants to look them up and a Corvega in the image to show scale.

Another image, this time including the pilot of the airplane just to give a better idea of how well the P-51 scales with everything. This also includes one of the cars I picked up at the local Dollar General, . . .I’ll get into that just a little more in the next image.

Now, this last image is a sort of experiment. The model is a $5 car from the local Dollar General which scales surprisingly well with everything else. I actually bought three vehicles that were era appropriate. The one problem I had with the cars was that they all had the leather style top, and lets face it, that kind of top isn’t going to survive 200 years in very good condition.

I tried to get a good image of the effect I created, but the image didn’t come out quite as good as I had hoped. The effect wasn’t quite as good as I was hoping either, but it’s still better than I think I can accomplish any other way.

There’s a bottle of FolkArt Crackle Medium in the image, I painted the canopy with that and let it dry per the instructions. When it was dry, it wasn’t tacky or anything. It sounds like the thicker the paint, the larger the cracks. I figured that by putting a super thin layer on it would create a finer crack. Then once it’s dry you’re supposed to paint over it with the color of your choosing. In this case I used black. I don’t know if it is because I used such a thin coat of the medium or not, but the stuff clumped just a little bit when I went to paint over it. Once that was dry, then I hit it with a gray wash.

In the end, it turned out ok, but didn’t live up to expectations. You can see the results in the image and pass judgement yourself.

With the next one, I’m planning to try a slightly thicker layer of the medium to see how that turns out.

3 Likes

Thanks for sharing the results of your experiments! It definitely helps us to work together as a community to find what works.

1 Like

You’re welcome. Sometimes we try something and it works out. Other times we learn from our mistakes. But best of all are those times when we can learn from the mistakes of others. :stuck_out_tongue: I figure when I try something, there’s no harm in sharing the results, good or bad. Sometimes you save someone a few dollars in supplies doing it themselves, and sometimes you help others find new ways to do things.

The cracked medium didn’t live up to expectations for me, but it’s still better than what I think I would have done freehand. And who knows, maybe the experience will give someone else an idea or two?

1 Like

Really looking forward to seeing how your sentry bots turn out GateKeeper!
I’m planning to paint the two I have in the near future as well!
Great ideas with the decals that’s something I’ll have to order for sure!

Love your cars as well! I have four of the but have been delaying painting them, I think I don’t like painting large models that are mostly one or 2 colors as much as smaller more detailed ones because I get a little bored :rofl:
Might have to commission you! :thinking:

1 Like

I’ll try to get some images of the decals. I picked up some in N scale and some in HO scale (Model railroad scales). The N scale is small enough that you could probably do shoulder emblems on the Protectrons with it. The HO scale will probably work much better in most cases.

The cars are pretty easy. Just the trim work that needs a bit of attention to get right. Granted, I enjoy painting the simple stuff better than the detailed stuff. :stuck_out_tongue:

That said, if you REALLY want to challenge yourself, then you could do something like this with the hood or side panel:

Or for that mater even pin stripes could add a lot of detail work to a model like that.

2 Likes

Not really much of a progress report, more just me showing some of the new stuff I stumbled across.

The front row includes four models. Three of them are the Modiphius Feral Ghouls. The one on the black base is: Reaper Miniatures Bonnie, Muumuu Zombie #50293 Chronoscope

Second and third row are Zombicide models. I heard that they were scaled well for this, and when I went online I found two boxes for a very reasonable price (Seriously, I paid about $15 for two boxes, 24 models in each box, 8 different poses between those boxes.) Knowing that they supposedly scale well and actually seeing them are two completely different things though, they’re perfect, good body proportions, decent range of appearances and poses, and the miniature quality was better than I was expecting. In this case, the two boxes were “Walk of the Dead” and “Walk of the Dead #2” but there seems to be a wide range of models available for the game. Each box has 5 model poses they call walkers, 2 poses they call runners, and 1 “Fatty.” The walkers and runners will fit well with the theme with only a couple of exceptions, and the fatty I can picture working well as a bloated one. With three of each model, I plan to keep one of each, then see if anyone I know might be interested in making use of the rest. If nothing else I can give the rest to my kids.

Finally, the Corvega Sedan. My “Nice” Corvega has seen the paint brush a couple of times since the last time I posted an image of it. First I had tried a gloss red paint in the hopes of giving it a nice shine, but wasn’t really happy with the end result. Because of that, I found a metallic red that I tried tonight, but unfortunately it still doesn’t look quite right to me. This latest color looks a little pink, . . . not that I have anything against pink, it’s just that I’m trying for that showroom floor red, . . .

Anyway, hope some of you enjoy the image and find the information useful!

2 Likes

Nice score on the Zombicide stuff!

If no one you know ends up wanting the leftovers, I’m sure some of us :wink: hint hint :wink: here on the forum would be willing to take a set off your hands for a modest sum.

Corvega definitely looks too pink with the latest color. Good luck finding something that looks right for it!

1 Like

Yeah, the suit & tie characters and ladies in dresses look so perfect I don’t even know how to describe it.

You’re about four hours too late on the zombicide figures. I gave them to my kids. That said, go check out Amazon and eBay, both have fairly reasonable prices on the models. You can find them for less than a dollar a model pretty consistently, and if you can find small bundles and you watch carefully, you’ll sometimes find them cheaper. I’ll often search “Newest first” for items when I’m keeping my eyes open for things on eBay, sometimes you’ll be able to find something for surprisingly good prices.

Yeah, the Corvega has been a source of frustration. I want to do one that would work as a showroom floor model but in this case the “Bright Red” Metallic isn’t cutting it. I’m debating with myself now if I want to try a coat of something else, or if I just want to leave it pink for for a conversation piece. :stuck_out_tongue:

1 Like

Those are decent models i painted tons for my mate, as in every zombie and every hero+zombie version from every expansion.

Took months but they look decent, i did the base in monochrome, the prison expansion as a more gritty modern look, the toxic ones as bright 80’s style etc.

Every type of zombie was done in the style of a diffetent eras zombie movie.

2 Likes

Sounds awesome.

1 Like