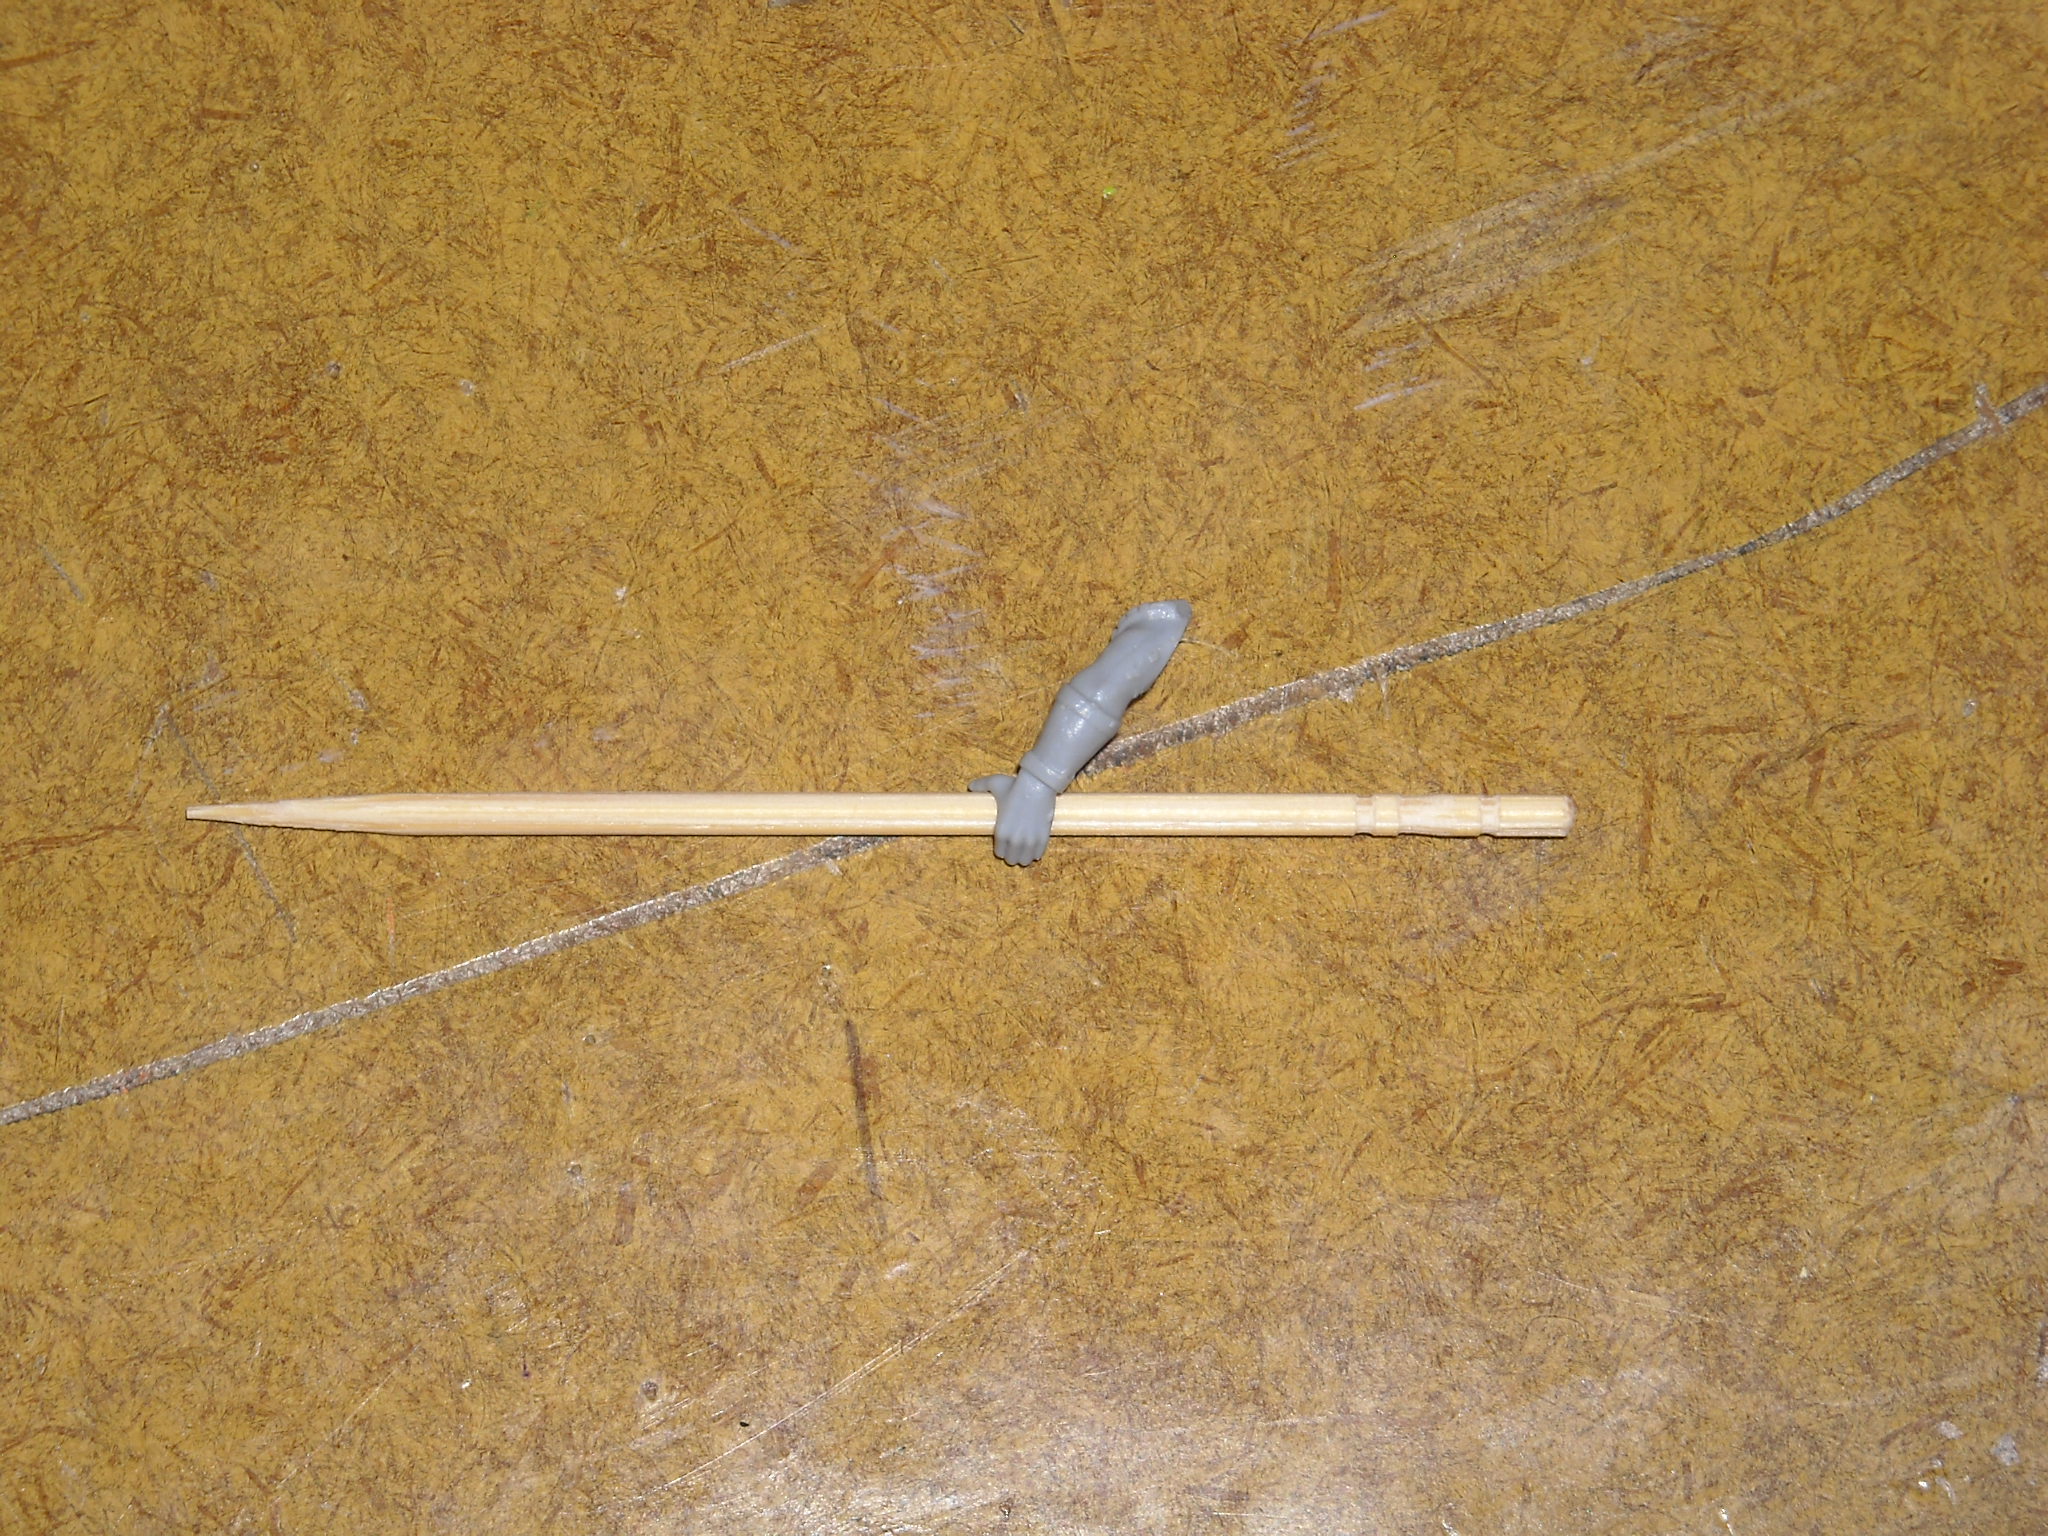
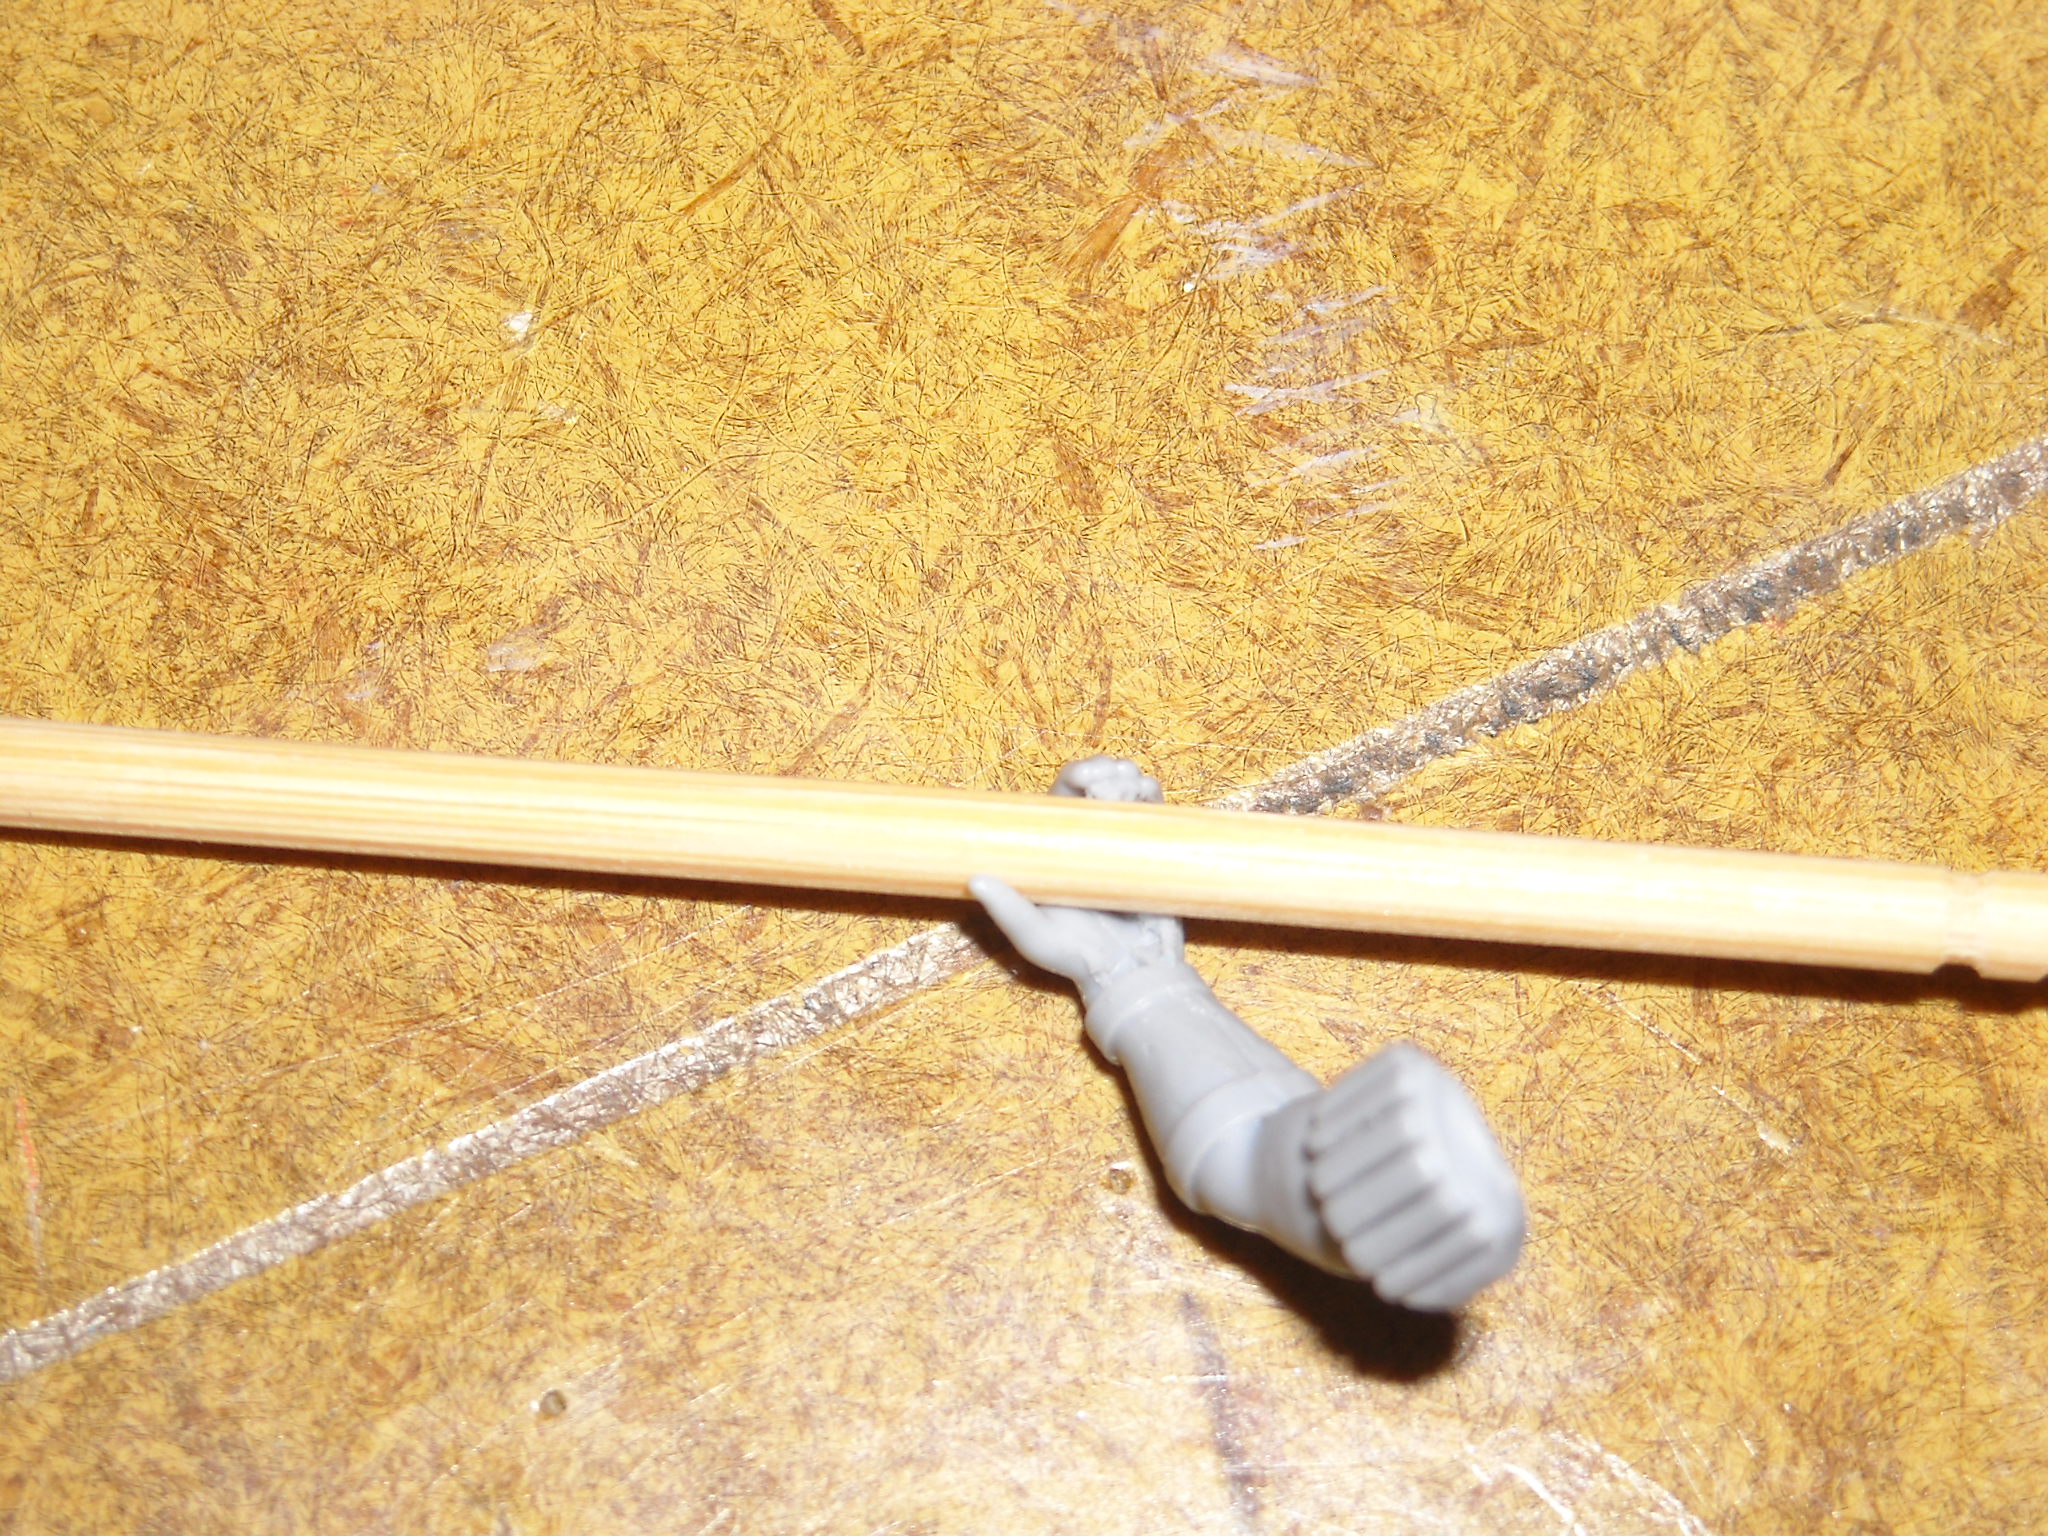
I imagine it would be pretty simple. Toothpick. Or rather two of them. Trim away a tire iron, then drill a hole the same size as the toothpick through the hand(s). Cut the two toothpicks, one you need to make sure you have a very flat end on, the other isn’t too important except to make sure to leave the rounded tip. Next thing to do would be to sit the two toothpicks together so that they’re about the length you want and figure out where they’ll meet inside of the model’s hands and cut them so you will have as much of both toothpicks in the model’s hands as possible. Drop of glue in the hole you drilled in the hands, slide the toothpicks in so they meet in the middle, and paint as you see fit.
That’s a pretty good idea too. The wire is going to be a a little more work when it comes to painting and modeling but as you say it will offer more strength and such. But the toothpick is going to be more fragile while offering real wood grain to work with for appearance.
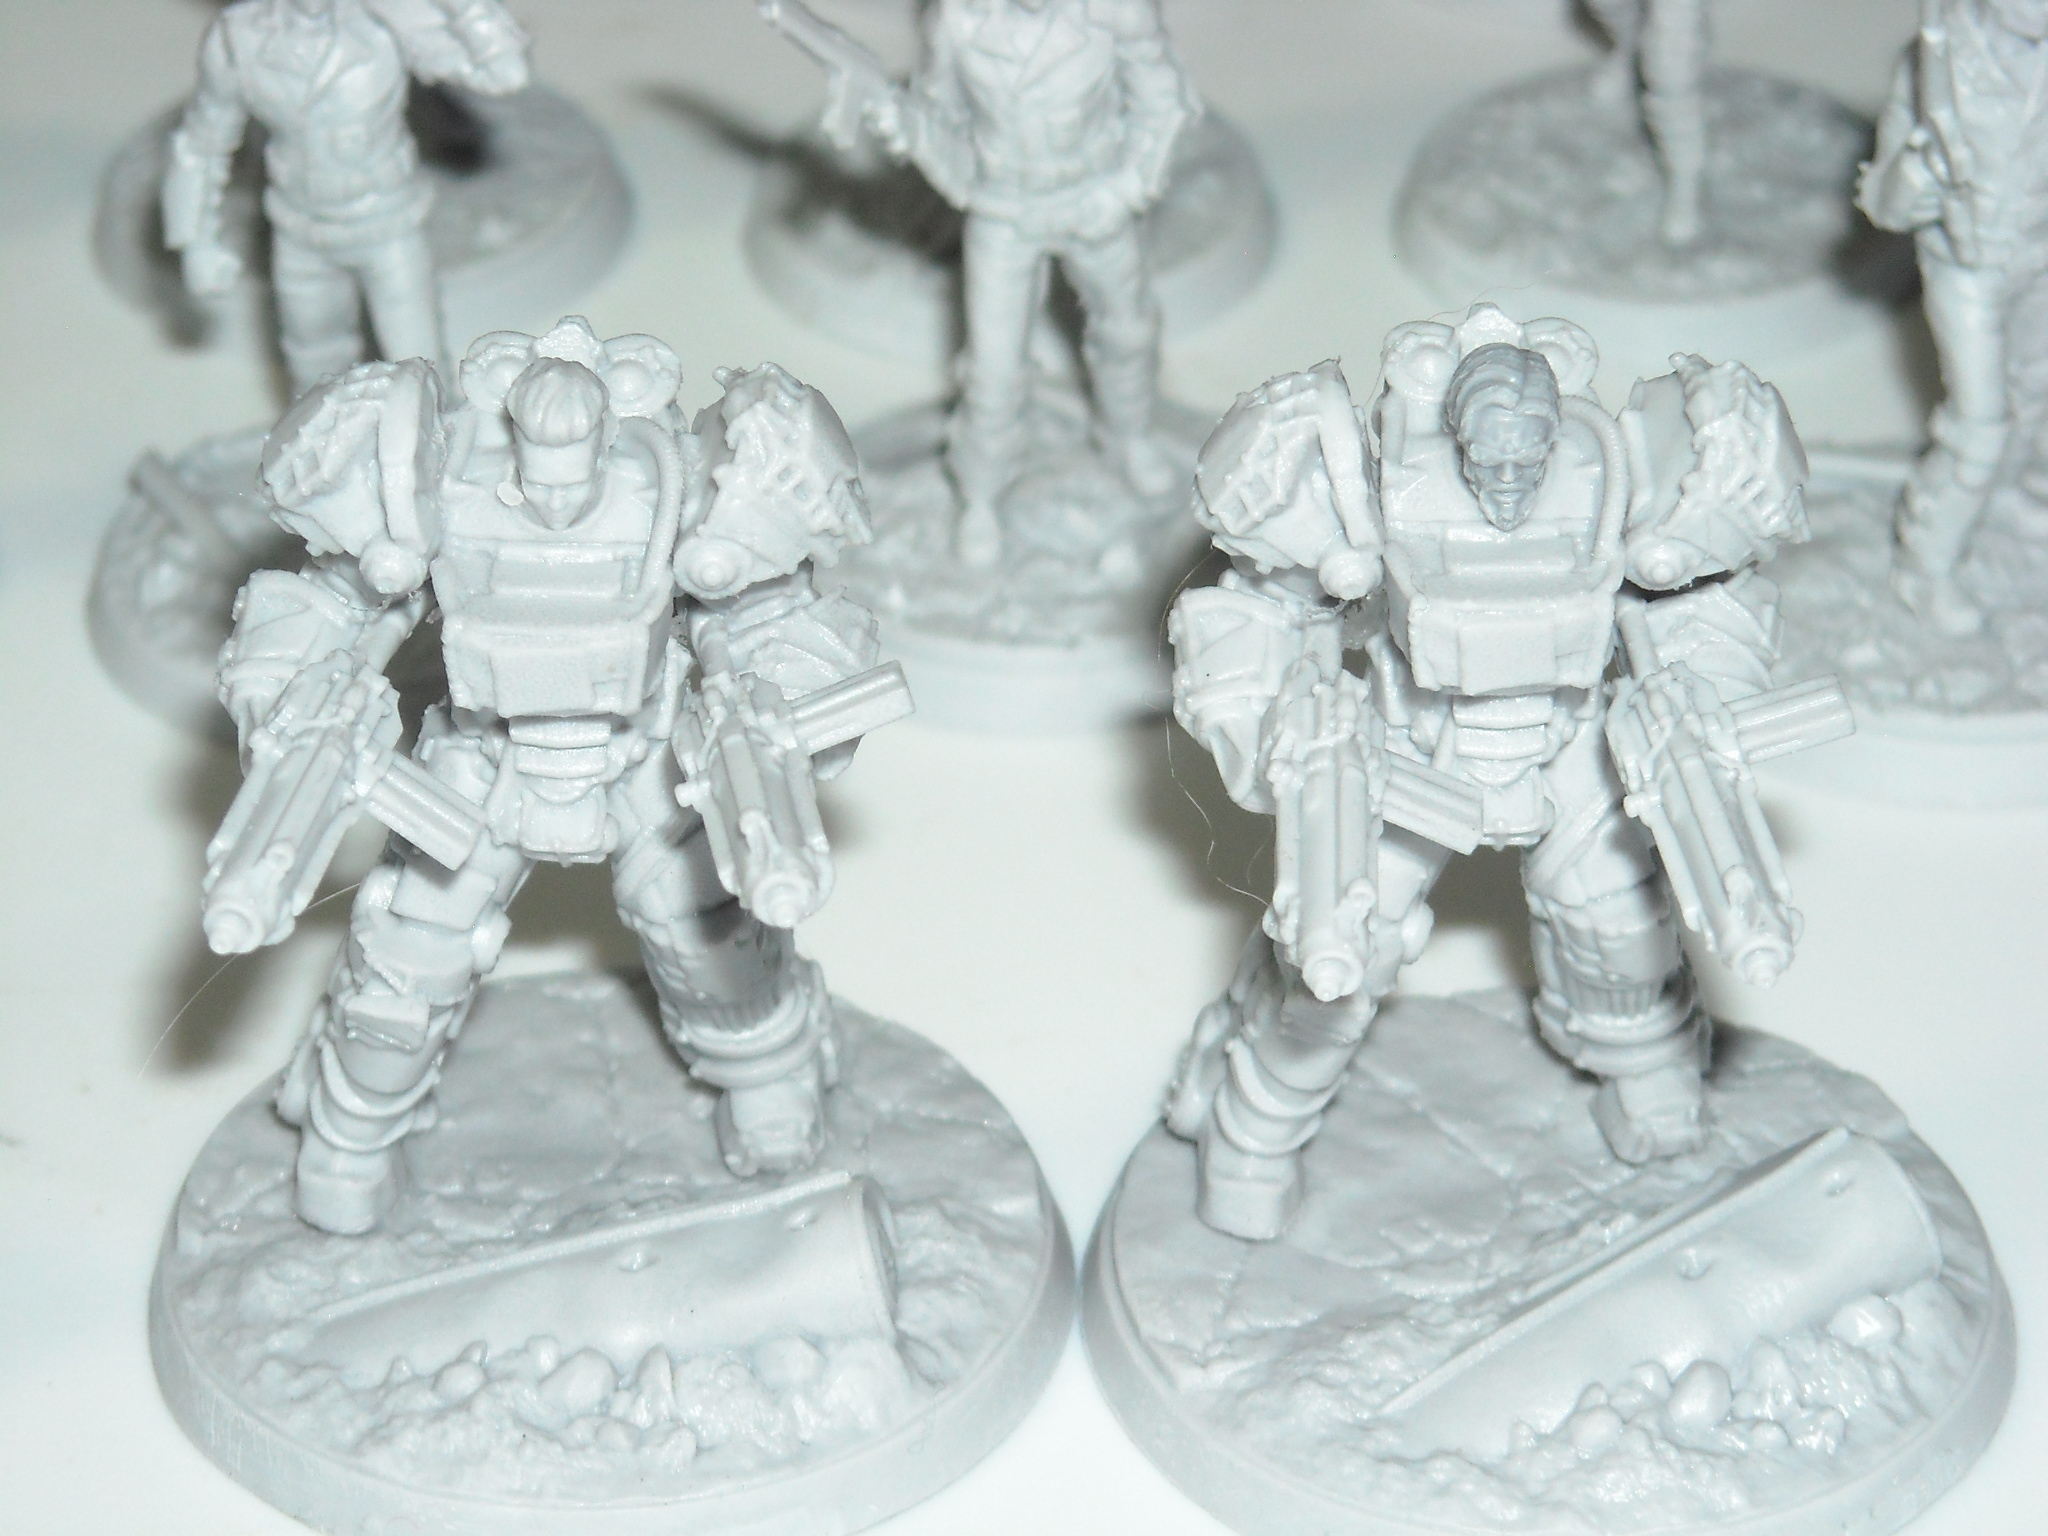
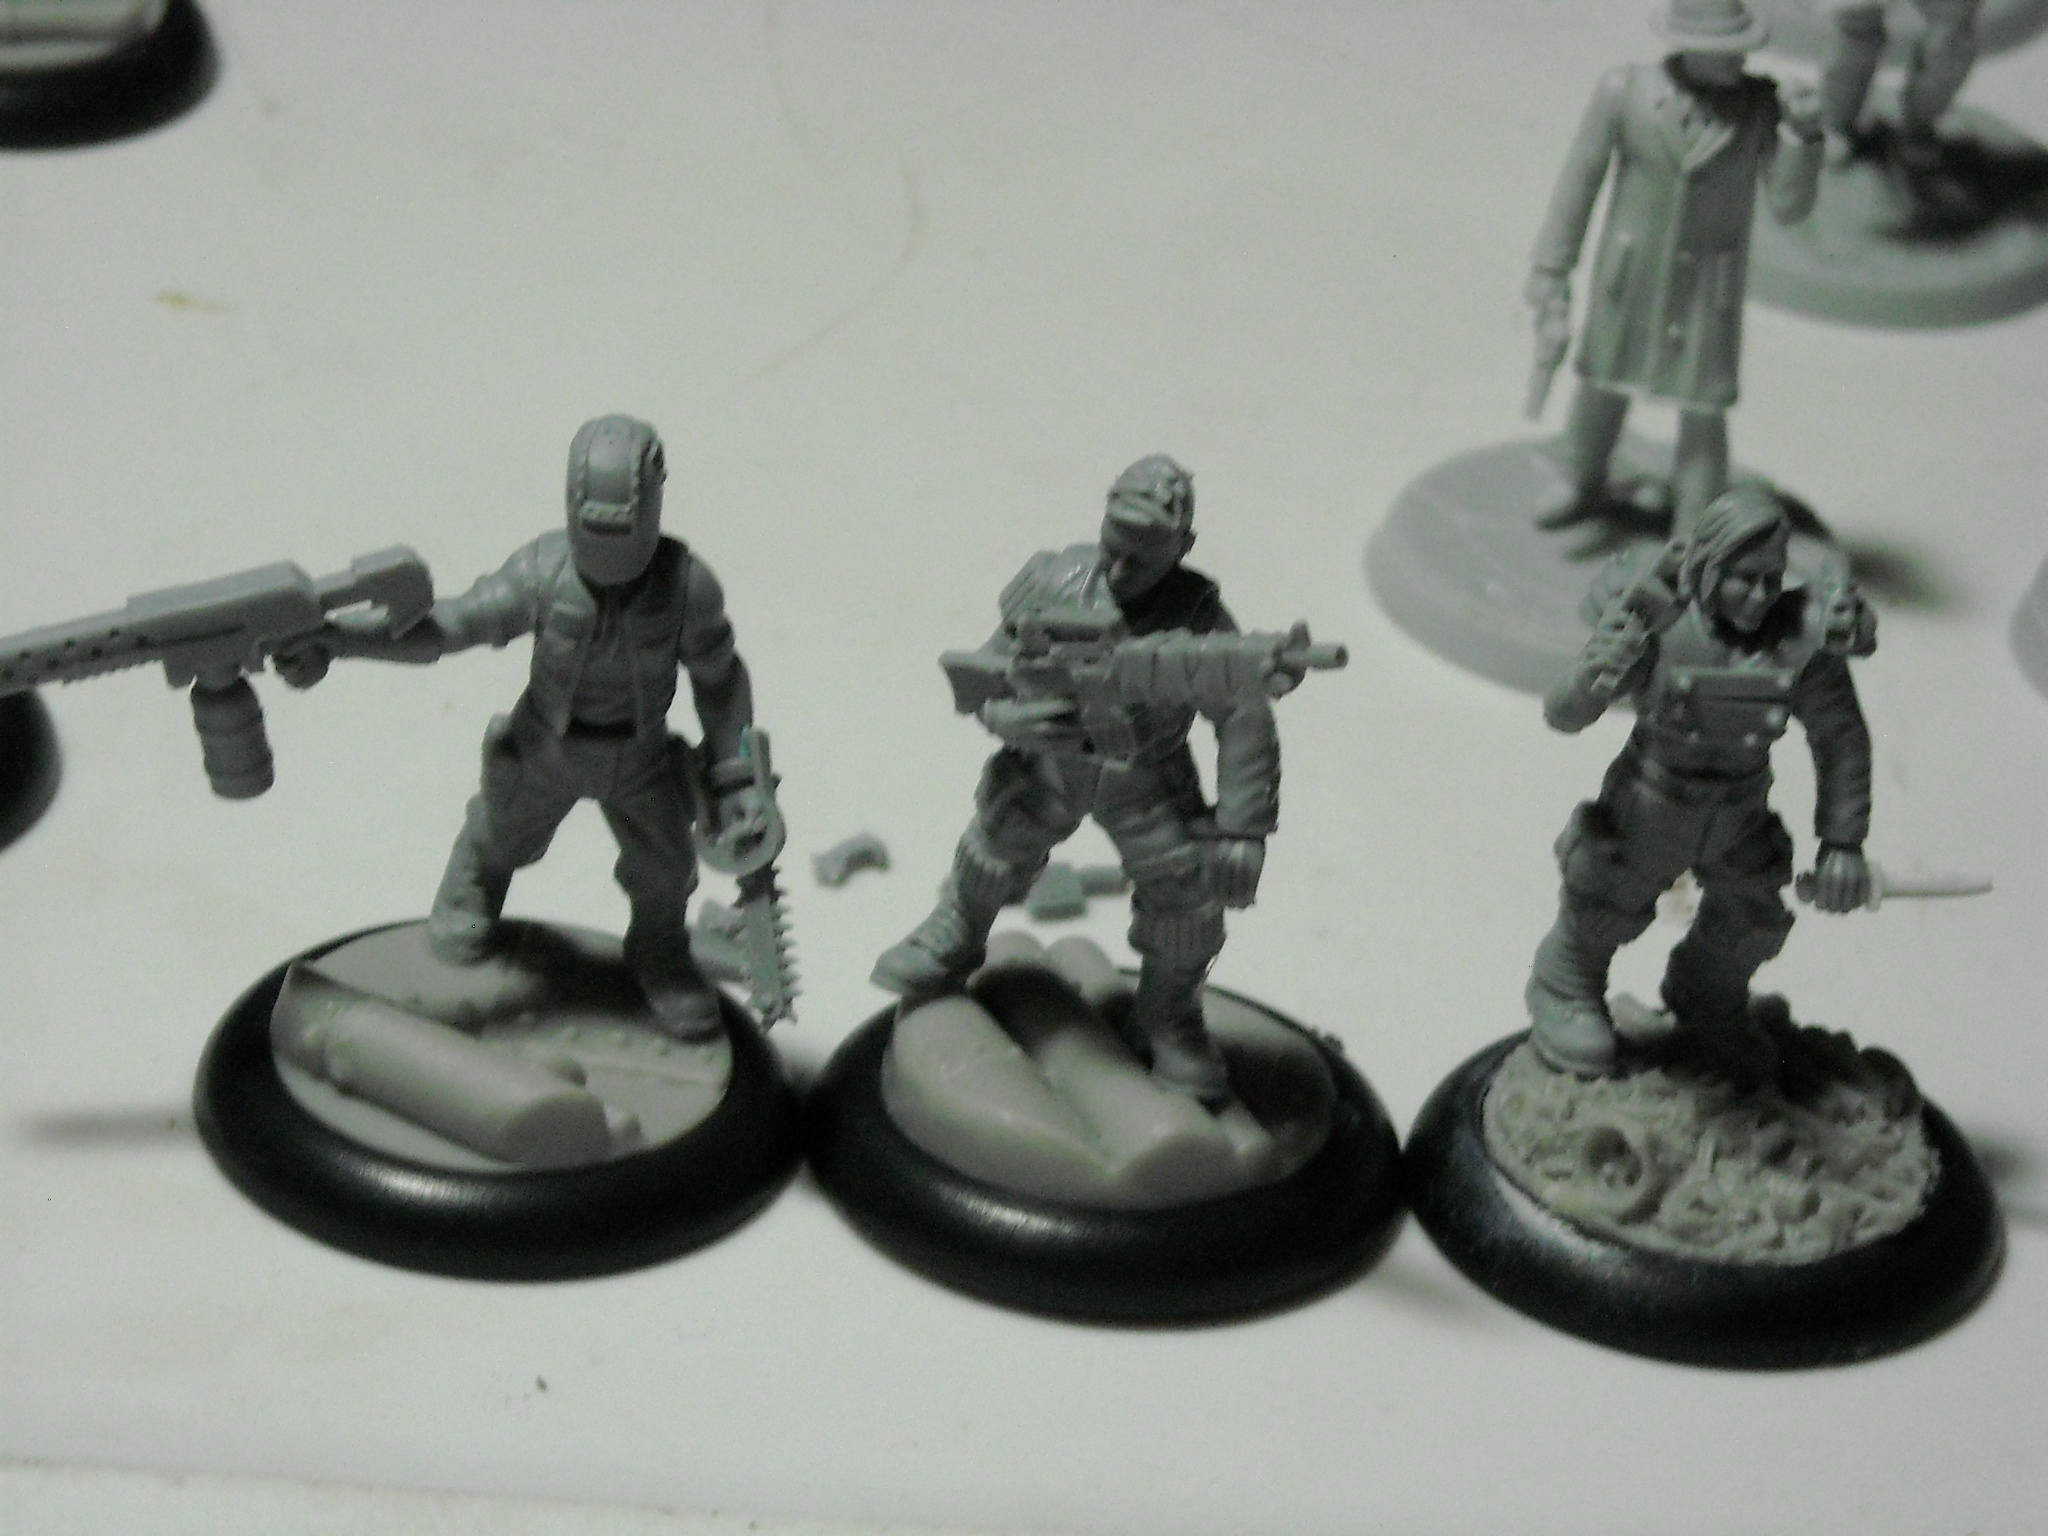
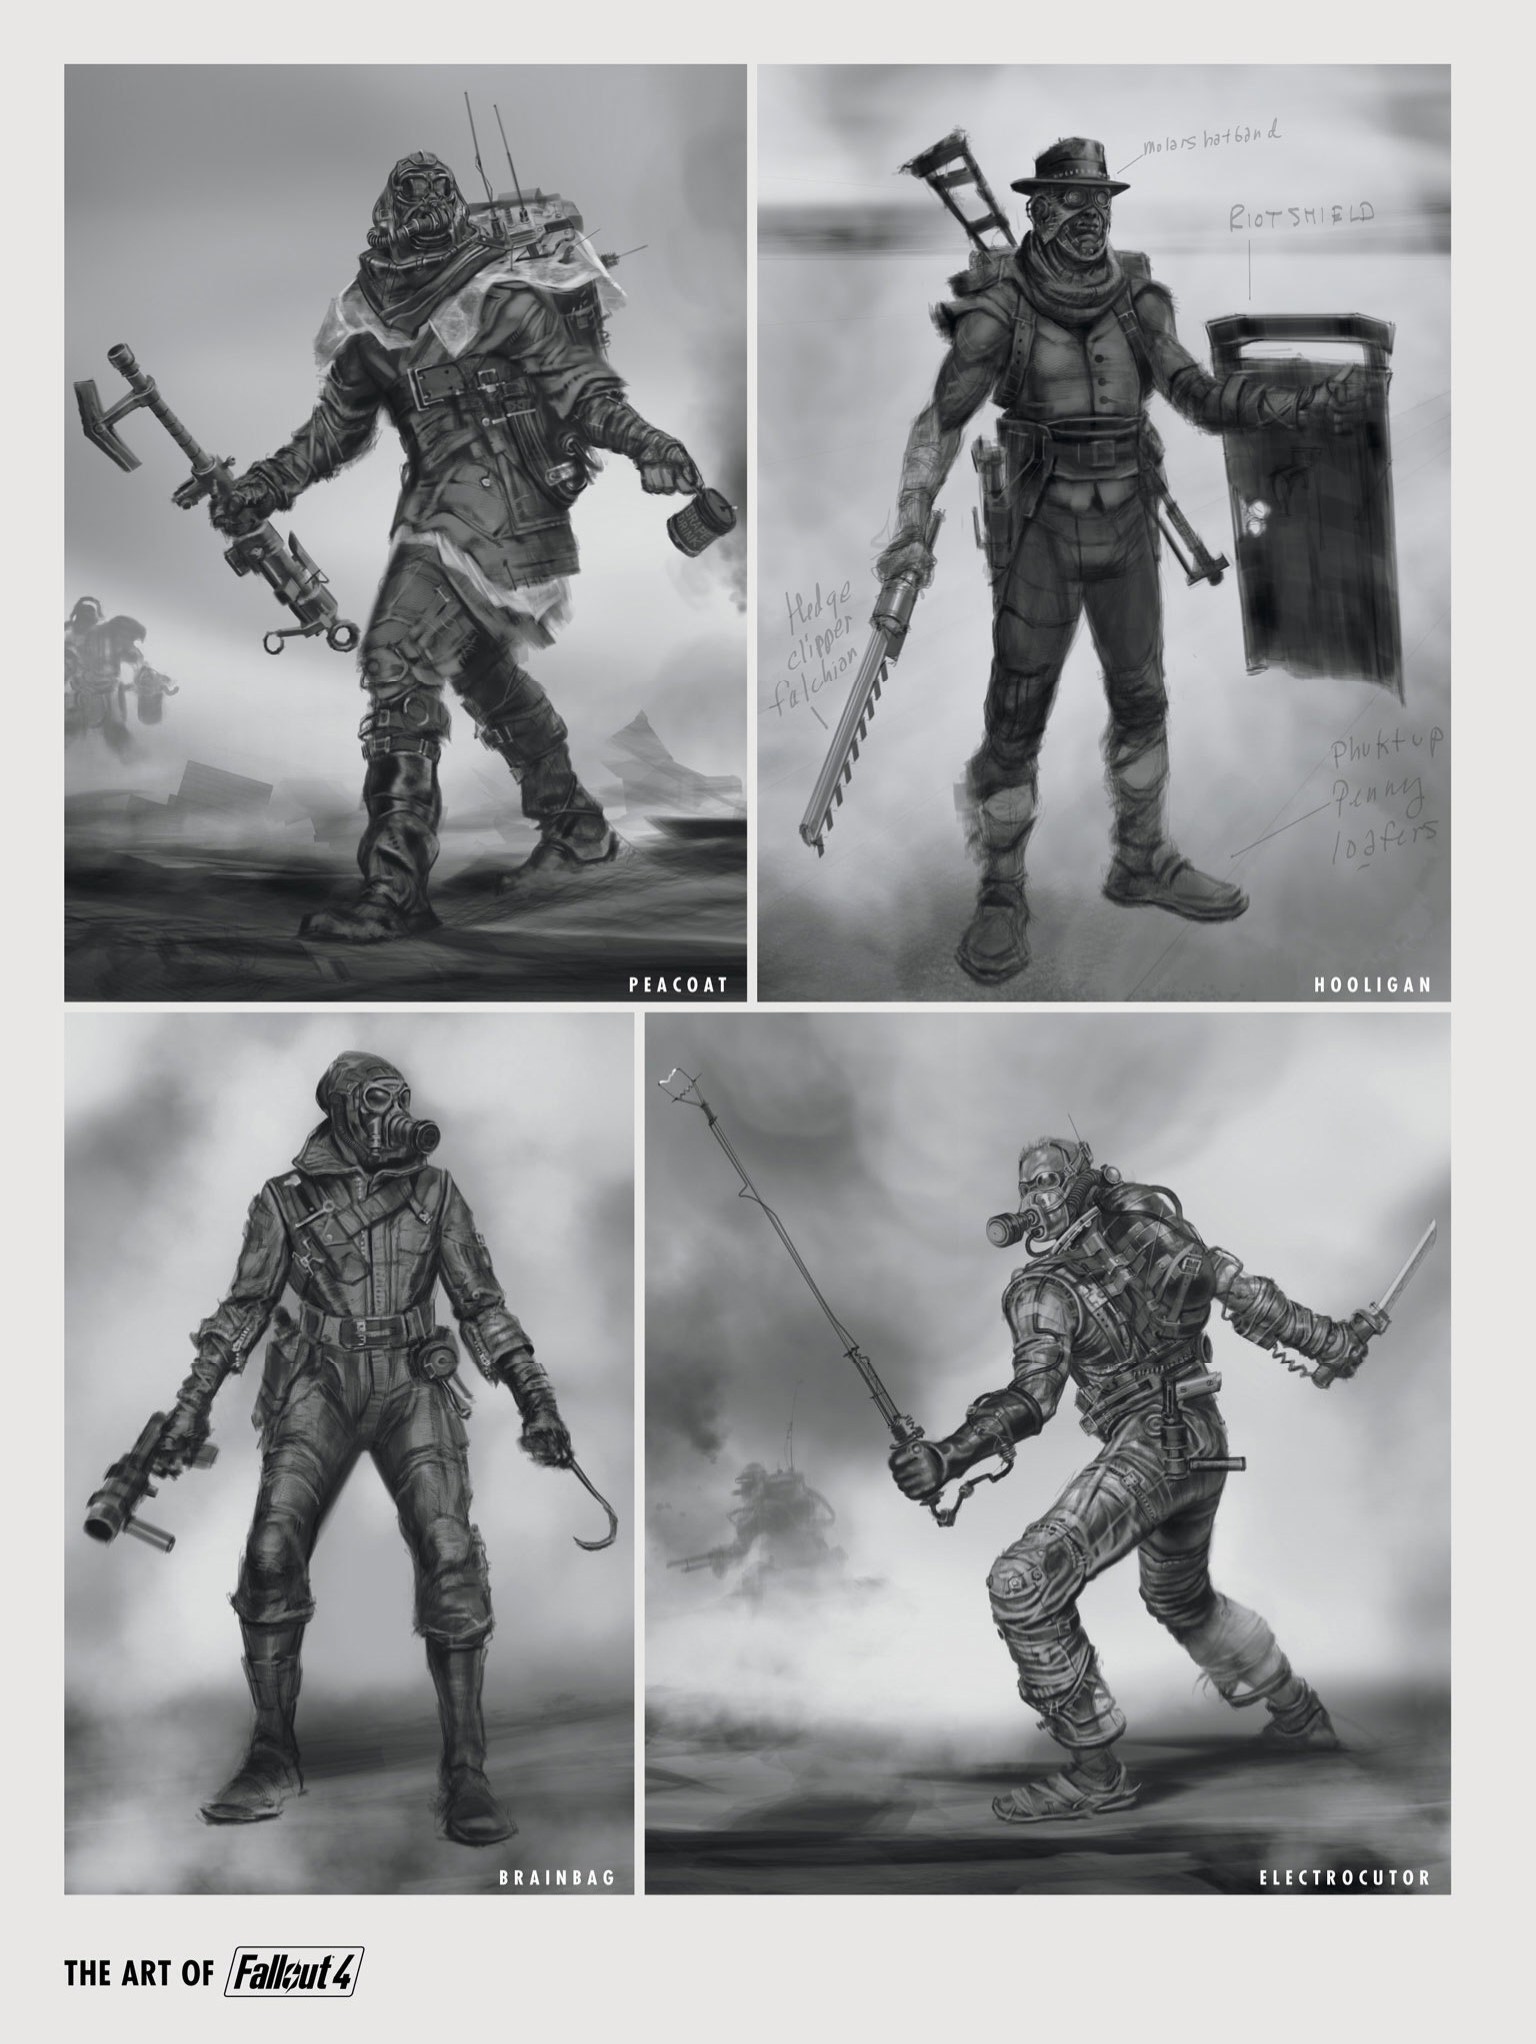
And I agree completely, visual variety is important. Skin tones and color choices for the clothes/items help, but to customize the piece with different weapons and such is always better. That’s part of why I did a head swap for one of my Raider Power Armor models.
Actually, I’m looking at a toothpick right now, and I’m pretty sure you could do it with just one toothpick, but it’s a bit thicker than the tireiron, so drilling out the hand is going to be something you’d have to be VERY careful with. I might still give it a try, but I’m going to use a spare hand from something else to drill out just so I don’t ruin the official model if I can help it.
Would it be worth splitting the toothpick in two and just drilling a pin hole through the hand then using that to pin the two halves together? I’m not sure if that would work but if it doesn’t you’ve only wasted a toothpick and you can enlarge the hole later!
I’ve also just remembered I have some wire spears, I may look at one of those when I get home and see if that could work with a little greenstuff to bulk one end. Still no wood grain though!
I have a few extra arms and such from my Warhammer days. I’ve always found hand and head swaps to be fairly easy, so I was thinking I’d find a hand that looks to be about the right size and go from there. No risk to the model at all that way.
The spears is a great idea. You’ll have to let us know if that works out. I might have to check through my old Bredonnia and Empire bitz and see if I have anything like that.
I just found something that’s almost TOO perfect. I’ve got some extra hands from Mad Robot miniatures. One of the hands I’m not using is open so that you can sit things like molotovs, grenades, and similar in them. The toothpick literally “clicked” in place.
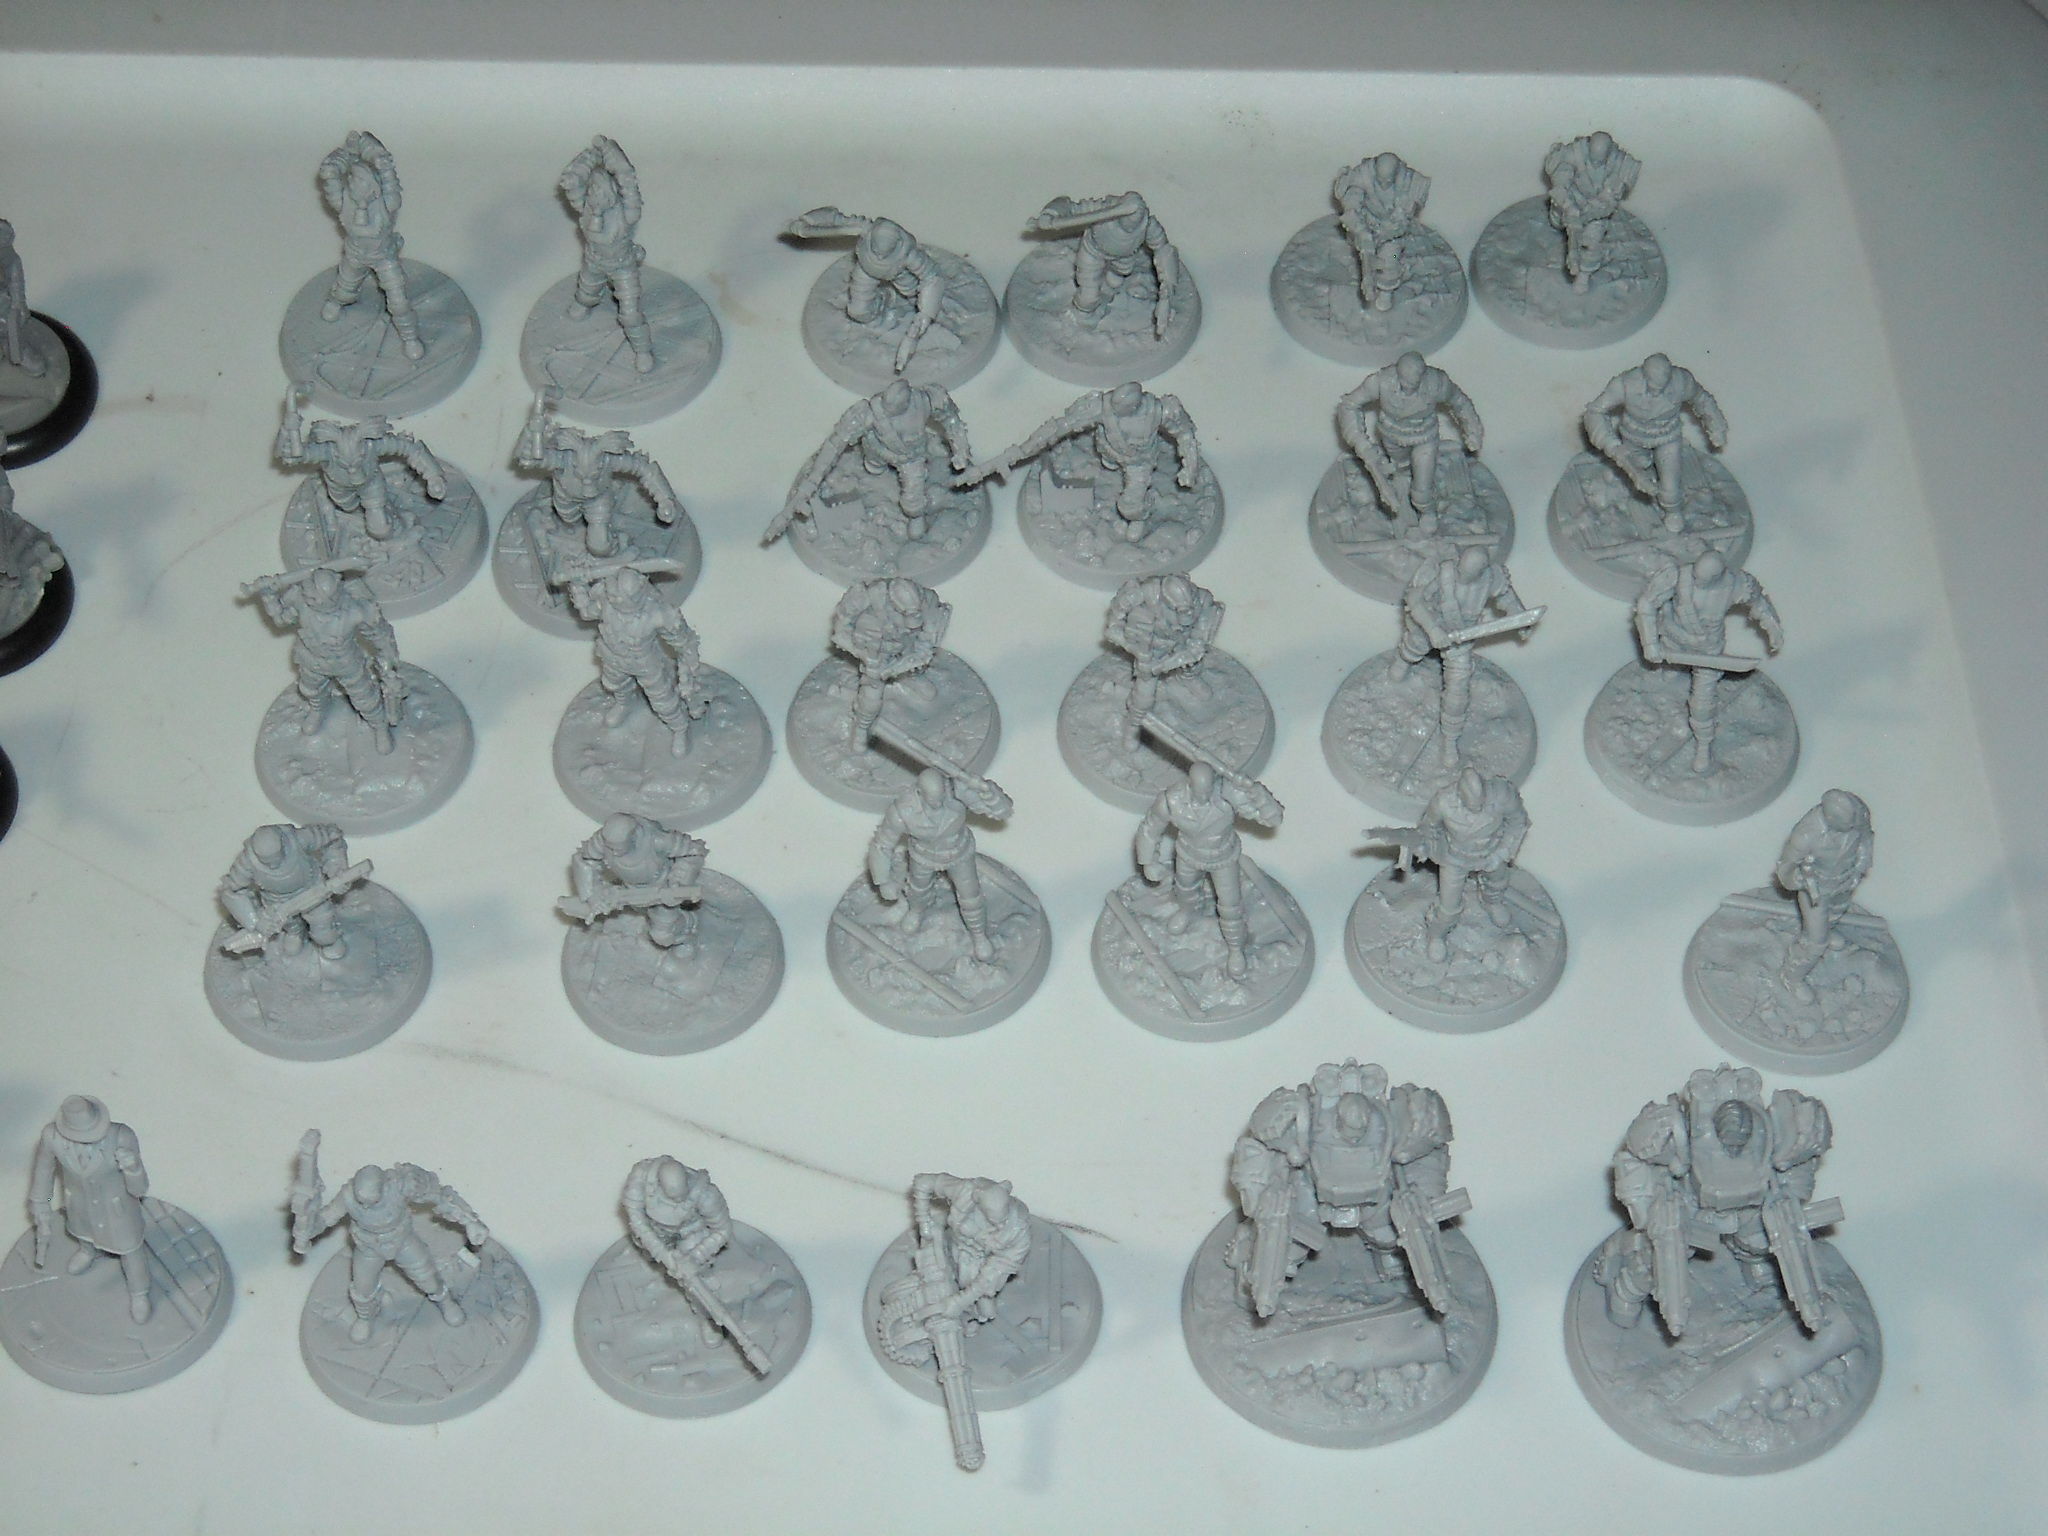
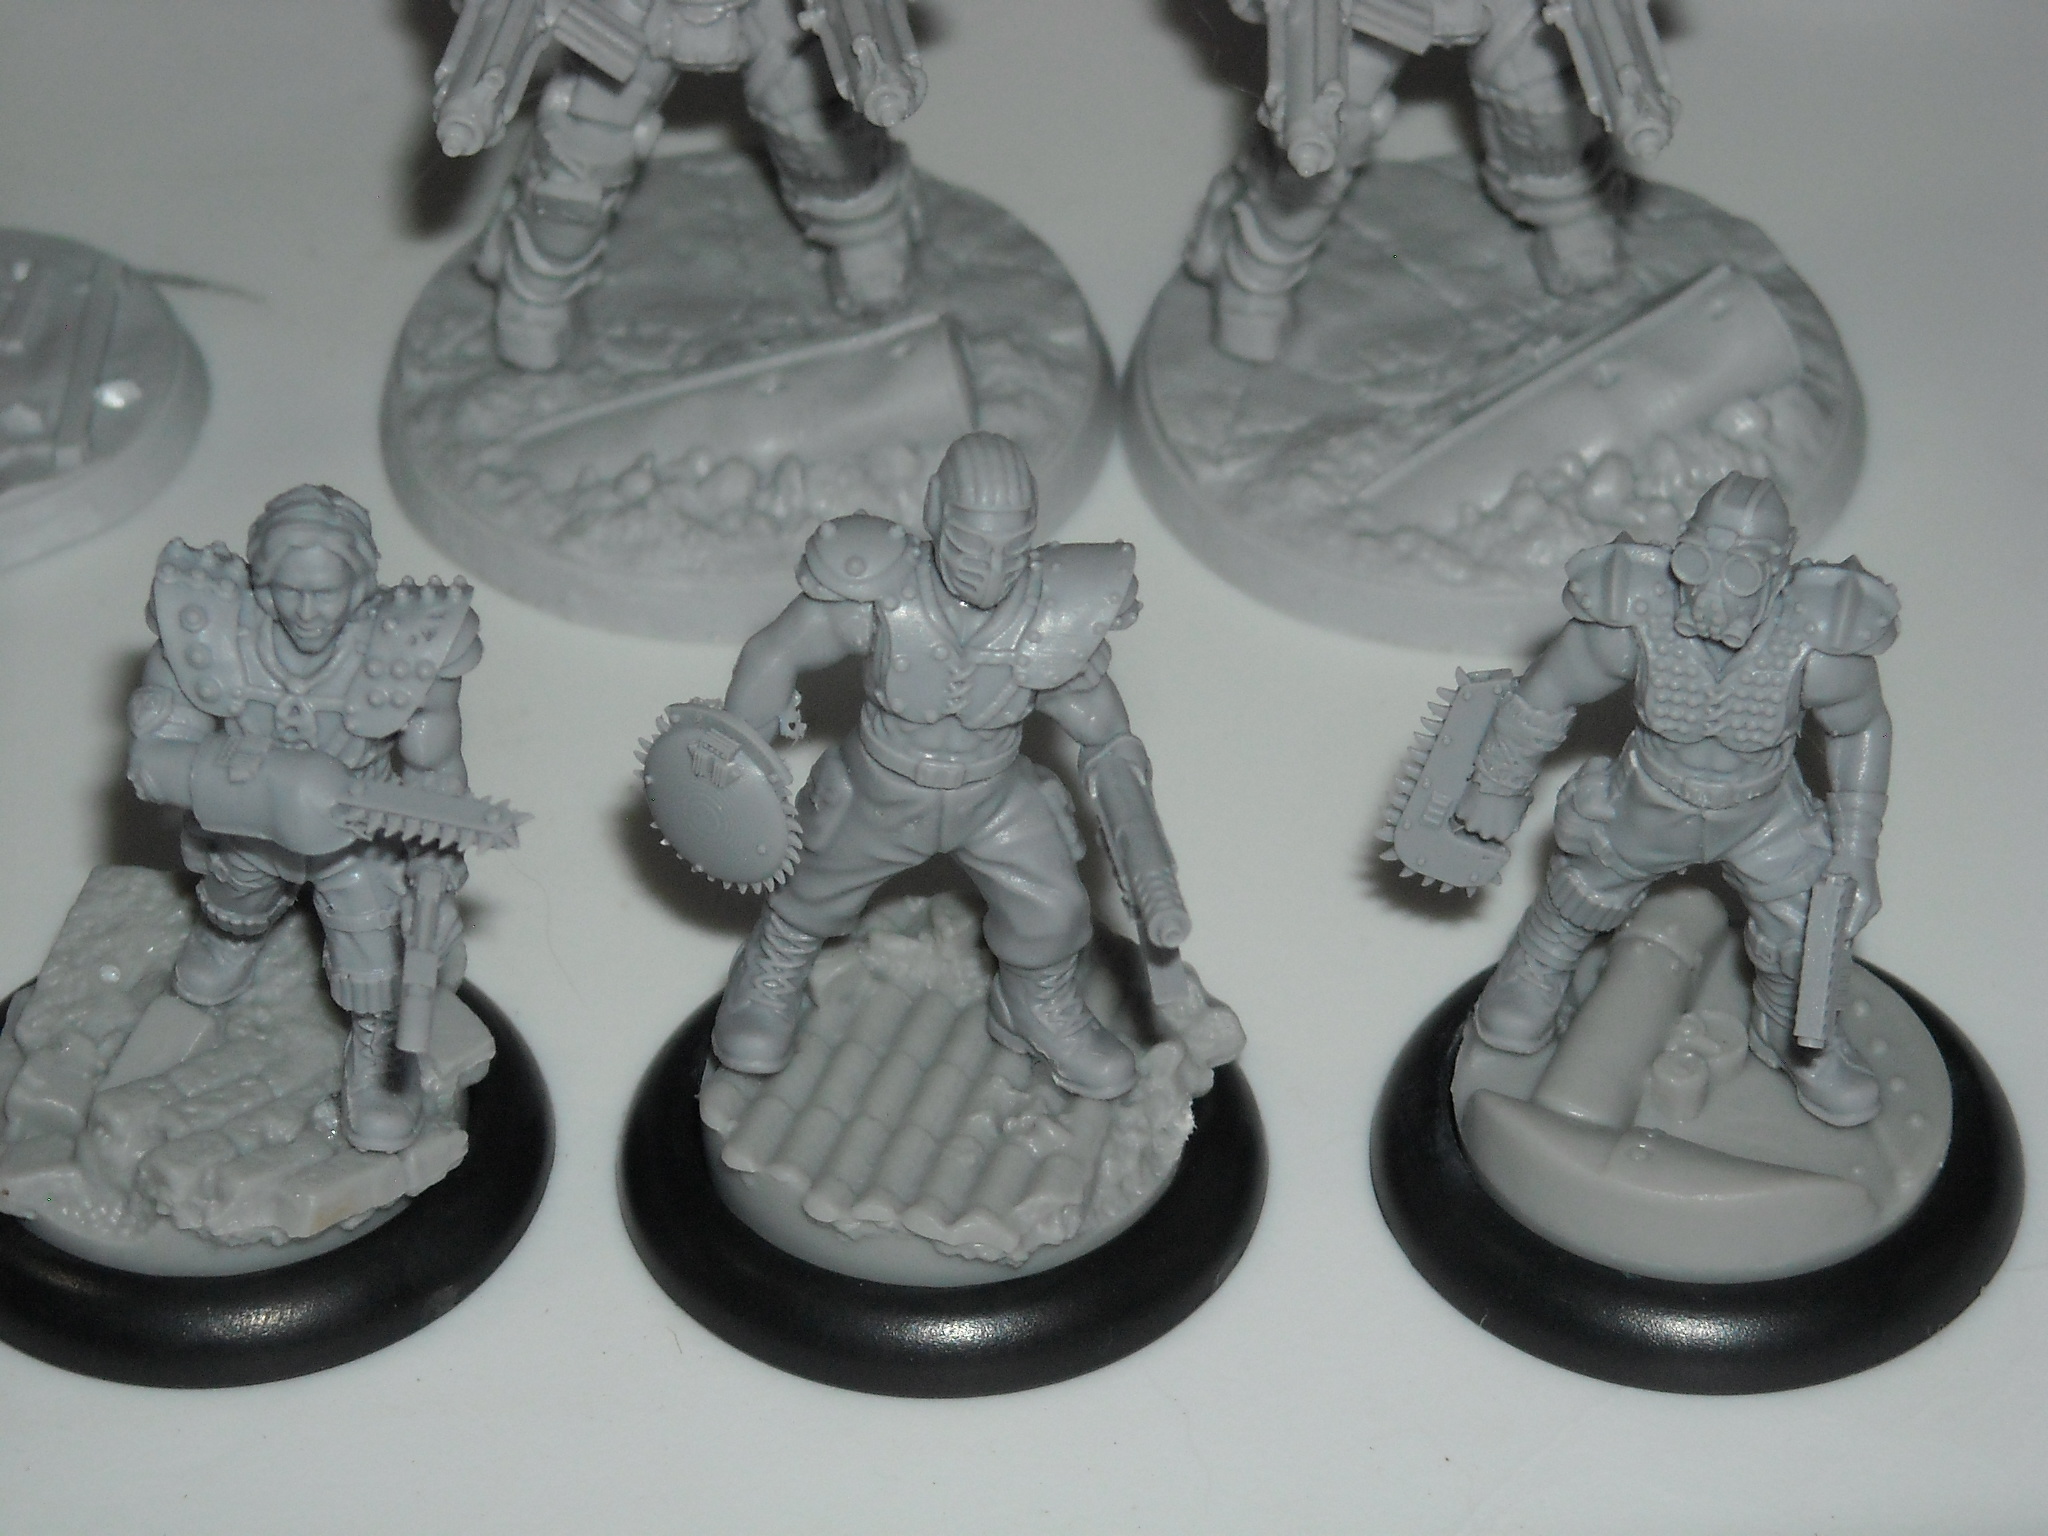
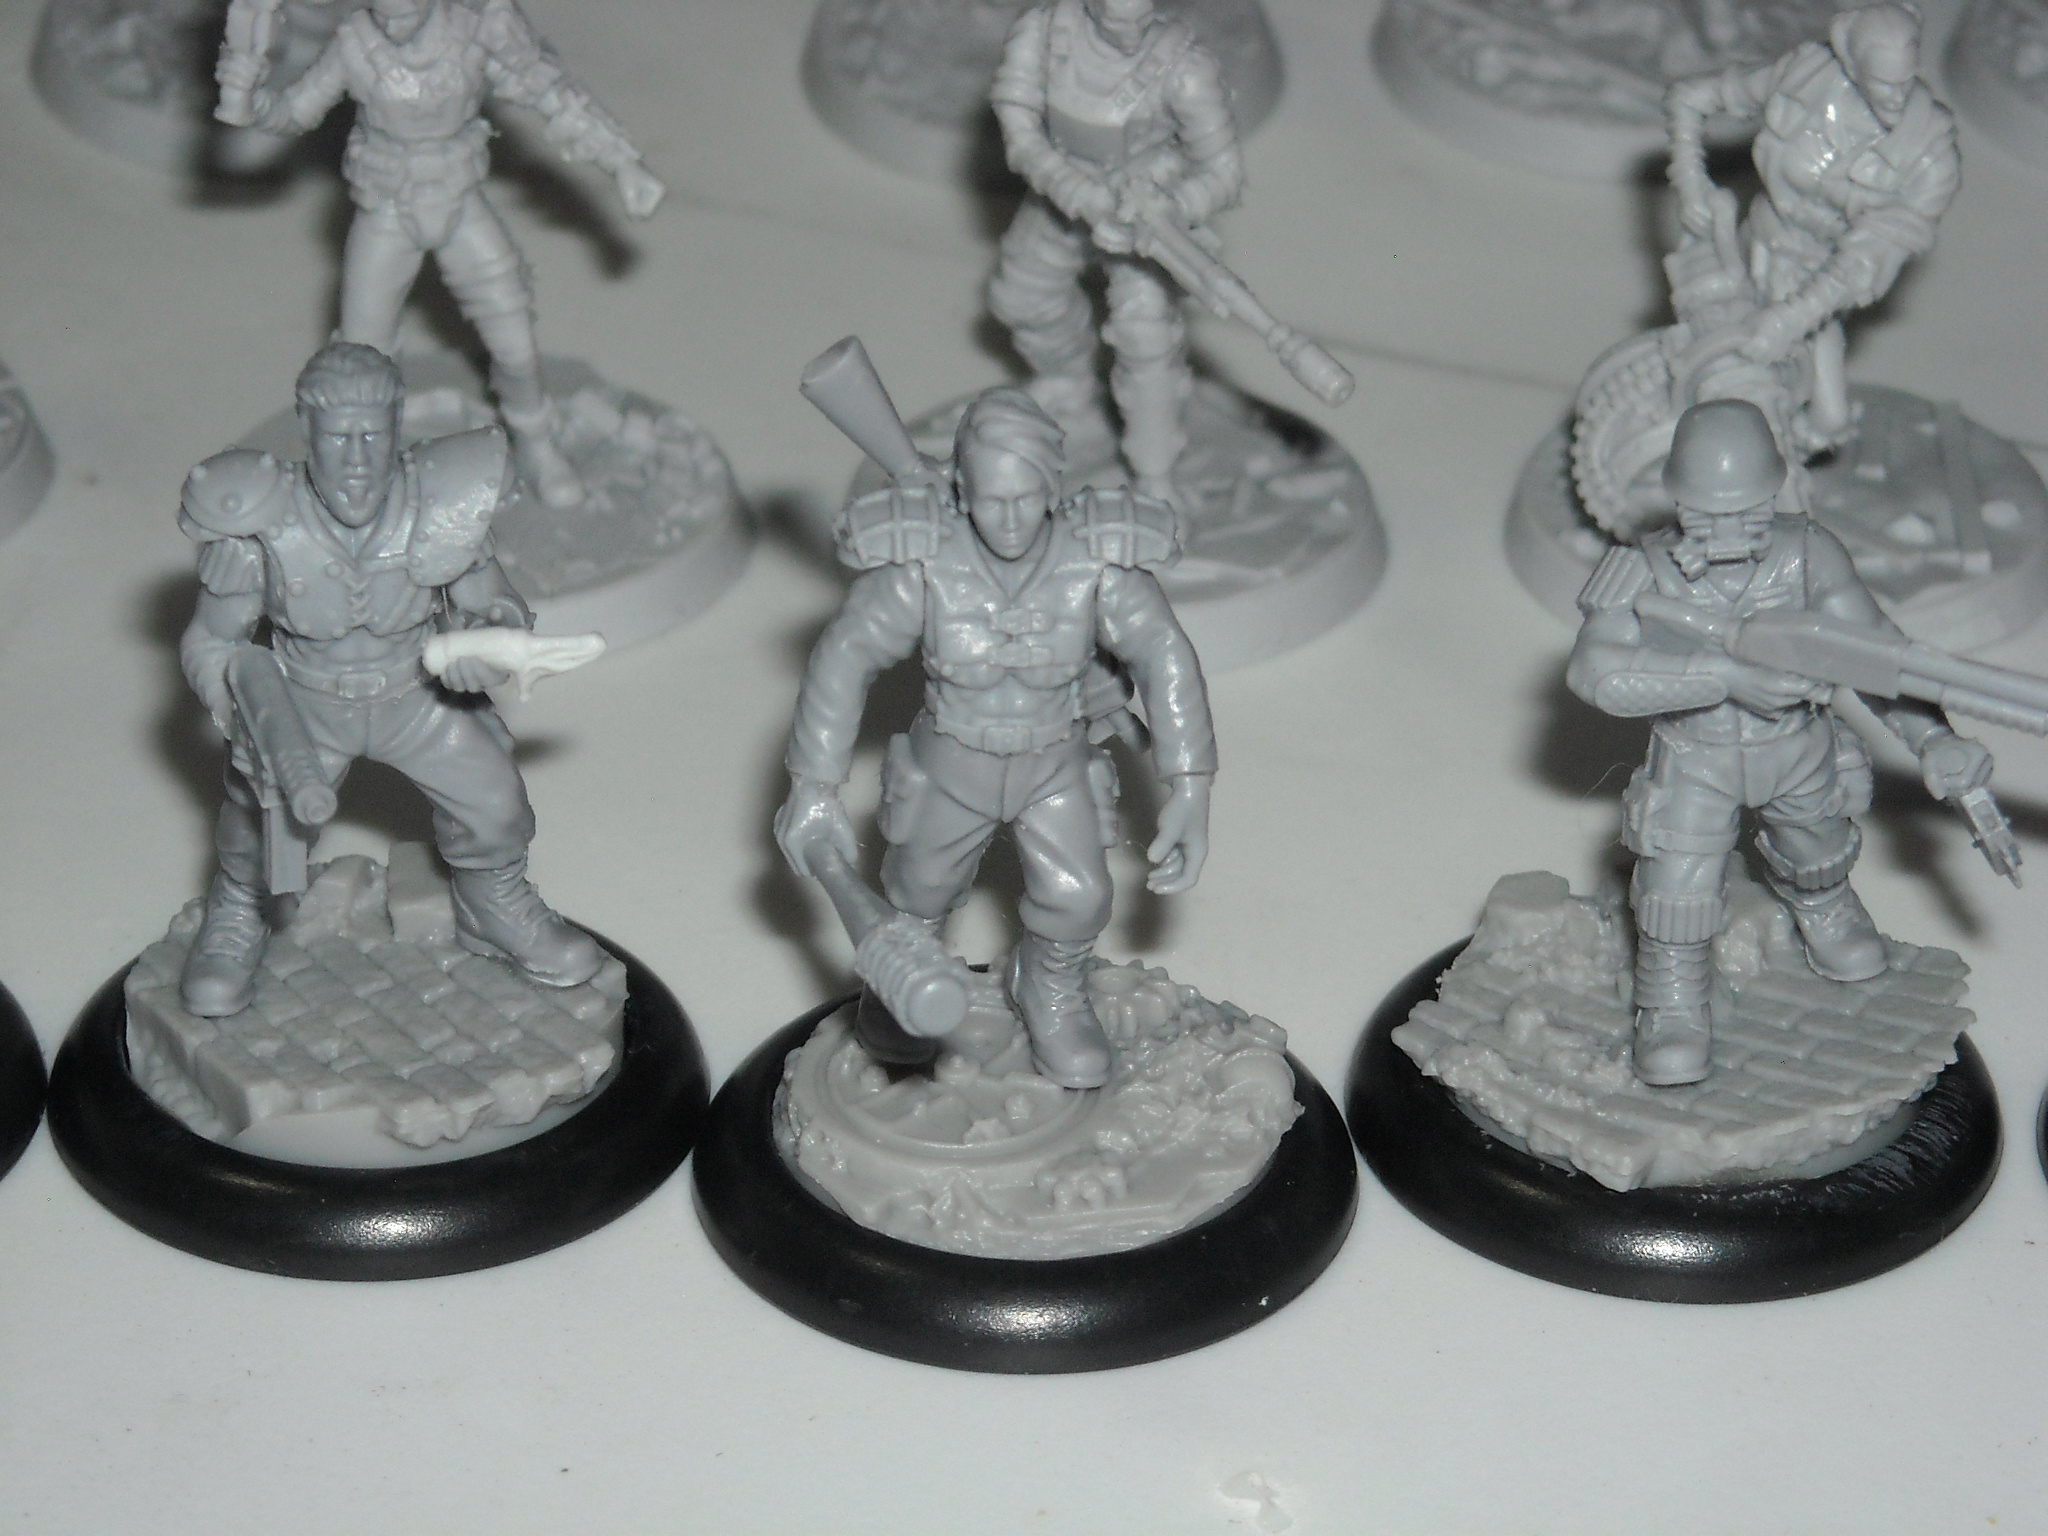
The next three images are of some other models I assembled, all of which I intend to use with the Raiders. Managed to work a knife and a molotov into the set from the official weapons sprue.
Still waiting on my glowing ghouls, coursers, and Liberty Prime that I ordered when they were released, but I DID get some goodies today.
I can’t take any pictures right now because my camera died earlier this week. I should have a replacement arriving some time in the next two days though so I’ll get some pictures then.
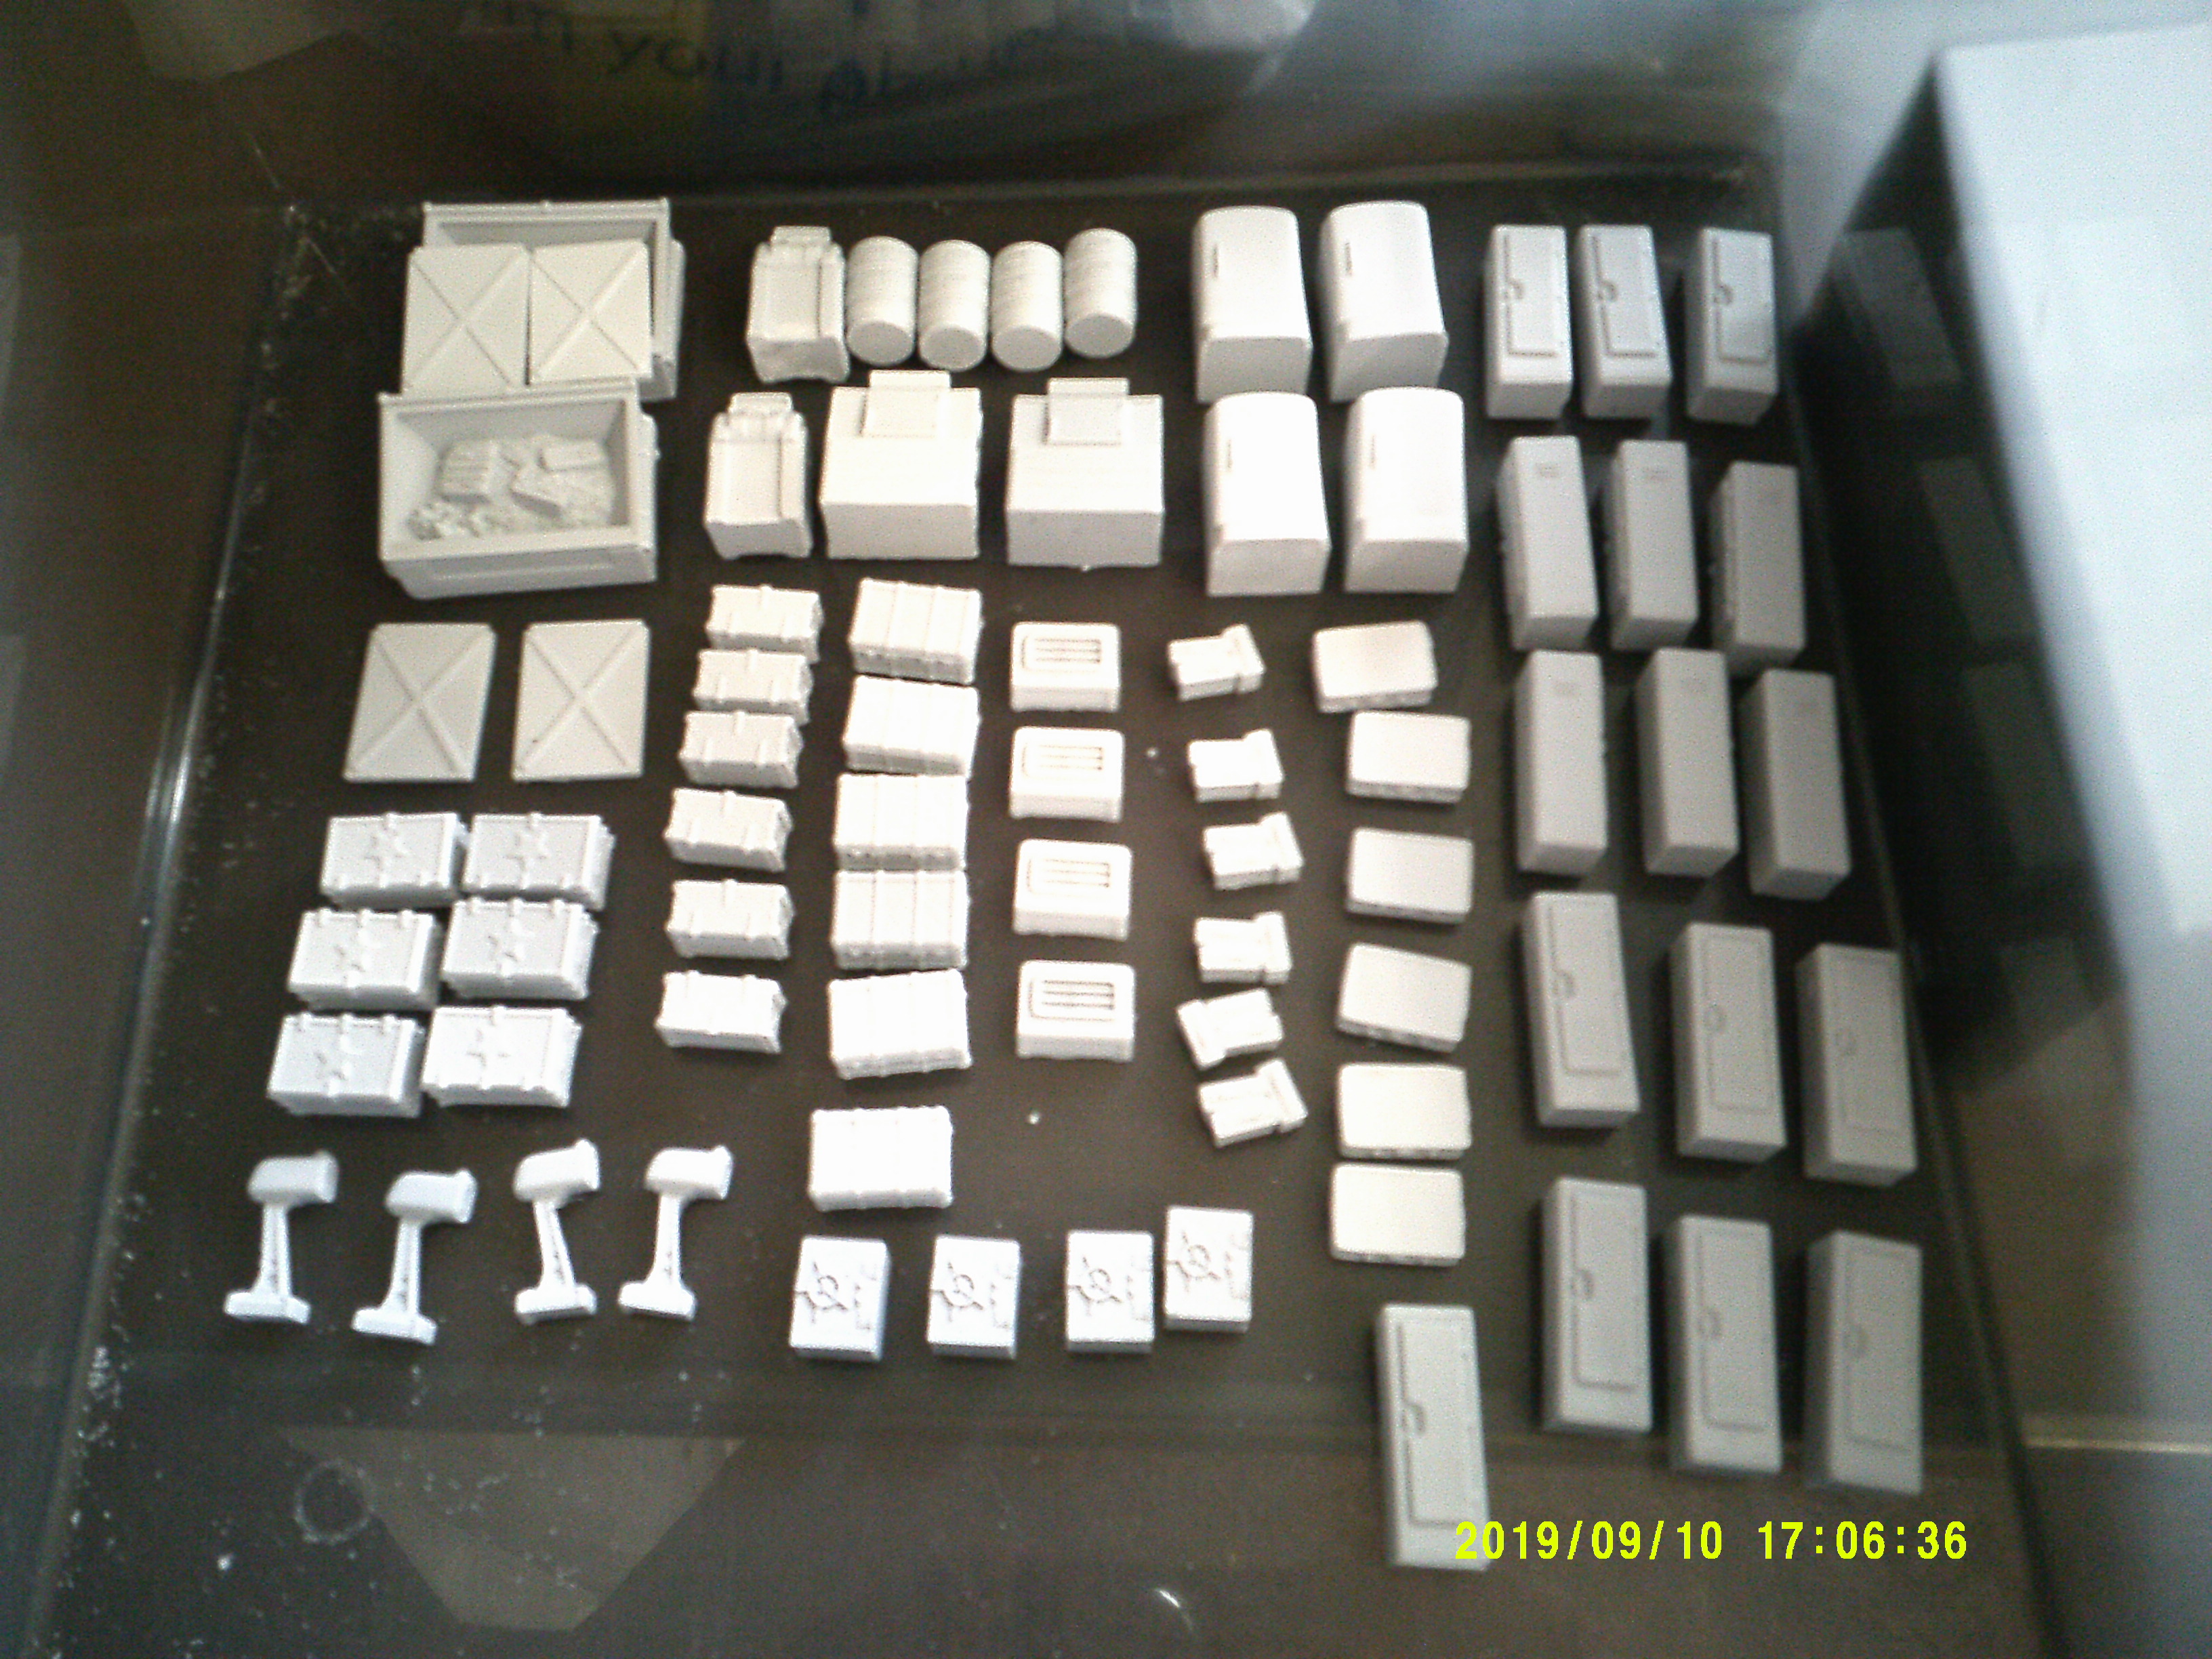
I ordered up two each of the new terrain sets with the exception of the crates package which I ordered three of. REALLY love all of it, there;s some really amazing pieces among them. I’ll get some images when I have a chance.
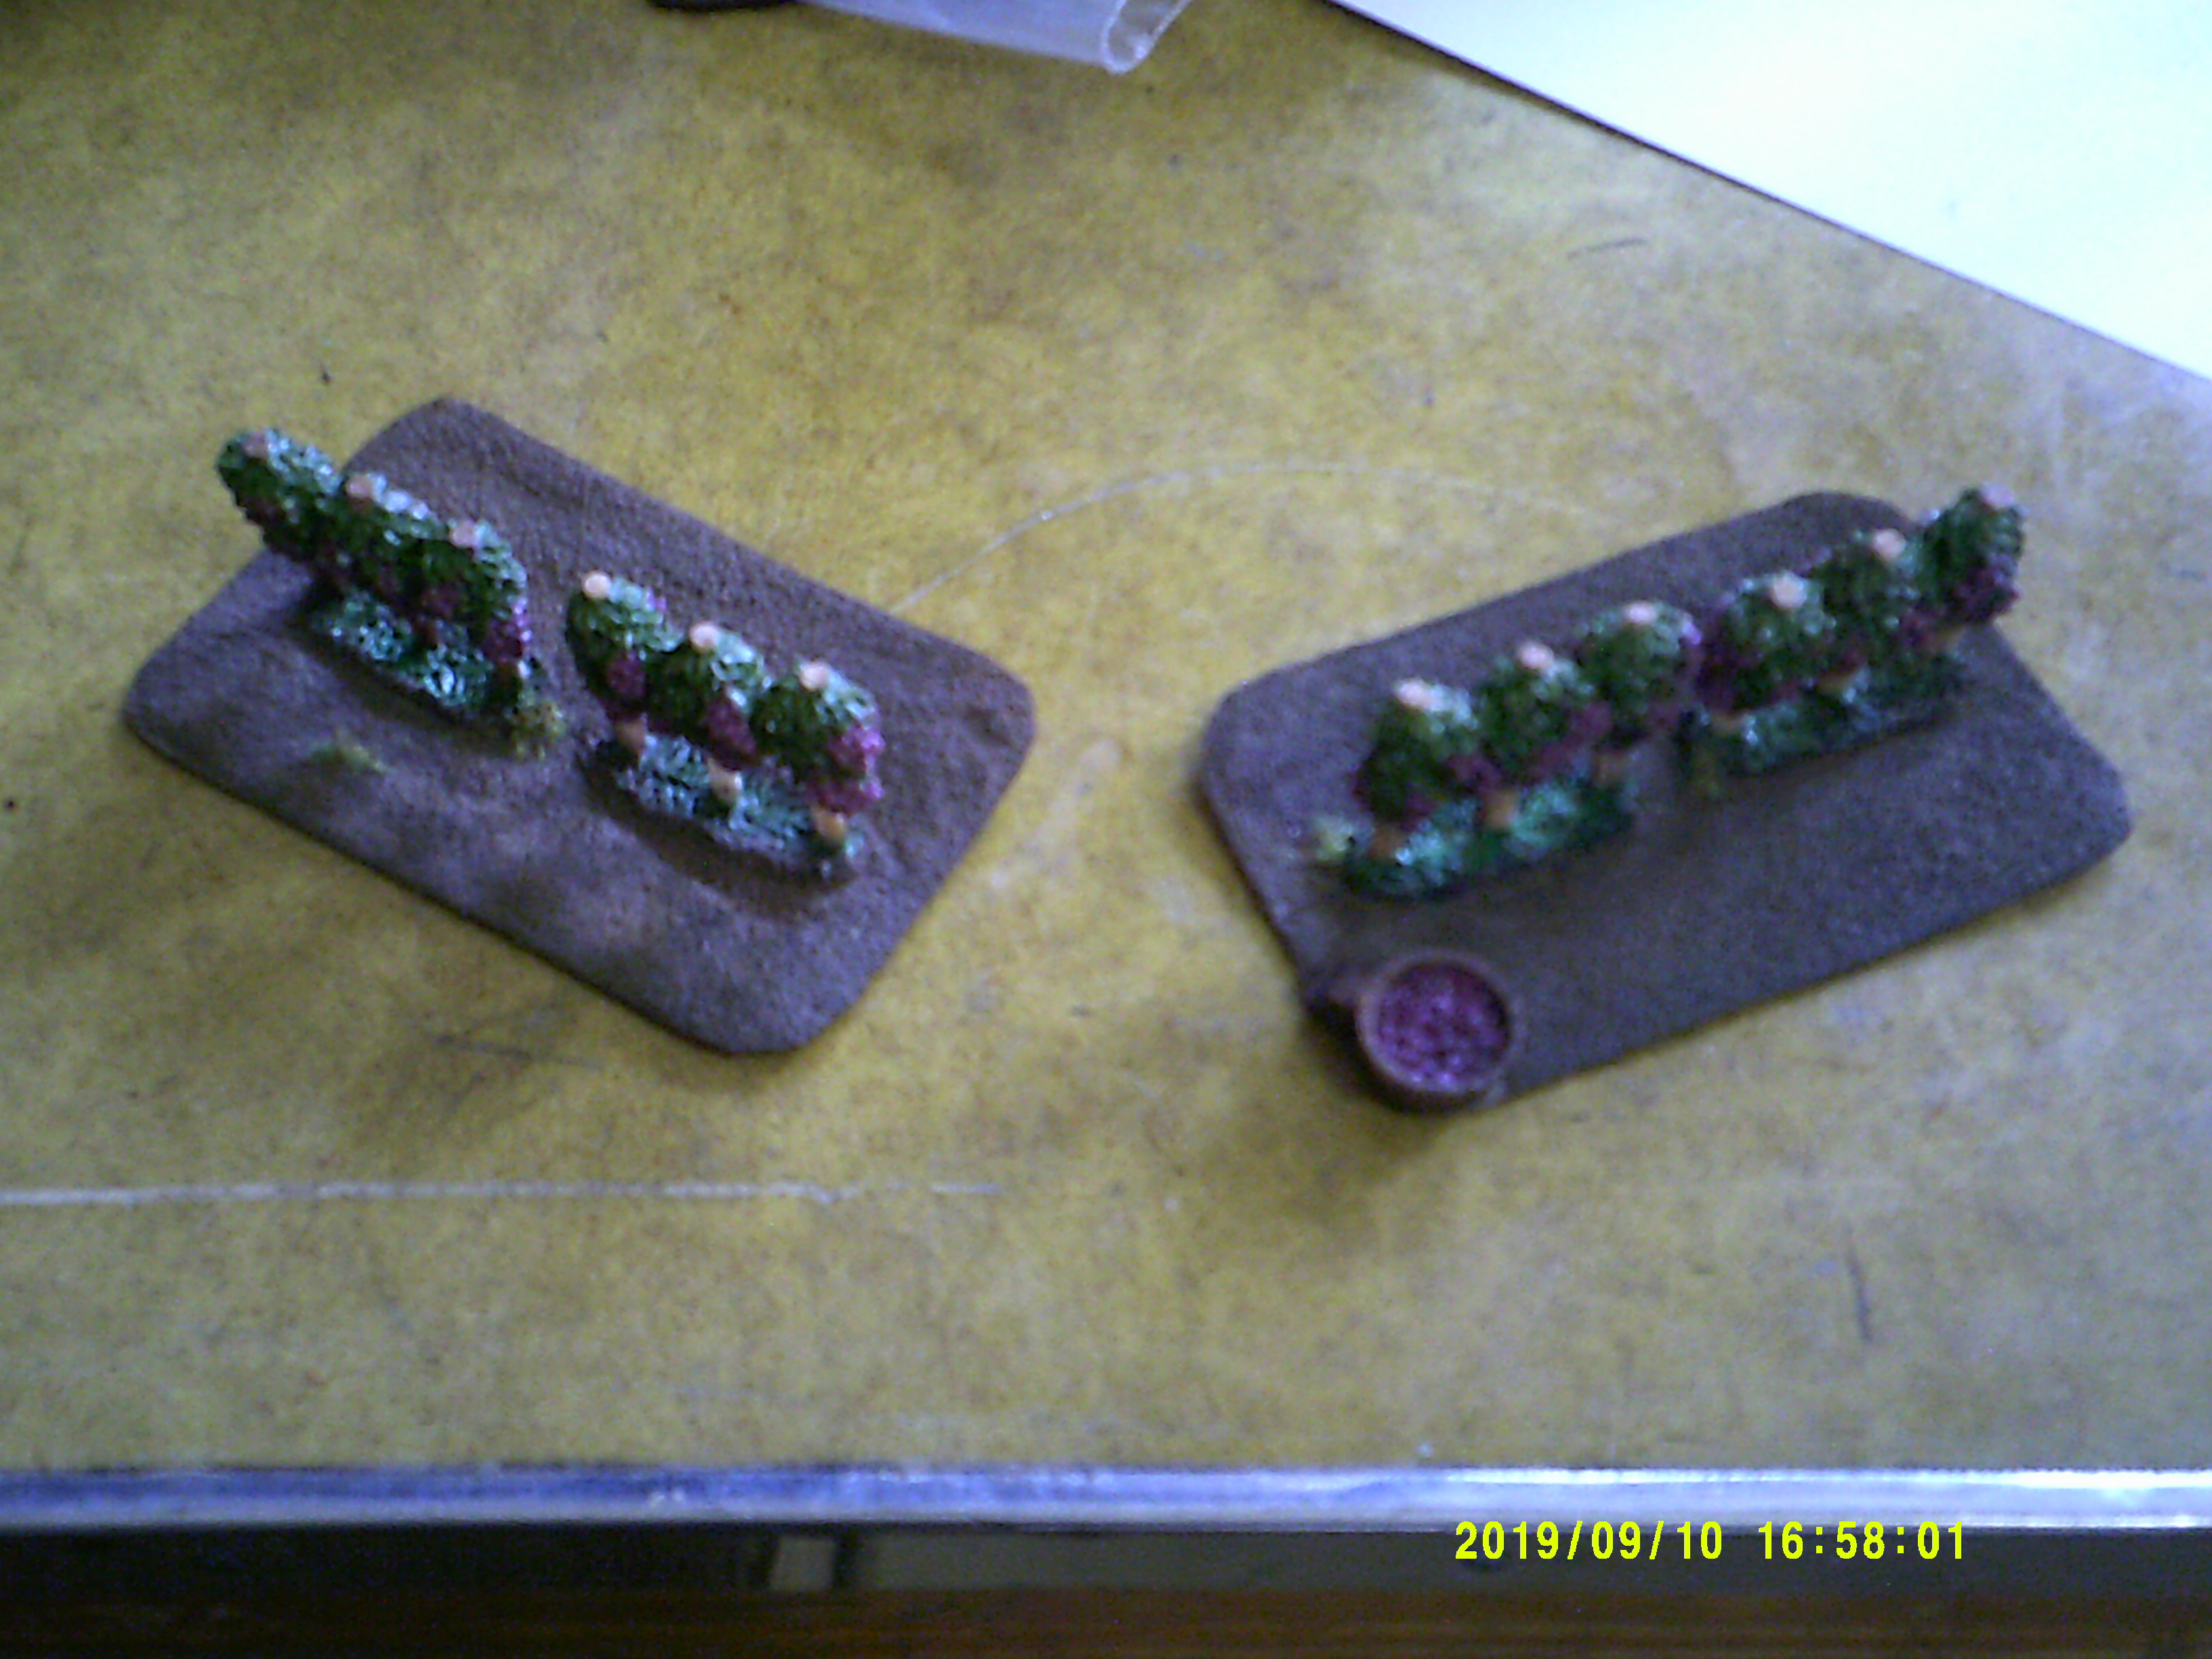
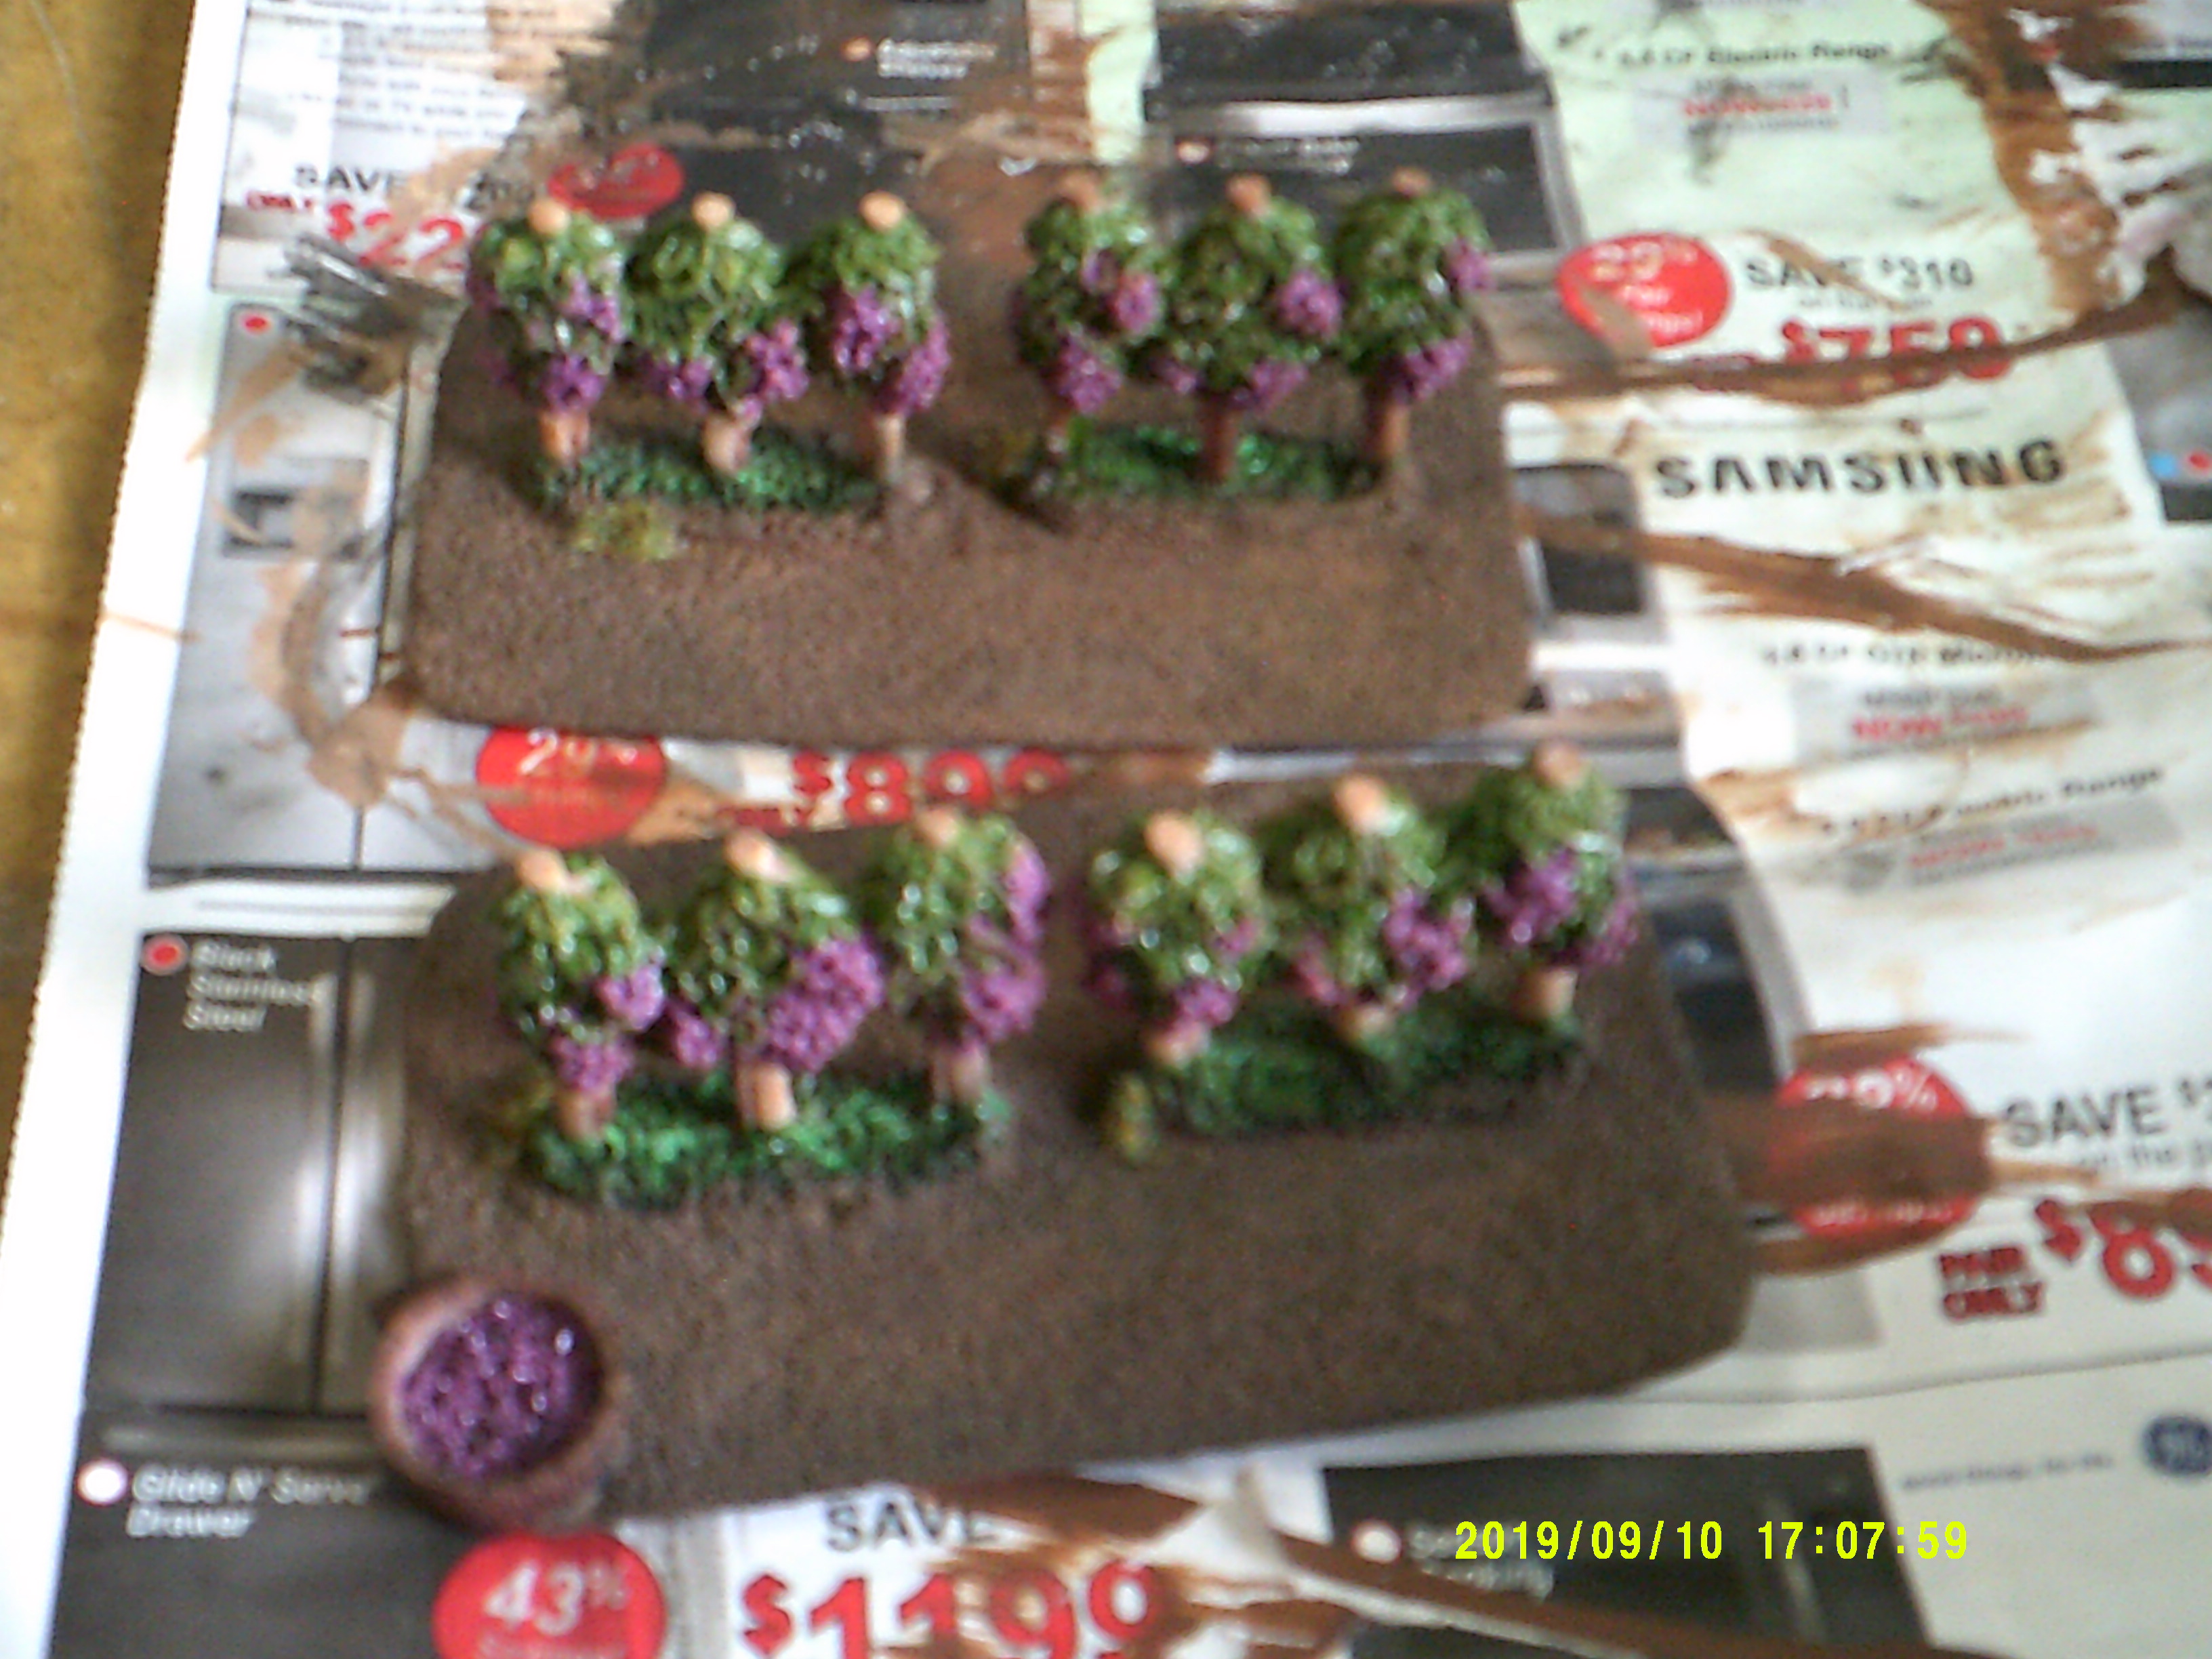
In addition to that, myself and @robhistory have been talking about going a settlement mode game. I personally think it would be fun to actually MAKE those settlements, or at least have a standard setup for them. Then to use them as maps during play. Because of this, I’ve been putting a lot of thought into crops recently. I already had some grape vines left over from an old project, and Rob was kind enough to share some of the cabbage plants he had for me (If you’re reading this, I’ve got a couple of goodies I’ll share with you next time you’re by too. ). Then there are some pumpkins, watermelons, and tomatoes that I found just a few days ago too. I started putting together some little garden plots to use in the game and am using it as an excuse to experiment with doing soil effects. I think I found a combination that I like pretty well. I’ll walk through it when I can share some pictures to go along side my explanations.
Will hopefully have some pictures to share by the end of the week, hopefully sooner.
According to my shipping information, I should have a camera again by this afternoon. Cant wait to take some shots of the garden plots and terrain bits as a way of trying it out.
I think at this point that my grapes are done, and the next time I sit down to work on them, I’ll start in on the cabbages as well as starting some empty plots that I can add other stuff to when they arrive.
That will be great! I have a kit from JT that has almost exactly the mix of plants to a settlement field… Have been thinking about a base, fencing and a water pump for that. Plus I have all the crops that I made for my French and Indian War games… I picked up a few bits and bobs at Tricon. Found some North Koreans from Warlord that will convert nicely into Chinese Remnants. Also got some vehicle stowage from Rubicon that includes ammo cans and a Jeep (ala Fallout 76) that has lots of machine guns, include an extra .50 cal with your name on it.
Will get with you to arrange a game towards the end of this month.
I aplologize for the quality. New camera and I can’t seem to get it to focus properly. Guess I need to read the manual.
In the meantime, they’re not great quality, but here;s a couple of quick shots of what’s on my table right now.
This is two full sets of the new terrain packs as well as a third set of the crates. The mailboxes are quite a bit smaller than the TTCombat equivalents if anyone is curious about that. I personally like the difference because it gives me a standard small, and larger mailbox size.
Then there’s the garden plots. This is where I was having trouble focusing the camera. Hopefully this will give you a bit of an idea what I’ve been doing, but regardless I’ll try for some better images if I can figure out the camera.
For the dirt, I took a piece of card stock and cut it down to about the size I wanted. Then I painted the whole thing a darker shade of brown. From there, I used a paintbrush and painted the thing in cheap white glue and covered it in sand. Once dry, I painted the whole thing a really light, almost tan shade of brown. I followed that with a black wash that pooled well to the deeper areas between the grains of sand. And finally, I used a thinned out brown wash and applied it until I could just make out the black beneath. The end result was a very earthy looking dirt that I’m very happy about.
I like the garden plots! I’ve heard that brown tile grout (held by spraying watered down pva glue over it) can be good for cheap fine dirt, but the effect you’ve got there looks really good
Could I ask what the quality on the terrain packs is like? I’ve heard a few people saying that the standard on current runs of terrain sets have been reduced, with really soft/bad details in some areas compared to previous waves of stock. One of the images on the modiphius store also makes it look like the trash cans are as tall as the people, though that might just be because of depth and so on

 No risk to the model at all that way.

